

To use a garden fork correctly, first choose one suited to your soil type—sturdy forks for clay, wider-tined ones for sandy soil. Position your feet shoulder-width apart, keep your back straight, and use leg muscles to drive the tines about one foot deep. Rock the handle backward gently to loosen soil without flipping it over, creating air pockets for roots. Work in overlapping passes across your bed during slightly damp conditions, ideally in spring and fall. Avoid waterlogged soil and repeated passes over the same area, which damages soil structure. The following sections explore specific techniques for different soil challenges and seasonal schedules.
Key Takeaways
- Choose a sturdy garden fork with closer tine spacing for heavy clay soil and wider spacing for sandy soil.
- Position feet shoulder-width apart, keep your back straight, and use leg muscles to drive tines approximately one foot deep.
- Rock the fork handle backward gently to create air pockets and loosen compacted soil without flipping the topsoil over.
- Work across the bed in overlapping passes at slightly damp soil conditions, avoiding waterlogged or compacted turf areas.
- Fork beds at least twice yearly (spring and fall) to maintain soil aeration, fertility, and prevent surface crusting.
Choosing the Right Garden Fork for Your Soil Type
When you’re preparing your garden bed, selecting the appropriate fork makes a significant difference in both your effort and results. understanding your soil type is essential for choosing the right tool. Heavy clay soil requires a sturdy garden fork with closer tine spacing, which helps break through compacted earth more effectively. Lighter, sandy soils work better with a digging fork featuring wider tine spacing for easier penetration. Consider the handle length too—longer handles provide better leverage for tough soil, while shorter handles offer improved control in confined spaces like flower beds. A border fork suits smaller areas, whereas a full-sized garden fork handles larger plots. By matching your fork’s specifications to your soil conditions, you’ll work more efficiently and achieve better aeration results.
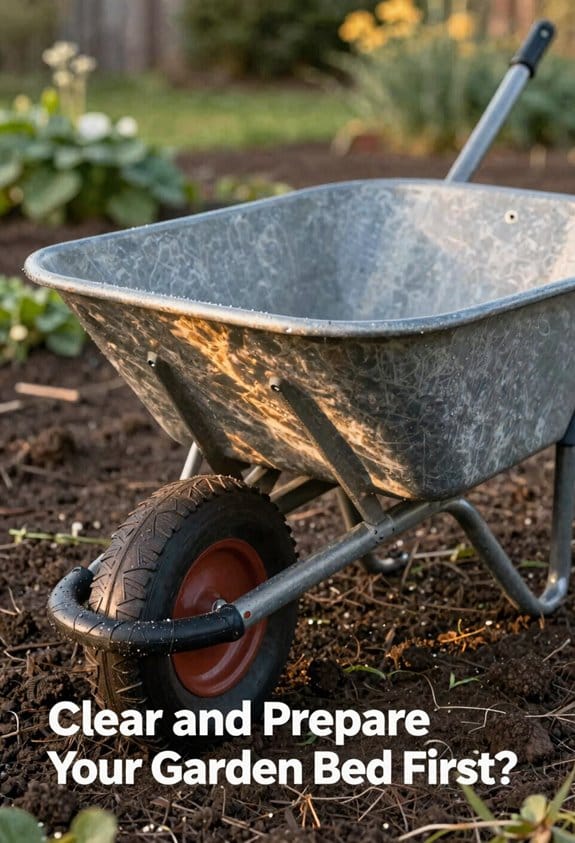
Clear and Prepare Your Garden Bed First
You may be interested
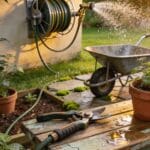

Now that you’ve selected the right fork for your soil type, you’ll want to prepare your garden bed before you start digging and aerating. First, Consider conducting clearance checks to identify and remove existing weeds, debris, and obstacles that could interfere with your work. Use your fork to pry up deep-rooted weeds efficiently, making sure you remove the entire root system. Next, perform tool sanitation by cleaning your fork thoroughly before beginning, which prevents disease transmission and guarantees better performance. If sod covers your bed, remove or smother it in advance to allow degradation. Additionally, avoid irrigation lines during your preparation to prevent accidental damage. Taking these preparatory steps creates an ideal working environment for effective digging and aeration.
Step, Pull, and Repeat: The Proper Digging Motion
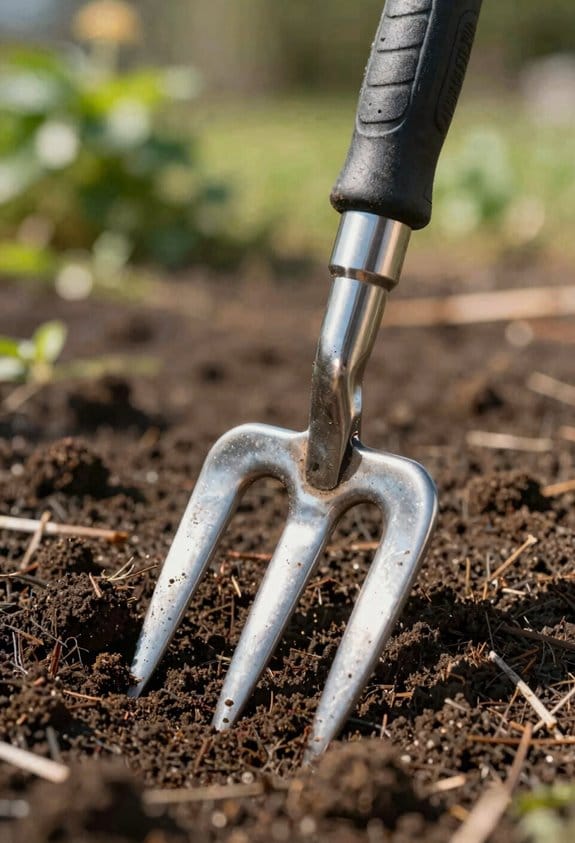
Master the fundamental digging technique, and you’ll transform your garden bed efficiently without exhausting yourself. Start by positioning your foot placement directly on the fork’s top edge, then step down to insert the tines fully into the soil to about a foot’s depth. Once the tines penetrate the ground, adjust your handle angle so you’re pulling backward rather than lifting straight up. This back-and-forth motion, repeated a few inches away in rhythmic steps, loosens soil without turning it over completely. Keep your back straight throughout the process, pushing down with your leg muscles before lifting with the handle. This step-pull-and-repeat pattern covers larger areas efficiently while minimizing physical strain on your body.
Aerate Compacted Soil Like a Pro
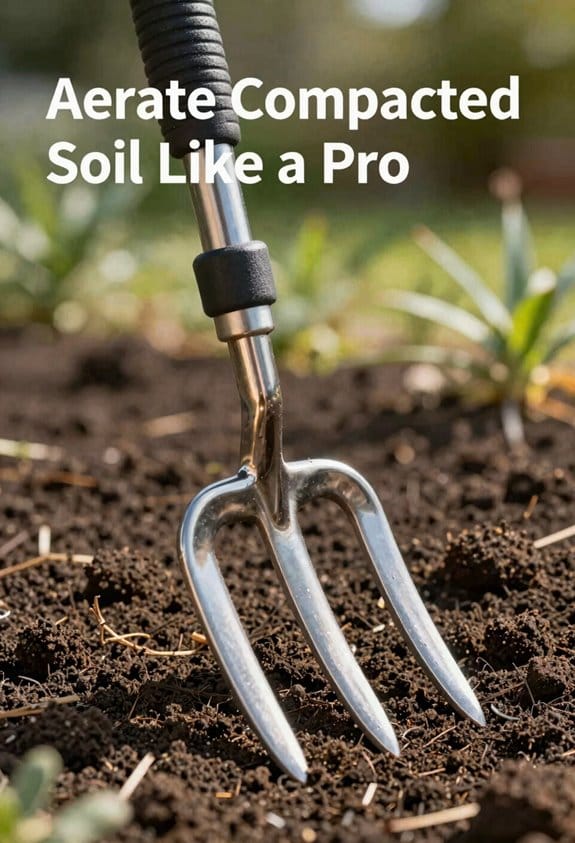
Loosening compacted soil requires a different approach than standard digging, and I’ll show you how to do it effectively. Instead of turning soil over, you’ll focus on creating air pockets throughout the core soil layers. Insert your fork as deeply as possible, then rock it back gently to separate dense soil without flipping it. Start by working the edges of your garden bed, then move across the surface, and finally tackle the deeper layers. As you pry back on the handle, you’re breaking up hardened earth and allowing oxygen to penetrate. For stubborn areas, twist and pull the fork to maximize loosening. Mix in compost or amendments during this process, which improves both drainage and soil structure simultaneously.
Break Up Clay and Heavy Soils Effectively
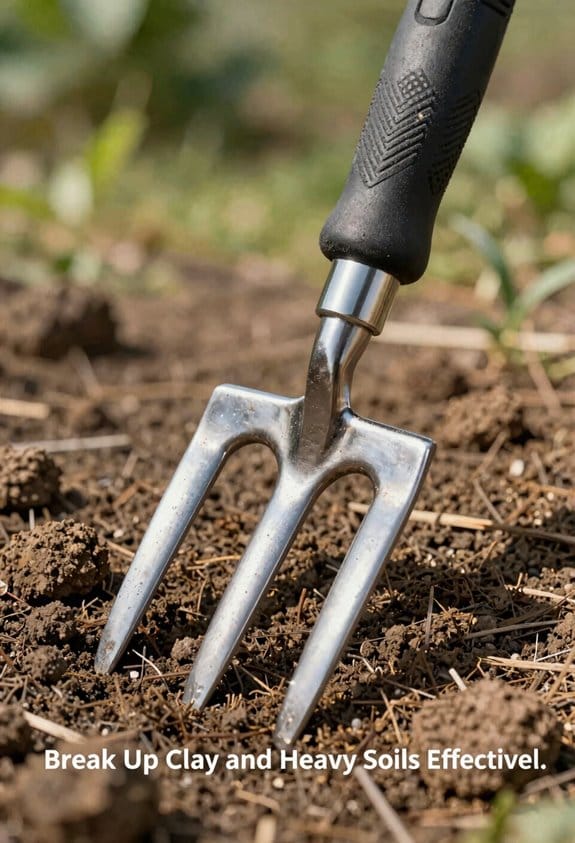
Clay and heavy soils present unique challenges that go beyond what you’d encounter with looser, sandier earth, yet with the right approach, you can break them down efficiently. Consider starting with a larger garden fork equipped with heavy duty tines, which provide the strength needed for tough conditions. Before you begin, assess your soil’s moisture level; it should be slightly damp, not waterlogged or bone-dry. Insert the fork deeply and use a back-and-forth rocking motion to penetrate the compacted layers. Deep scarification—breaking up dense soil at significant depths—works best when you leverage the handle to pry and separate clumps systematically. Plan multiple sessions if necessary, working in sections to make certain thorough coverage and prevent exhaustion during this demanding task.
Mix in Compost and Nutrients as You Go
Enriching your soil as you aerate creates a more efficient garden preparation process, since you’re combining two essential tasks into one session. As I work the fork through layers, I scatter compost and organic matter simultaneously, which distributes nutrients more effectively than adding amendments afterward.
I implement layered composting by alternating between soil loosening and compost incorporation. This technique prevents nutrient concentration in one area. Nutrient timing matters notably; I add amendments during the initial loosening stage when soil structure is most receptive. The fork’s penetration naturally creates spaces where organic material settles into deeper soil layers.
I guarantee thorough mixing by working the fork rhythmically, allowing compost to integrate throughout the loosened zone. This approach saves time, promotes even nutrient distribution, and establishes a foundation for healthy plant growth.
Harvest Root Vegetables Safely With Your Fork
When you’re ready to pull up carrots, potatoes, beets, or other root crops, using a garden fork instead of a spade or shovel can protect your harvest from getting sliced or bruised. I insert the fork deeply into the soil beside the plant, then gently rock the handle backward to loosen the earth around the roots. This gentle harvesting technique lifts the soil without cutting through your vegetables.
Once the soil loosens, I carefully pull the plant upward, allowing the fork to cradle and support it as it emerges. The wide head and curved tines of a potato fork work especially well for this task. After harvesting, I brush away excess soil and prepare your vegetables for root storage in a cool, dry location. This method guarantees your crops stay intact and damage-free.
Mistakes That Waste Time and Damage Your Soil
Because many gardeners rush through the forking process without proper planning, they often create more problems than they solve. I’ve learned that over tilling damage occurs when you repeatedly work the same soil area, destroying its structure and killing beneficial organisms. Compacted turf becomes even harder when you drive equipment over weakened ground, which sets back your progress markedly. You’ll waste considerable time if you don’t remove sod beforehand, since you’ll be fighting against established grass rather than loosening soil. Additionally, inserting your fork at shallow depths fails to reach compacted subsoil layers, meaning your aeration efforts accomplish little. Assess your soil type first, then plan your approach carefully. Working methodically prevents these costly mistakes and guarantees your garden fork improves soil quality effectively.
When to Fork Again: Seasonal Aeration and Maintenance
Most gardeners benefit from forking their soil at least twice yearly, typically in spring and fall, to maintain peak soil structure and prevent compaction from seasonal use. Spring aeration helps break winter hardpan before planting, while fall forking prepares beds for winter and loosens soil settled by summer foot traffic.
Seasonal timing depends on your climate and garden demands. I monitor soil moisture carefully because you’ll achieve better results when soil is slightly damp but not waterlogged. Wet soil becomes dense and sticky, resisting proper aeration, while overly dry soil turns rock-hard and difficult to penetrate.
Check your garden regularly throughout the year. If you notice surface crusting, water pooling, or stunted plant growth, consider additional forking sessions. This preventive maintenance keeps your soil workable and productive.
For a useful next step, prepare garden soil with hand tools and understand how mulch affects soil. These guides cover the related maintenance or buying decision without changing the task explained here.
Frequently Asked Questions
How Deep Should I Insert the Fork Tines Into the Soil for Optimal Results?
I’d insert your fork tines about one foot deep—think of it as planting roots yourself. This ideal depth loosens soil effectively while minimizing root disturbance to existing plants. You’ll feel the resistance; that’s your cue you’ve reached the sweet spot.
What Is the Recommended Spacing Between Each Digging Motion for Efficiency?
Consider spacing each digging motion a few inches apart to maintain an efficient swing rhythm. This step spacing lets you cover larger plots quickly while keeping a steady, rhythmic pace that won’t tire you out.
Can I Use a Garden Fork on Wet Soil Without Causing Damage?
I’d avoid using a garden fork on wet soil—it’ll compact and damage your soil structure. Wait until it’s moist but workable. Timing rainstorms matters; fork after soil dries slightly. Wear using gloves for better grip.
How Many Passes Over the Same Area Are Necessary for Thorough Aeration?
Consider making multiple passes over the same area for thorough aeration. A single pass won’t sufficiently loosen compacted soil. I typically work each section twice, spacing my fork insertions a few inches apart to achieve ideal depth and coverage.
Should I Wear Specific Footwear or Protective Gear When Forking Soil?
You might think regular shoes suffice, but Consider steel toe boots for foot protection and UV protective gloves against blisters. Proper footwear prevents injuries when you’re stepping forcefully into hard soil repeatedly.