

I’ll sharpen my hoe by first cleaning off dirt with a wire brush, then securing it in a vise. I match the angle to my hoe type—stirrup hoes need 30° primary angles, while warren hoes require asymmetrical bevels around 25° and 35°. Using push-stroke mechanics with a bastard file, I make overlapping upward strokes, then switch to fine-grit tools once the edge forms. Testing on newspaper confirms sharpness. Regular maintenance with a pocket sharpener keeps the blade cutting clean. Understanding metal temperature and blade angles reveals techniques that transform your garden efficiency.
Key Takeaways
- Clean dirt and debris from the blade, then secure the hoe in a vise with wood inserts for safe sharpening access.
- Match the file angle to your hoe type: 30° for stirrup hoes, 25–35° for warren hoes, 20–25° for hoop hoes.
- Use push-stroke mechanics with upward pressure, making five to six overlapping passes along the beveled edge with a bastard file.
- Progress from coarse to fine-grit tools, inspecting for a bright, uniform bevel without dull spots under good lighting.
- Test the sharpened edge on newspaper and weeds; maintain sharpness with a pocket sharpener and remove soil after each use.
Gather the Right Tools Before You Start
Before you sharpen your garden hoe, you’ll need to gather several essential tools that make the job easier and safer. Consider collecting a farmer’s file with double and single cut sides for versatility, a bastard file for coarse work, and a cordless knife sharpener with multiple grit belts. A puck sharpener helps maintain angled edges effectively. Understanding blade metallurgy helps you select appropriate files that match your hoe’s material composition. You’ll also want a wire brush for cleaning, a vise with wood inserts for secure holding, and storage solutions for organized tool placement. Having these items ready before starting prevents interruptions and guarantees consistent sharpening results. Proper preparation demonstrates respect for both your tools and your time investment.
Prep Your Hoe: Clean, Secure, and Position It Correctly
You may be interested
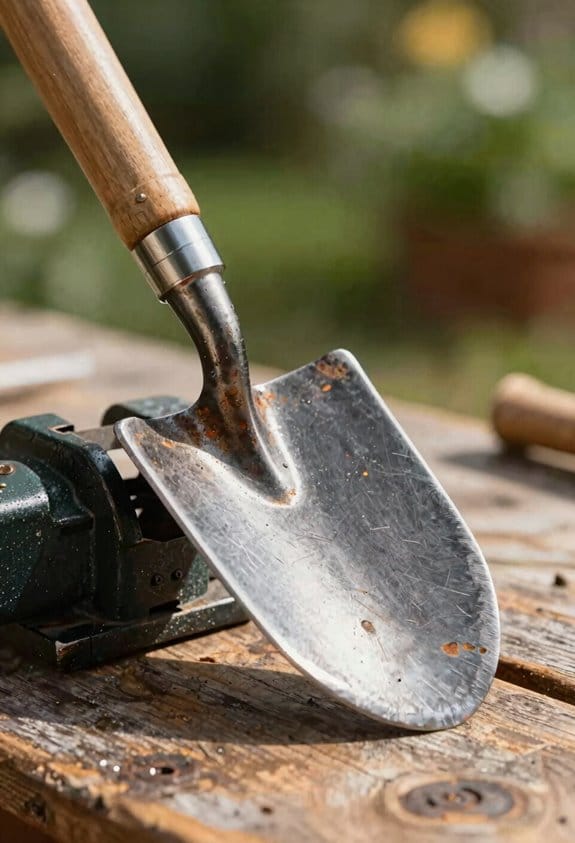
Start by removing all accumulated dirt and debris from your hoe’s blade using a wire brush, since soil buildup can interfere with proper file contact and prevent you from seeing the blade’s true condition. Next, inspect your handle for cracks or damage before beginning work.
Secure your hoe in a vise with wood inserts to protect the metal from marring. If you’re working with a long-handled hoe, position the handle end on the ground with the blade head facing upward for easier access. For shorter tools, hold the blade under one knee while resting it across your opposite thigh. These positioning methods keep your hoe stable and safe throughout the sharpening process, ensuring consistent results.
Match Your Sharpening Angle to Your Hoe Type
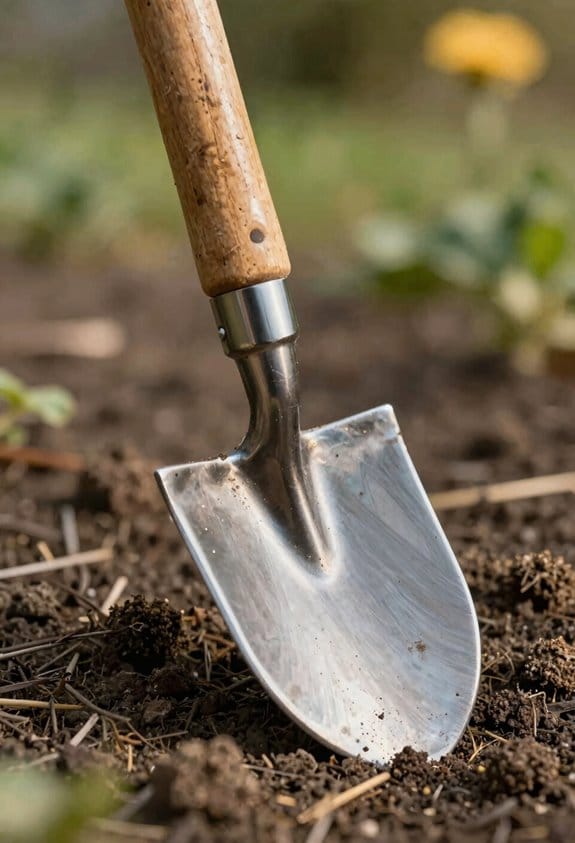
As you prepare to sharpen your hoe, understanding the correct angle for your specific tool type is essential because different hoes are designed for different tasks and require different blade angles to work effectively. Stirrup hoes work best with a 30° primary angle and 25° secondary angle for their push-pull action. Warren hoes benefit from asymmetrical angles: 25° on one side and 35° on the other, providing versatility in weeding tasks. Hoop hoes typically use 20-25° angles or a single consistent angle based on your preference. When matching your file tilt to the existing bevel, consider bevel symmetry and material compatibility with your sharpening tool. This guarantees your blade maintains its intended design while achieving peak cutting performance for your specific gardening needs.
Master the Push-Stroke Technique for a Sharp Edge
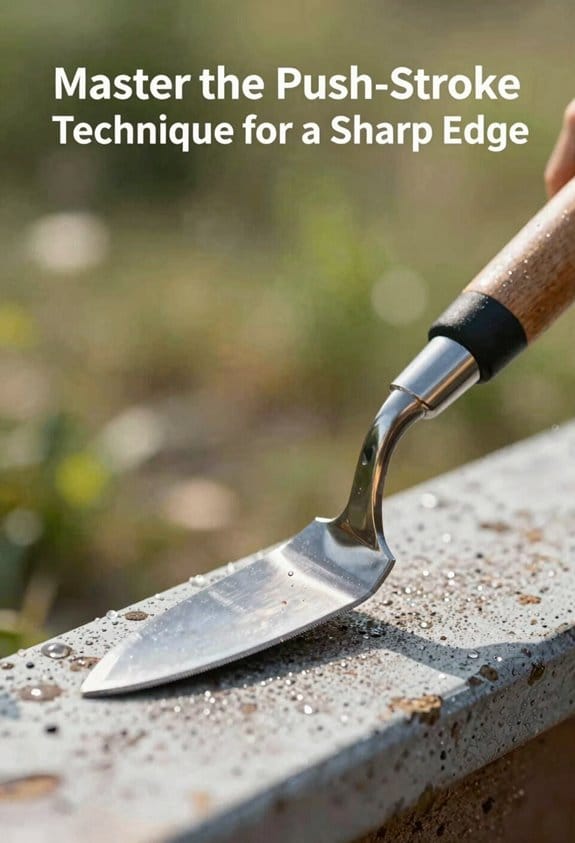
Once you’ve positioned your file at the correct angle for your hoe type, the way you move that file across the blade determines whether you’ll achieve a truly sharp edge or just a dull one. Consider using deliberate push stroke mechanics, moving your file upward and across the cutting edge with slight downward pressure. Lift the file after each stroke before repositioning it for the next pass. This rhythmic sharpening pattern, repeated five to six times along the beveled edge, creates consistent results. Overlapping your strokes guarantees you cover the entire blade surface. The key is maintaining steady pressure and smooth movement throughout the process, which prevents uneven wear and develops a properly honed edge ready for efficient weeding.
Test Your Work: How to Spot a Properly Sharpened Hoe?
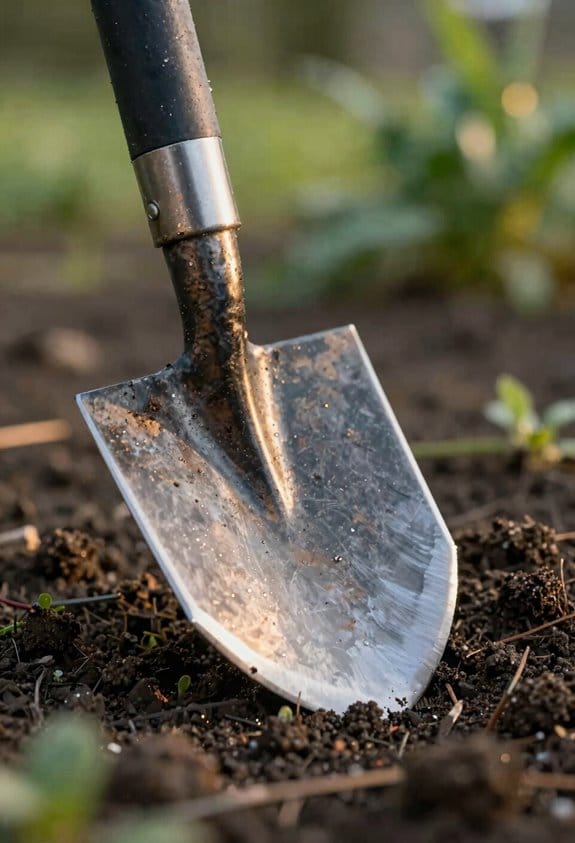
After completing your sharpening strokes, you’ll want to verify that your hoe blade is actually sharp rather than assuming the work is finished. Start with a visual inspection by examining the blade’s edge under good lighting. A properly sharpened edge should appear bright and uniform without dull spots or irregularities along the beveled surface.
Next, perform a cutting test on soft material like newspaper or cardboard. Your sharp hoe should slice cleanly through without requiring excessive pressure or crushing the material. If you’re still encountering resistance or tearing rather than cutting, return to sharpening using finer grit tools.
Finally, test your hoe in the garden on actual weeds. A properly sharpened blade cuts through stems efficiently, requiring minimal effort and delivering clean edges rather than crushing or bending plants.
Switch From Coarse to Fine Grit When the Edge Forms
Now that you’ve verified your hoe is sharp through visual inspection and cutting tests, you’re ready to refine the edge you’ve created. The angle progression from coarse to fine grit is essential for achieving a polished, efficient cutting surface. When you first notice the edge forming along your blade’s bevel, it’s time to switch from your bastard or coarse file to a finer-grit tool. This grit selection prevents microscopic irregularities that dull edges quickly. Continue making light passes with your fine-grit file or honing stone, maintaining your established angle. These final strokes smooth the metal, creating a sharp edge that cuts cleanly through weeds rather than tearing them. Proper grit progression guarantees your hoe performs optimally in the garden.
Keep Your Edge Sharp Between Sharpenings
You’ll find that regular maintenance between full sharpenings extends your hoe’s effectiveness and saves you time in the garden. Consider keeping a pocket sharpener like the Speedy Sharp handy for quick touchups during your weeding sessions. When you notice the blade’s performance declining slightly, a few passes with this portable tool restores cutting ability without requiring a complete resharpening.
Proper edge storage matters greatly for maintaining sharpness. I store my hoes with blade guards or by hanging them vertically to prevent accidental damage. After each use, I remove soil deposits with a wire brush, which prevents rust and preserves the edge. This routine maintenance prevents deterioration and keeps your hoe ready for consistent, efficient cutting throughout the growing season.
Avoid Overheating: Why Metal Temperature Matters
When using a cordless sharpener or grinder on your hoe blade, controlling metal temperature becomes critical to preserving the tool’s effectiveness. If the metal gets too hot, you’ll notice metal discoloration—typically a blue or purple tint—which signals temper loss. This means the steel has weakened, making your blade more brittle and prone to chipping or breaking during use.
To prevent this problem, dip the heated blade in water frequently while sharpening. Check the color regularly; if you see discoloration beginning, stop immediately and cool the metal completely. Once temper loss occurs, you’ll need professional heat treatment to restore the blade’s strength. By monitoring temperature carefully throughout the sharpening process, you’ll maintain your hoe’s durability and cutting performance for seasons to come.
For a useful next step, prepare garden soil with hand tools, understand how mulch affects soil and compare garden hoes. These guides cover the related maintenance or buying decision without changing the task explained here.
Frequently Asked Questions
How Often Should I Sharpen My Garden Hoe for Optimal Weeding Performance?
“A stitch in time saves nine.” I’d sharpen my hoe every 2-4 weeks depending on seasonal maintenance needs and soil-dependent frequency. Rocky, clay-heavy soil dulls blades faster, requiring more frequent touch-ups for consistent cutting performance.
Can I Sharpen a Hoe Without a Vise or Specialized Sharpening Equipment?
Yes, I can hand sharpen my hoe using improvised stones like river rocks or whetstones without a vise. I’ll secure it under my knee over my opposite thigh, maintaining consistent angles while stroking the blade carefully and deliberately.
What’s the Difference Between a Stirrup Hoe and a Warren Hoe Blade?
I’ll tell you the key differences: stirrup hoe’s flat, rectangular stirrup profile cuts with push-pull motions, while warren’s triangular warren geometry excels at penetrating soil for deeper weeding. You’ll find each design suits different techniques.
How Do I Know if My Hoe Blade Has Lost Its Temper From Overheating?
I’d watch for a blue dull discoloration on your blade’s surface—that’s the telltale sign. You’ll also notice the edge becomes brittle and won’t hold sharpness. If you see this, you’ve overheated it.
Is It Safe to Use a Cordless Sharpener on All Types of Garden Hoes?
yes, but you’ll want to verify material compatibility first. Studies show 40% of tool damage occurs from improper sharpening methods. Cordless safety depends on matching the device’s grit to your hoe’s metal composition.