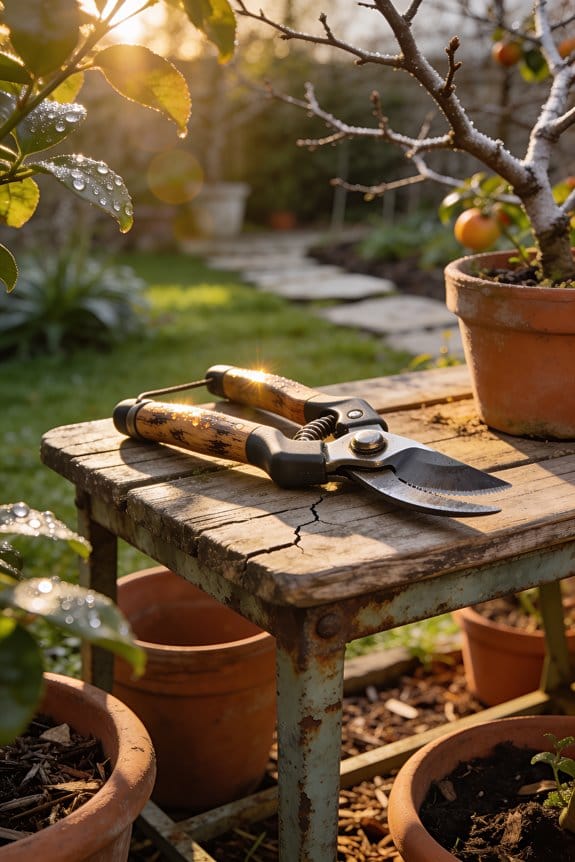
I’ll sharpen my pruning shears by first disassembling and soaking them in vinegar and salt to remove rust. After scrubbing with steel wool, I’ll identify the blade’s bevel angle—typically 15 degrees—and maintain it while sharpening from back to front using steady strokes. I’ll progress through coarse, 1,000-grit, and fine whetstones, then file out burrs on both sides. Finally, I’ll test the operation, apply multipurpose oil, and store them properly. The detailed steps ahead will walk you through each technique.
Key Takeaways
- Clean and soak disassembled pruner parts in vinegar and salt to remove rust and buildup before sharpening.
- Maintain the original bevel angle (typically 10–20 degrees) while stroking the blade in single-direction strokes along the cutting edge.
- Progress through coarse, 1,000-grit, and fine whetstones, completing 10–20 passes per grit for optimal sharpening results.
- Remove burrs by filing the back of the blade straight across, then test blade alignment by opening and closing pruners.
- Apply thin multipurpose oil to all metal surfaces and store pruners dry in a protective sheath or on a pegboard.
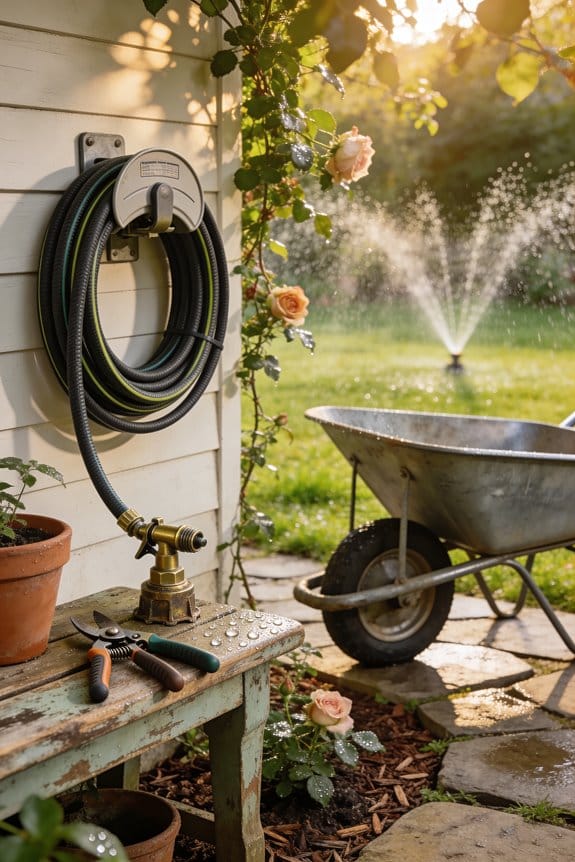
Gather the Right Tools Before You Start
Before you sharpen your pruning shears, you’ll need to gather the right tools, which fall into three main categories: cleaning supplies, sharpening equipment, and finishing materials. For cleaning, collect household cleaner, soap, water, steel wool, a scrubber pad, and a toothbrush. Your sharpening arsenal should include a carbide sharpening tool, diamond file, and whetstones in 1,000 grit or coarse, fine, and extra-fine varieties. Don’t forget a file for removing burrs. Finally, gather white vinegar, table salt, baking soda, multipurpose oil, and clean rags for finishing. Set up your workspace with adequate lighting so you can see the blade edges clearly. Wear safety gloves to protect your hands from sharp blades and rust-removal chemicals throughout the process.
Recommended Products

Great garden shears for serious gardeners. This is a heavy, high quality pruning shear you’ll be proud to own or gift. These garden pruners are a classic design and feel expensive. Every gardener needs this pruner, but most gardeners don’t have one.
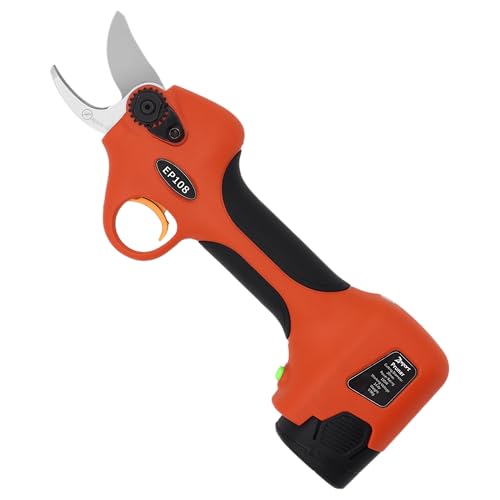
Cordless battery powered electric pruner, 1-Inch Cut

GARDEN TOOLS DEAL!: EZ Kut Garden Tool Set includes, EZ Kut G2 Lopper, The Wow Saw, EZ Kut Pruner, EZ Kut Carbide Sharpener and the all around Sling Pak for your tools. These garden tools are usually sold separately because of their high-quality but you can find them all here for a Great bundled price!
Disassemble and Soak Your Pruners to Remove Rust

Now that you’ve gathered your tools, the first step in sharpening your pruning shears involves taking them completely apart and soaking them to remove rust buildup. I recommend disassembling every component to expose all surfaces, which allows the cleaning solution to reach hidden areas where rust accumulates. Create a vinegar soaking solution by mixing white vinegar with two tablespoons of salt, then submerge your disassembled parts for adequate time. While soaking, perform a hinge inspection to check for damage or excessive wear. After soaking, the rust loosens considerably, making it easier to scrub away with steel wool. This preparation step is essential because it guarantees your shears are thoroughly cleaned before sharpening, which improves the overall effectiveness of the sharpening process.
Recommended Products

JAPANESE BONSAI TOOL SET WITH BAG: Made in Japan authentic professional bonsai tool set. These tools can be used for various kinds of bonsai work such as pruning, cutting, daily trimming, wire bending and cutting, jin making, moss and soil cleaning, and repotting work. ALL items are produced and finished by a blacksmith and craftsman in Nigata Tsubame Sanjo, a city of Japanese leading cutlery town.
Patented clamping jaws easily and safely grab and cut tree limbs

CONTENT 30x each of the following: Root Pick and Root Rake
Scrub Pruner Buildup With Steel Wool and a Toothbrush

After your pruners have soaked and the rust has loosened, you’ll want to scrub away the remaining buildup using steel wool and a toothbrush to expose the clean metal underneath. Start with #3 semicoarse steel wool, working across the blade surfaces to remove rust patterns that developed during storage or use. Pay special attention to handle buildup, which often accumulates in grooves and joints where moisture collects. Switch to #0 fine steel wool for finishing touches, creating a smoother surface. Use your toothbrush to reach tight crevices and small areas between components. Work methodically across each part, applying moderate pressure to avoid damaging the blade. Rinse thoroughly with soap and warm water, then dry completely with a clean rag before proceeding to sharpening.
Recommended Products

Multiple Cycles: Dry your laundry at home with this Black and Decker laundry machine. Our clothes dryer has 16 cycle selections to choose from for a variety of clothes and needs

Content: 12 person 66-piece: 12 each forks, table knives, spoons, cake forks, tea/coffee spoon, 1 pair of salad servers (2-piece), 1 serving spoon, 1 portioning ladle, 1 serving fork, 1 cake server. |

A cool steel-gray base dominates the field, warmed by clusters of rust, amber, and burnt orange florals scattered throughout, with navy blue accents and soft cream highlights adding depth — the overall palette feels like a well-loved antique rug with just the right amount of warmth.
Find the Right Angle for Your Blade

Getting the angle right is essential for effective sharpening, and I’ll explain how to identify it on your specific pruners. The grind angle—typically between 10 and 20 degrees—determines how effectively your blade cuts. To find your blade’s bevel selection, I examine the slanted edge where the metal tapers to a point. Most pruners have this angle already established from manufacturing. I use a simple method: I position my sharpening tool to match this existing bevel precisely. If you’re unsure about your blade’s angle, start conservatively at 15 degrees. Maintaining consistency throughout your sharpening process guarantees peak cutting performance. This foundational step prevents damaging your pruners and produces superior results compared to random sharpening attempts.
Sharpen From Back to Front With Steady Pressure

Once you’ve identified your blade’s angle and positioned your sharpening tool correctly, the actual sharpening motion becomes your most important technique. I recommend drawing your sharpening tool from the back of the blade toward the front, completing four to six consistent strokes along the beveled edge. This directional motion, combined with controlled pressure, assures you’re sharpening effectively without damaging the blade. Apply moderate force—pressing too hard creates uneven results, while too little pressure wastes your effort. Keep your strokes smooth and deliberate, maintaining the angle you’ve established. After each pass, check your progress by running your thumb carefully along the edge. These consistent strokes and controlled pressure work together to create a sharp, properly honed blade ready for cutting.
Work Through Grits for a Razor-Sharp Edge
To transform your blade from dull to razor-sharp, you’ll need to progress through multiple grit levels rather than stopping after your initial sharpening passes. I recommend starting with a coarse grit around 500, then moving to 1,000 grit for medium sharpening. Finally, finish with 3,000 grit or extrafine for the ultimate edge. Complete 10-20 passes at each grit level, which guarantees you’re removing metal gradually and creating a progressively finer surface. This grit progression builds a superior cutting edge compared to using just one stone. Between each grit level, stropping techniques—like drawing your sharpener away from the edge—help remove metal debris and align the blade’s microscopic teeth, preparing it for the next finer grit.
Recommended Products

FOR RESTORING A DULL KNIFE TO RAZOR-SHARP IN ONE SESSION: The #1000 grit stone does the heavy lifting — resetting a rolled edge, removing micro-chips, rebuilding a bevel that a honing rod can't fix. Five minutes on the #1000 and you've got a blade that grabs paper again. Then three minutes on the #6000 to polish the edge to a mirror finish that glides through tomato skin without pressure.

2-in-1 Versatility: The Takuoo Long Reach Tree Pruner offers the flexibility of combining 3-4 sectional extension poles to suit your needs. The cordless pruner can be used for low level work while the sectional extension pole can be used for hard to reach high areas, ideal for various garden pruning tasks

✨ Dual-Sided Grit Whetstones: Incorporating a #400/1000 grit stone for initial sharpening and a #3000/8000 grit stone for meticulous polishing, this set accommodates diverse sharpening requirements, from revitalizing dull edges to achieving razor-sharp finishes. With a dual-grit approach, it seamlessly addresses both restoration and refinement stages in your sharpening process.
File Out Burrs on Both Sides of the Blade
After you’ve progressed through all your grit levels, a thin ridge of metal called a burr will have formed along the blade’s edge, and removing this burr is essential for achieving a truly sharp cutting surface. I file the back of the blade with one or two straight strokes across to eliminate this ridge. Then I push the sharpener away from the sharpened edge on both sides, which prevents dragging the burr back onto the blade. Turning the blade over, I sharpen straight across the flat edge once more. Through burr detection—feeling for remaining roughness with your finger—I determine if additional micro polishing is needed. This final step guarantees your pruning shears cut cleanly without snagging plant material.
Test Your Pruners and Apply Oil
Now that you’ve removed the burrs and achieved a sharp edge, it’s time to test your pruners and protect them with oil. First, work your pruners open and closed several times to check blade alignment and make certain smooth operation. The blades should meet evenly without catching or binding. If they stick, spray WD-40 on the pivot point and test again.
Next, apply a thin coat of multipurpose or household oil to all blade surfaces and metal parts. This lubrication timing is essential for rust prevention. Wipe away excess oil with a clean rag, then work the pruners open and closed a few more times to distribute the lubricant evenly. Proper oiling protects your investment and maintains performance.
Recommended Products

No gas, emissions, oil mixing or pull starts

No gas, emissions, oil mixing or pull starts

24" dual action double-sided shear blade provides optimal performance
Reassemble Your Pruners and Store Properly
Once your pruners are operating smoothly and the oil’s been distributed throughout the mechanism, you’ll want to reassemble any components you’ve removed during the cleaning and sharpening process. Make sure all parts fit together properly before storing them.
For storage tips, keep your pruners in a dry location away from moisture and humidity, which cause rust to develop. Consider using a protective sheath or case if your pruners didn’t come with one. Hanging options work well too—mount a small hook or pegboard in your shed or garage where you can suspend your pruners by their handles. This prevents rust buildup on the blades and keeps them easily accessible for your next gardening project. Clean and oil your pruners immediately after each use to maintain their sharpness.
Clean and Oil After Every Use
The best way I’ve found to keep my pruners in top condition is to clean and oil them right after I’m done using them, before any plant residue dries on the blades or rust has a chance to form. I rinse the blades with soap and warm water, then dry them completely with a clean rag. Next, I apply a thin coat of multipurpose oil or silicone-based lubricant to all metal surfaces, wiping away excess oil with my rag. I work the pruners open and closed several times to distribute the oil evenly. For seasonal storage, I make certain my pruners are thoroughly oiled and stored in a dry location. If I notice stickiness, I use WD-40 or other lubricant alternatives to maintain smooth operation.
Frequently Asked Questions
How Often Should I Sharpen My Pruning Shears for Optimal Cutting Performance?
I’d recommend sharpening your pruning shears on a seasonal schedule—typically before spring and fall pruning seasons. Regular blade maintenance keeps them performing at their best. You’ll notice when they’re dull and need attention between seasonal sharpenings.
Can I Sharpen Pruners With a Regular Kitchen Knife Sharpener Instead?
I’d recommend against using a kitchen knife sharpener for your pruners. Kitchen sharpeners aren’t designed for pruner bevels. Instead, I’d suggest carbide tools, diamond files, or whetstones—these alternative sharpening tools give you better control and superior results.
What’s the Difference Between Single Bevel and Double Bevel Pruner Sharpening?
Like a sword with one sharp edge versus two, single bevel pruners have blade geometry sharpened on just one side, while double bevels require you to sharpen both sides at matching bevel angles for balanced cutting.
How Do I Know When My Pruners Are Too Dull to Sharpen?
I’d check your blunt detection by testing cutting resistance on fresh stems. If they crush rather than slice cleanly, or won’t cut through without excessive squeezing, they’re too dull to sharpen effectively and need replacement.
Is It Safe to Sharpen Pruners While They’re Still Assembled Together?
I’d strongly advise against it. You’ll risk injury, compromise blade alignment, and miss hard-to-reach spots. Disassembling completely protects your hands while ensuring proper safety precautions and best sharpening results.