I’ll prune your fruit trees between January and March during late dormancy, when they’re resting but preparing for spring growth. First, I remove dead, diseased, and crossing branches that damage bark or block sunlight. I thin the upper canopy to let light reach lower fruiting branches, being careful never to remove more than one-third of the canopy in one season. Sharp, disinfected tools and proper technique prevent wounds that expose trees to disease. Following these steps protects your harvest while promoting vigorous spring growth, and you’ll discover specific techniques that maximize your results.
Key Takeaways
- Prune during late dormancy (January–March) when buds swell to identify live branches and prevent excessive sap loss.
- Remove only dead, diseased, broken, crossing branches and rootstock suckers to avoid weakening the tree’s structure.
- Never remove more than one-third of canopy wood annually; spread heavy pruning across multiple seasons for neglected trees.
- Thin upper canopy first to improve sunlight penetration and airflow, enhancing lower branch fruiting without stress.
- Use sharp, disinfected tools and make clean cuts to prevent disease exposure and ensure proper wound healing.
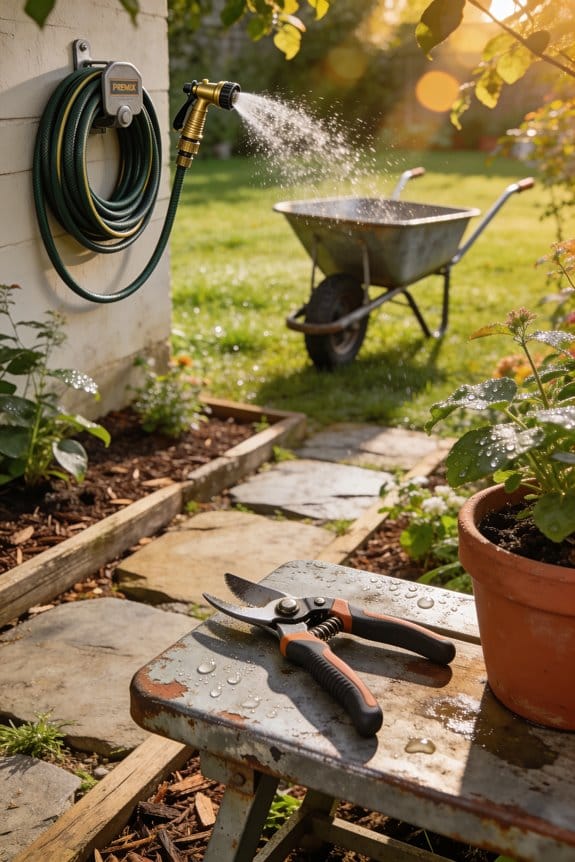
Prune Between January and March
When you’re ready to prune your fruit trees, timing’s essential for the best results, and that’s why January through March represents your ideal window. During late dormancy, your tree’s actively preparing for spring growth while still resting, making it the perfect time for cuts. This timing prevents excessive sap flow, which would waste the tree’s energy and expose fresh wounds to winter diseases. Pruning in late dormancy also allows you to manage sap concentration in remaining branches, preventing stunted growth. By waiting until buds begin swelling in March, you can see exactly which branches are alive and viable. This strategic window guarantees your cuts promote vigor without compromising your tree’s winter hardiness or next season’s fruit production.
Recommended Products


✂️Higher efficiency: double-edged knife design, two-way trimming is efficient, suitable for trimming or modeling.

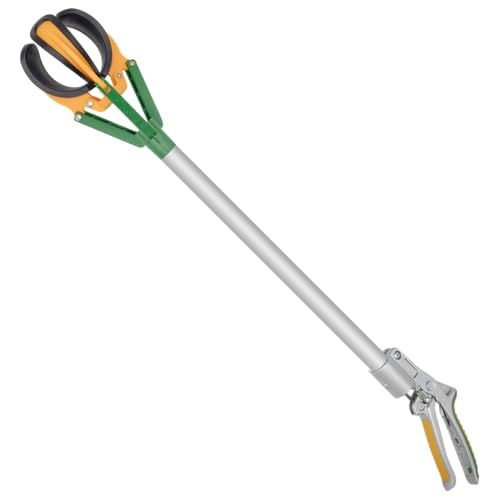
ZL612 Long Reach Pruner, 60-Inch, offers extended reach for tall shrubs, trees, or greenhouse crops.
Assess Your Tree and Identify Problem Branches
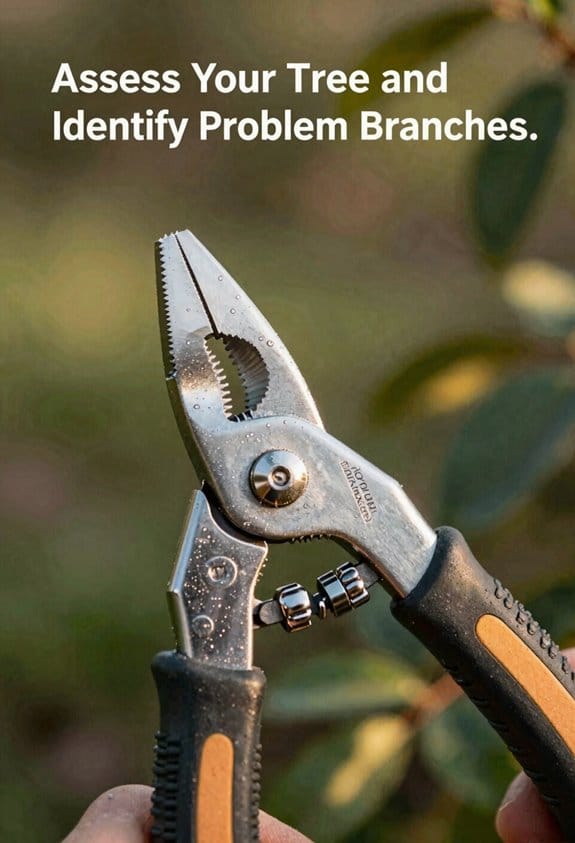
Now that you’ve identified the ideal pruning window, the next step involves carefully examining your tree before making any cuts. I recommend observing your tree’s overall shape and mentally picturing the balanced structure you want to achieve. Start by identifying dead, diseased, or broken branches, which require immediate removal. Next, inspect the root collar—the area where the trunk meets the roots—for suckers sprouting from the rootstock. These shoots weaken your tree’s structure and need elimination. Look for water sprouts growing straight upward along branches, then check for crossing or rubbing branches that damage bark. During your bark inspection, note any signs of disease or damage. This careful assessment guarantees you’ll make informed cuts that improve your tree’s health and productivity.
Recommended Products

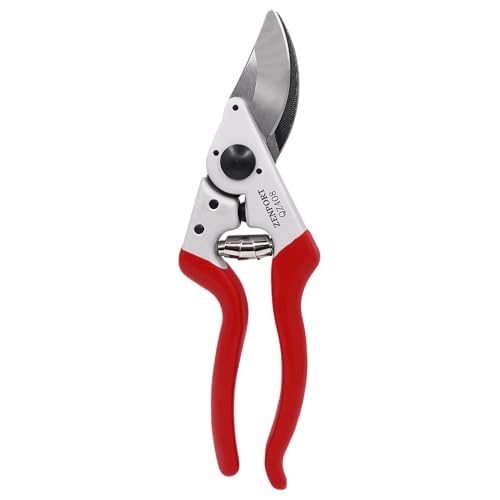
Razor sharp coated carbon steel blade

Narrow pointed blade allows easy access to twiggy branches and assures a close cut

Secateurs designed for intensive commercial use
Gather the Right Pruning Tools
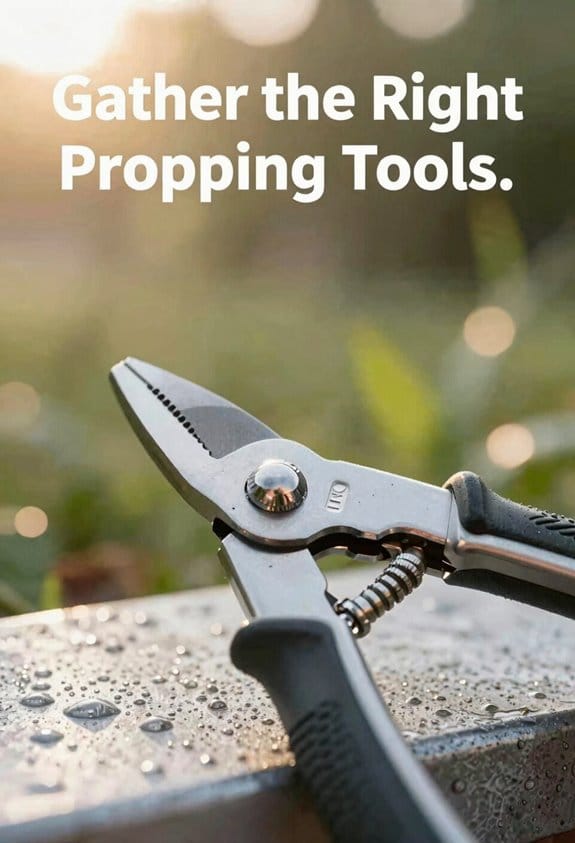
Equip yourself with the proper tools before you begin pruning, since using the right equipment makes cuts cleaner and safer while reducing stress on your trees. I recommend sharp hand pruners like Felco for small branches and twigs, which prevent crushing that can damage bark. For thinner growth, bypass pruners work best, while a thin-bladed pruning saw handles thicker branches effectively. A sharp knife cleans cut edges and removes stray bark precisely. Keep protective gloves handy to shield your hands from thorns and rough bark. Before moving between trees, spray your tools with disinfection spray to prevent spreading diseases. Use a carbide tip tool to maintain sharp blades at a slight angle, ensuring clean cuts every time.
Recommended Products

Securely holds tools at the top of a ladder
ZL6146D Fixed Length Fruit Picker, 28-Inch, is designed for efficient fruit collection without climbing or stretching.

QZ406 classic small professional pruner
Remove Dead Wood, Suckers, and Crossing Branches
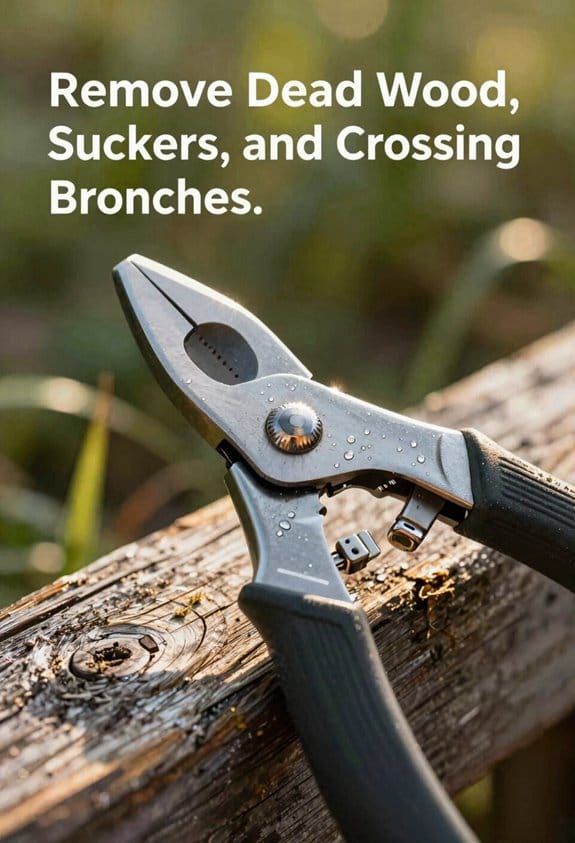
Start your pruning work by addressing the most obvious problems first: dead wood, suckers, and crossing branches that compromise your tree’s structure and health. I recommend removing dead or diseased limbs immediately, as they won’t recover and only waste your tree’s energy. Next, cut suckers growing from the rootstock base, since they’ll drain resources from your main tree. Then eliminate water sprouts shooting straight upward along branches. Finally, remove crossing or rubbing branches that damage bark through friction. While cosmetic trimming might seem appealing, focus instead on structural improvements that enhance airflow and light penetration. This strategic approach creates better wildlife habitat through improved canopy structure, strengthens your tree’s framework, and prevents disease problems from developing in crowded areas.
Recommended Products
Solid forged aluminum handles are extra-light and strong
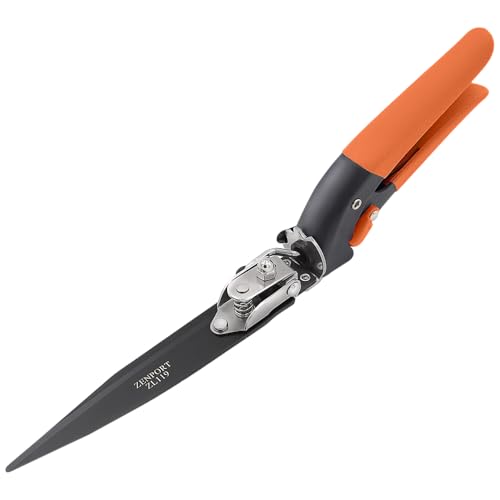
Adjustable heavy duty landscape grass shears

Cutting giraffe: bypass telescopic loppers for fresh, young shoots, branches and branches up to 3.2 cm in diameter in tree crowns and dense bushes - without the aid of a ladder - with a maximum total range including users of 6 m
Thin Your Canopy Without Over-Pruning
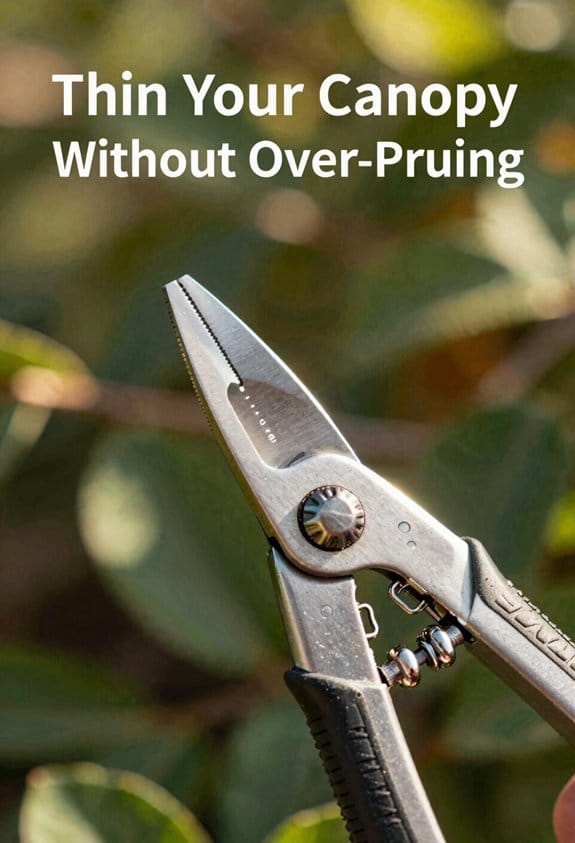
Once you’ve removed the dead wood, suckers, and crossing branches, you’re ready to thin your canopy strategically, which means removing selected branches to improve light and air movement throughout the tree. I recommend thinning the upper canopy first, allowing sunlight to penetrate to lower branches where fruit develops. Proper scaffold spacing—the distance between main branches—ensures each limb has room to grow without competition. This spacing supports adequate fruit load distribution, preventing branches from breaking under weight. However, I emphasize restraint: never remove more than one-third of your canopy wood in a single season. This conservative approach maintains tree vigor while gradually improving structure. For neglected trees requiring significant pruning, I suggest spreading heavy cuts across multiple years to preserve overall health and productivity.
Frequently Asked Questions
How Do I Distinguish Between Fruit Buds and Vegetative Buds Before Pruning?
Have you noticed how fruit buds differ visually from leaf buds? I’ve found flower buds vs. leaf buds are distinguishable by their rounder, plumper appearance. Bud positioning matters too—fruit buds cluster together while leaf buds space along branches individually.
What Should I Do With Pruning Wounds—Do I Need to Apply Wound Dressing?
I don’t recommend wound sealant on fruit tree pruning cuts. Trees heal better naturally, and sealants can trap moisture, promoting decay. Just make sure clean cuts using proper technique, and I’ll let nature handle the healing time.
How Can I Safely Prune Very Old or Severely Neglected Fruit Trees?
I’d recommend spreading heavy pruning over multiple years using gradual thinning and coppice renewal techniques. You’ll remove no more than one-third annually, allowing your tree to recover while maintaining winter hardiness and productive structure safely.
Should I Prune Differently Based on the Specific Type of Fruit Tree?
Yes, I’d adjust my approach for stone fruits versus others. Dwarf varieties need lighter pruning to maintain their compact form. Stone fruits require more aggressive thinning to prevent disease and guarantee fruit quality.
How Long Does It Take for a Pruned Tree to Recover and Produce Fruit?
I’d say you’re looking at a 1-3 year recovery timeline depending on pruning severity. Light dormant pruning won’t delay fruiting, but heavy cuts require yield forecasting adjustments as the tree redirects energy toward new growth before resuming full production.