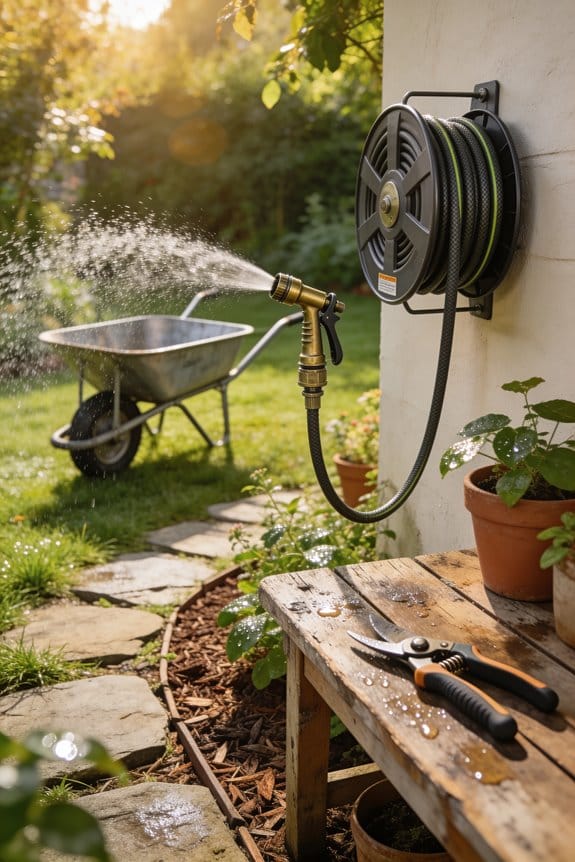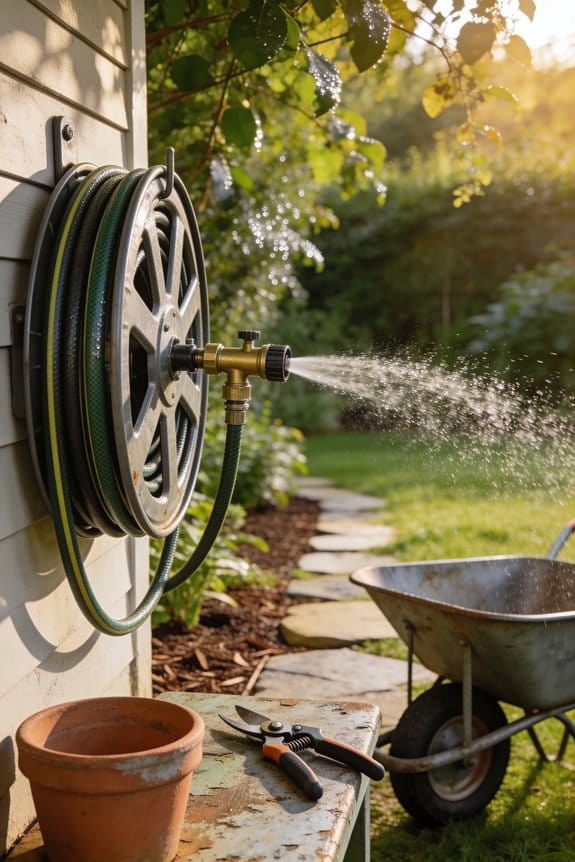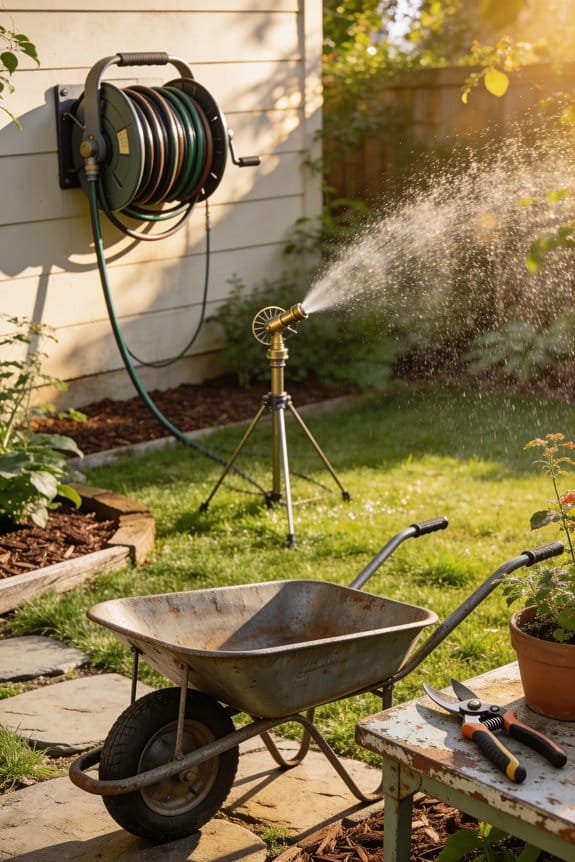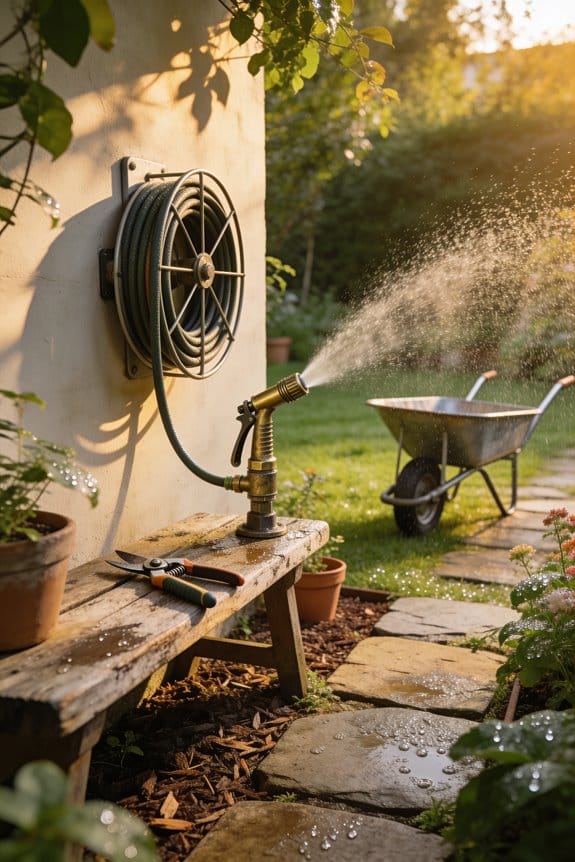
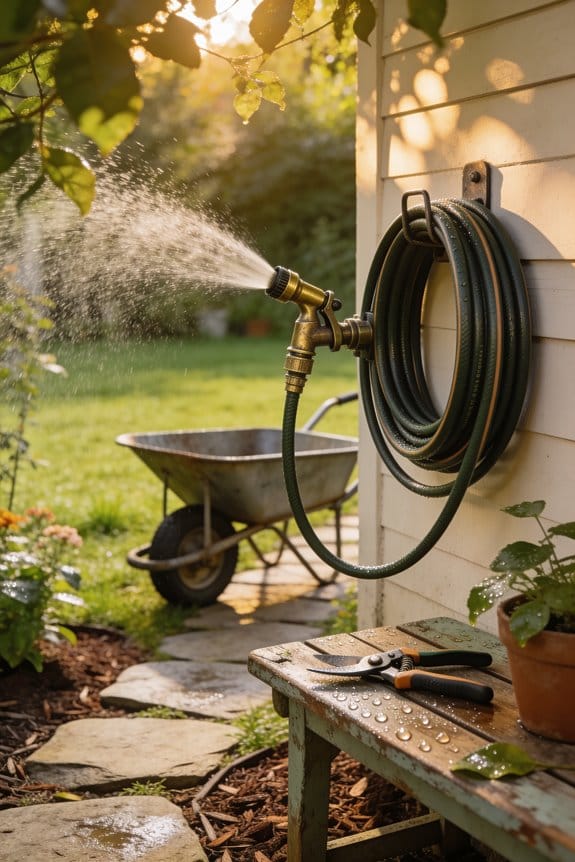

To winterize your garden hose, first shut off the outdoor water supply and open the faucet to release pressure. Next, disconnect all hoses from spigots and remove attachments like nozzles. Drain each hose completely by laying it on an incline, then coil it loosely—about three feet in diameter—and store it indoors in a temperature-controlled space like a basement. Finally, cover exposed faucets with foam insulation. For detailed steps on protecting connections and inspecting hoses before spring, continue exploring.
Key Takeaways
- Shut off the outdoor water supply valve and open the hose bib to release remaining water pressure.
- Disconnect hoses completely from spigots and remove all attachments like spray nozzles and timers before draining.
- Coil drained hoses in three-foot loops and store them indoors in a temperature-controlled location like a basement.
- Apply foam insulation covers over exposed outdoor faucets to protect them from freezing temperatures throughout winter.
- Inspect stored hoses for cracks, splits, and corrosion before reconnecting them in spring for optimal performance.
Why Winterizing Garden Hoses Matters
When temperatures drop below freezing, the water trapped inside your garden hose becomes a serious problem. I want to explain why winterizing matters for your property and wallet.
Frozen water expands inside hoses, creating cracks and structural damage that can’t be repaired. When water freezes in connected hoses, it doesn’t just damage the hose itself—it can harm your home’s water lines. One night of freezing temperatures is enough to cause pipe breaks that lead to costly insurance claims.
The general temperature threshold is 32°F (0°C), below which standard garden hoses face significant risk. However, some freeze-resistant hoses maintain flexibility in freezing conditions. By disconnecting and draining your hoses before winter arrives, you’ll prevent water expansion damage and protect your investment effectively.
Shut Off the Water Supply
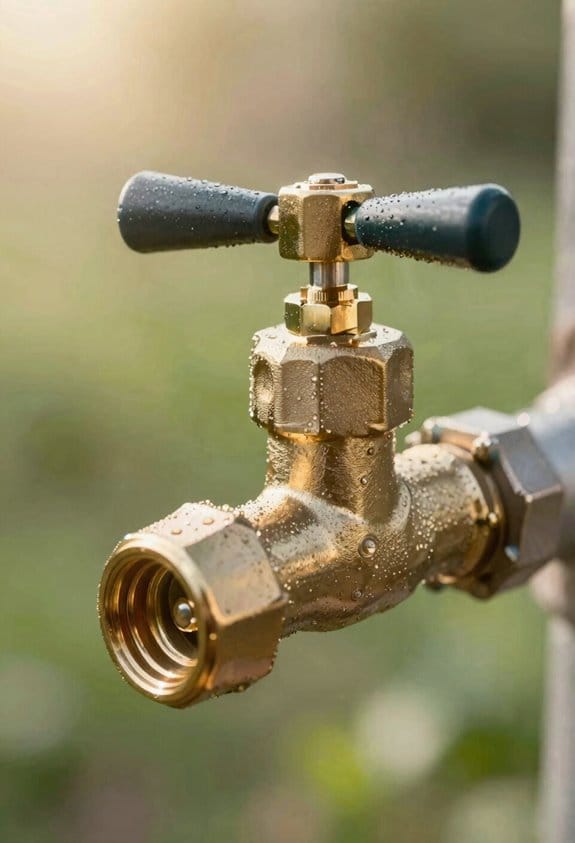
Before you disconnect any hoses, you’ll need to stop water from flowing into them by locating and turning off your outdoor water supply. The shutoff valve location is typically found outside your home, either in the basement or crawl space. Once you’ve shut off the main water supply, open your outdoor faucet to release any remaining water pressure trapped inside the system. This step prevents water from continuing to flow into the hose while you work. Check your faucet beforehand for leaks, since dripping water freezes more easily than still water. As a seasonal reminder, make sure to leave the hose bib open throughout winter after shutting off the water supply. This allows any residual moisture to escape naturally.
Recommended Products

SUBMERSIBLE DEEP WELL PUMP: 3.9-inch diameter well pump fits 4-inch diameter driven wells or larger; NSF/ANSI 372 certified for potable water

CUSTOMIZED LOOK: Mount the valve and spout at separate locations, providing the ultimate customization of your space

CUSTOMIZED LOOK: Mount the valve and spout at separate locations, providing the ultimate customization of your space
Disconnect and Drain Your Hoses
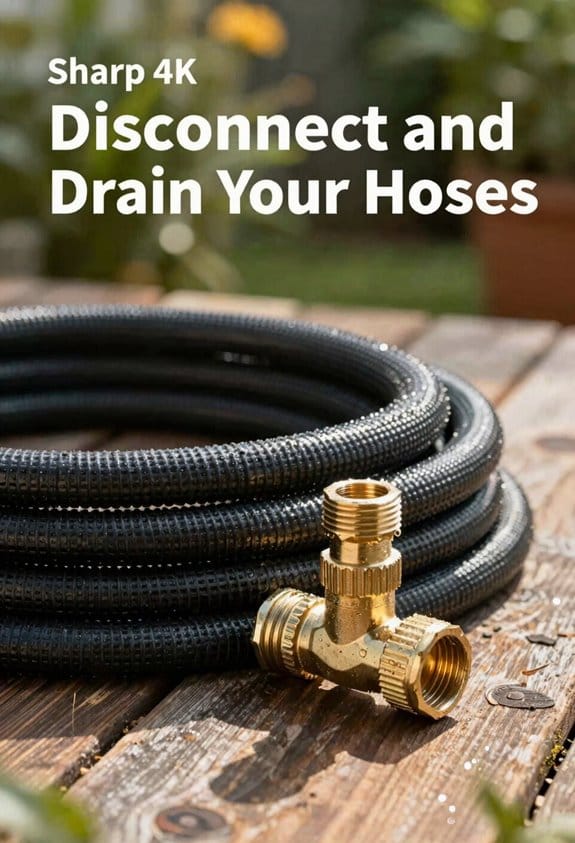
Now that you’ve shut off the water supply and opened your outdoor faucet, it’s time to physically remove your hoses from the system. Start by detaching each hose completely from the outdoor spigot, then remove all attachments like spray nozzles and timers. If you’ve connected multiple hose lengths together, separate them carefully. Before draining, untie any kinks or knots that’ve formed in the hose. For nozzle maintenance, drain spray nozzles separately to prevent sediment and ice buildup inside them. Consider hose labeling by marking which hose connects to which spigot, helping you reconnect everything correctly in spring. This organization saves time and prevents confusion when you’re ready to resume watering.
Recommended Products

Complete Aeration Kit Includes Everything You Need -- Compressor, airline, diffuser, and a faux rock composite cabinet engineered to blend into your outdoor landscape while protecting your equipment.


✅ Trusted Filtration; 2-stage water filtration features the 0.2 micron high flow filter by Blu Technology, and a charcoal/coconut shell carbon filter to improve taste; smaller micron size means greater filtration from your RV waterfilters - a new staple in RV accessories!
Coil and Store Hoses Indoors
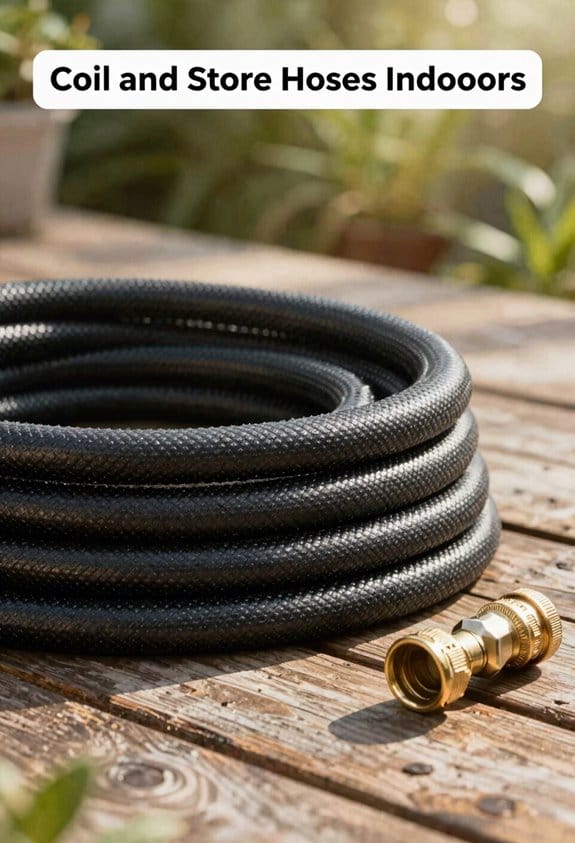
After you’ve drained your hoses completely, the next critical step is storing them properly to prevent damage during winter months. I recommend creating a kink free coiling technique by winding your hose into a circular coil approximately three feet in diameter. This method allows the hose to breathe properly, which prevents mold growth and long-term deterioration.
Once coiled, store your hoses in a temperature-controlled location like a basement or heated garage. Avoid unheated sheds or outdoor spaces where freezing temperatures can still cause damage. Breathable storage areas protect your hoses from extreme cold while maintaining adequate air circulation around the material.
Before spring arrives, inspect your stored hoses to make sure they’re ready for the upcoming watering season.
Recommended Products

Water Tank: Pressurized 10-gallon tank with easy-filling for large top-cap that simplifies replenishment, allowing low-effort access for on-the-go water needs

Water Tank: Pressurized 4-gallon tank with easy-filling for large top-cap that simplifies replenishment, allowing low-effort access for on-the-go water needs
Protect Hose Bibs From Freezing
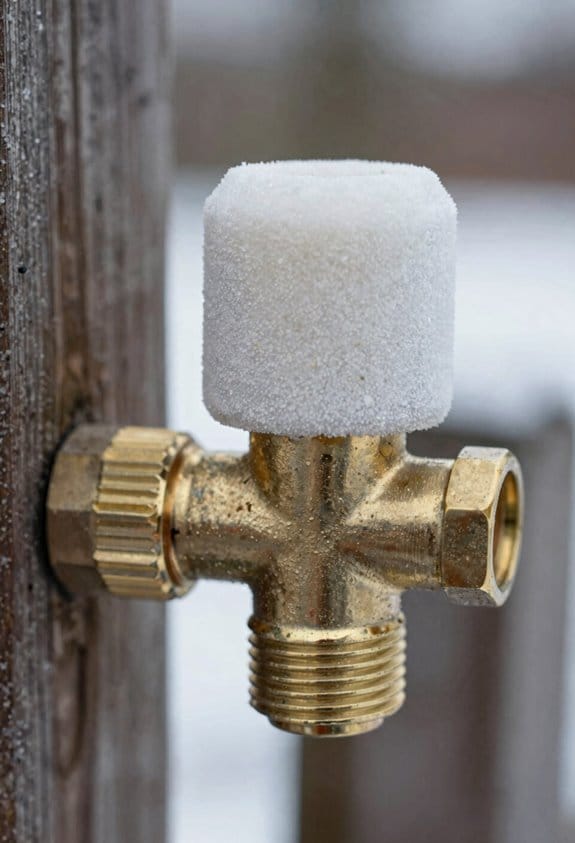
While your hoses are safely stored indoors for winter, I shouldn’t overlook the outdoor faucets that deliver water to them, since these hose bibs are vulnerable to freezing temperatures just like the hoses themselves. I recommend applying foam hose bib covers over exposed faucets for insulation. If I can’t shut off the water supply completely, I’ll use extra insulation around the connection points. For permanent protection, I might consider upgrading to a frost-proof hose bib, which prevents water from freezing inside. I should also insulate exposed piping leading to the faucet and drain any shut-off bleed valves if present. Additionally, I can install faucet timers to automate winterization tasks, reducing manual effort and ensuring consistent protection throughout cold months.
Recommended Products

Burst Proof & Stress-Free: Hydrants installed in insulated walls have 7x better freeze protection than brass. Automatically drains and seals to winterize outdoor faucet so you never need to use a foam cover on your wall hydrant again.

Burst Proof & Maintenance-Free - Hydrants installed in insulated walls have 7x better freeze protection than brass. Automatically drains and seals to winterize outdoor faucet so you never need to use a foam cover on your wall hydrant again.

COMPLETE MINI SPLIT COIL CLEANER SOLUTION - This kit has everything you need to deeply clean your ductless mini split air conditioner evaporator coil. Including a patented 360 coverage transparent mini split ac cleaning bag cover, Foam Blaster coil cleaner, Flow Tab drain treatment tablet, industrial duty spray gun, 9” angled spray wand, fan spray nozzle, collapsible bucket, and a 17-piece adapter to garden hose connection kit. Our expanding hose is sold separately.
Inspect Hoses Before Spring Use
As spring approaches and warmer temperatures return, I should thoroughly inspect my stored garden hoses before reconnecting them to outdoor faucets, since months of storage can reveal damage that affects performance and water safety. During my visual inspection, I’ll examine the hose for cracks, splits, or soft spots along its entire length, paying special attention to areas where kinks formed during storage. I’ll also check all connection points and attachments for corrosion or deterioration. After identifying any visible damage, I’ll perform pressure testing by attaching the hose to a faucet and running water through it, observing for leaks or unusual water pressure changes. If my hose shows significant wear, replacement guarantees reliable garden watering throughout the season.
Recommended Products
**POWERFUL B&S V-TWIN ENGINE:** Driven by a robust 23HP B&S V-twin double-cylinder gasoline engine (3600 rpm) with an electric start. Features a 6 gal fuel tank for reliable operations with highly efficient fuel consumption (under 6.7 L/h).

POWER OF GAS - This EGO riding mower is engineered to deliver the equivalent of 21 horsepower and mows at up to 6 MPH

UNDERHILL HC-TRL-100 HOSE CADDIE TRAILER: Includes our commercial quality outdoor hose reel, full size golf cart tires, and hubs for smooth use. The strongest hose trailer on the market.
Frequently Asked Questions
Can I Leave My Garden Hose Connected Outside During Winter if I Use a Freeze-Resistant Hose?
Yes, you can leave a freeze-resistant hose connected outside during winter. I’d recommend verifying it has freeze-tested fittings and checking the manufacturer warranties to guarantee your specific model’s winter durability before doing so.
How Often Should I Drain My Hose if Temperatures Fluctuate Between Freezing and Thawing?
I’d drain your hose daily during freeze-thaw cycles—ironic that you’re winterizing yet still battling temperature swings. Daily checks prevent ice buildup. Spring inspections confirm no cracks formed. Consistent drainage beats gambling on fluctuations.
What’s the Best Way to Remove Stubborn Kinks From a Hose Before Storage?
I’d recommend using a heat gun to gently warm stubborn kinks, making the hose more pliable. Alternatively, you can invest in a hose stretcher tool, which mechanically straightens problem areas effectively before storage.
Can I Store Garden Hoses in an Unheated Garage if I Use Extra Insulation?
I’d advise against it—an unheated garage is like a freezer box where extra insulation can’t fully protect your hoses. Poor garage ventilation traps moisture, causing deterioration. I recommend insulated storage in basements instead for reliable winter protection.
How Long Can a Properly Winterized Hose Stay in Storage Before Needing Replacement?
I’d say a properly winterized hose typically lasts 5-10 years in storage, depending on material degradation and lifespan estimates. You’ll want to inspect yours annually for cracks or brittleness before each season.