

Start by testing your soil’s pH and nutrient levels through your local cooperative extension office. Work the soil when it’s moist like a damp sponge, avoiding wet or dry conditions that cause compaction or clumping. Use a garden fork to loosen the top 6–8 inches without flipping layers, or try a broadfork for heavy clay soil. Add 3–4 inches of compost, incorporate organic fertilizers, and finish with mulch. These steps preserve beneficial microorganisms while preparing ideal growing conditions for spring planting, though each technique requires specific knowledge for best results.
Key Takeaways
- Test soil pH and nutrient levels in spring using a cooperative extension kit to guide amendments.
- Use a garden fork or broadfork to loosen soil 6–8 inches deep without damaging beneficial microorganisms.
- Work soil when moist but not waterlogged to prevent compaction and structure damage.
- Incorporate 3–4 inches of compost into the top 6–8 inches to boost microbial activity.
- Work backwards through beds when aerating to avoid recompacting loosened soil during preparation.
Start With a Spring Soil Test
Before you add anything to your garden bed, I’d recommend starting with a soil test, since you’ll want to know exactly what nutrients your soil already has and what it needs. I contact my local cooperative extension office to obtain a soil diagnostics kit, which provides accurate pH and nutrient level measurements. The lab results guide my amendment decisions, telling me whether I need lime to raise pH or elemental sulfur to acidify the soil. Spring testing works well, though fall testing also gives me time to prepare before planting season. These soil diagnostics eliminate guesswork, ensuring I apply only necessary amendments for peak plant growth rather than wasting money on unnecessary additions.
Time Your Soil Work: The Moisture Sweet Spot
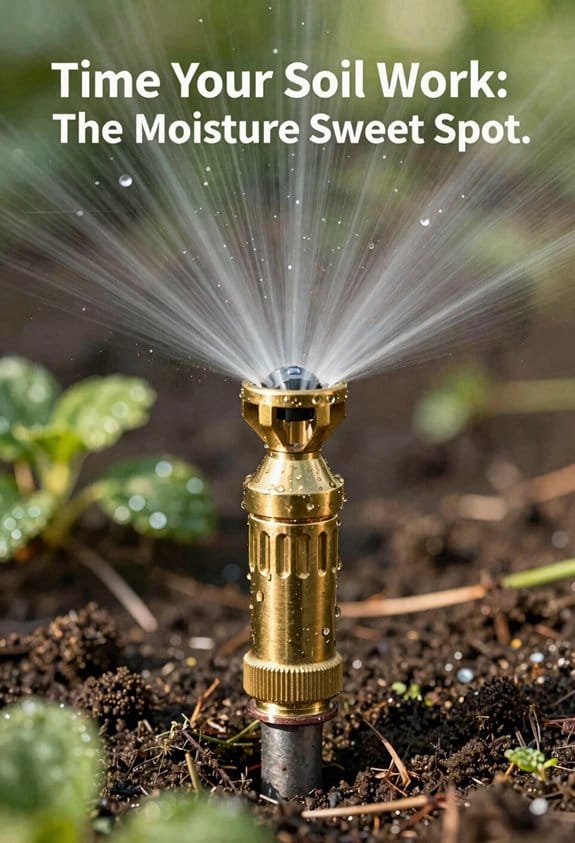
Once you’ve completed your soil test and identified what amendments you need, the timing of your soil work becomes crucial to success. I’ve learned that soil timing depends heavily on moisture balance—the critical factor that determines whether you’ll improve or damage your garden bed.
You’ll want to work your soil when it’s moist but not soggy. If the soil’s too wet, you’ll compact it and ruin its structure. Conversely, overly dry soil resists loosening and breaks into hard clumps. The ideal condition feels like a damp sponge that crumbles easily in your hand.
Spring offers good opportunities for soil work after winter, provided conditions are right. However, fall preparation often minimizes spring disruption while benefiting your soil’s microbial community.
Garden Fork or Spading Shovel: Pick the Right One
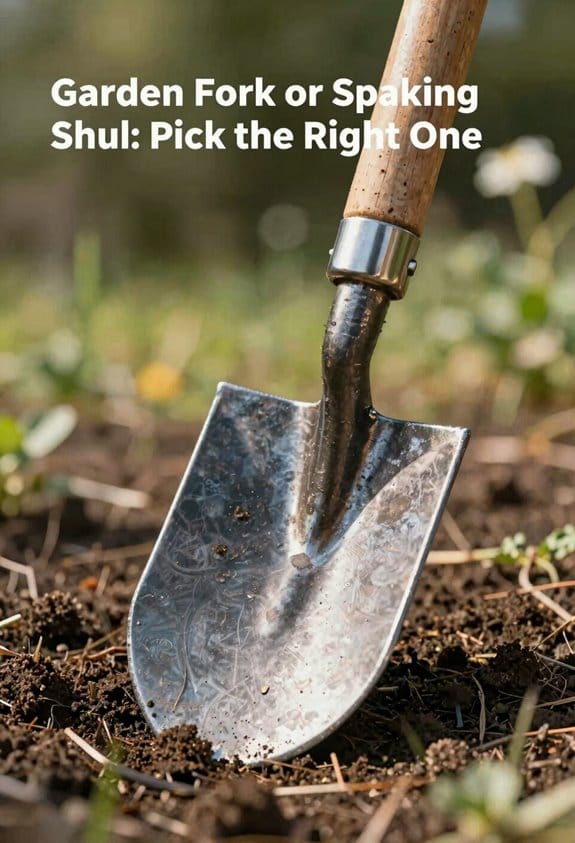
Now that you’ve identified the right moisture conditions for your soil work, selecting the proper tool makes all the difference in how effectively you’ll prepare your garden bed. A garden fork loosens soil without flipping layers, making it ideal for aeration and incorporating compost. A spading shovel, however, turns and breaks apart large soil clumps through its design. When choosing between them, consider handle comfort—you’ll be working extended periods, so grip and weight matter greatly. The blade width affects your work efficiency; wider blades cover more ground but require more strength. For heavy clay soil, a digging fork’s tines penetrate effectively. Assess your soil type and physical capability when selecting your primary tool to make certain comfortable, productive garden preparation.
Recommended Products

Compact but Tough: Our front loader machine features a small but high-performance 23.5hp hp EPA engine for smooth functionality and easy maintenance. Compact but powerful, this skid steer can withstand intensive construction projects without sacrificing performance.

【Powerful & Versatile Workhorse】 Tackle a massive range of projects with a robust 23 HP engine and an impressive 840 lb lifting capacity. This machine is your go-to for demanding tasks like lifting heavy pallets of pavers, moving large landscaping rocks, and hauling construction materials with ease.

A must-have hand tool for every gardener. This hand rake is perfect for weeding, loosening and transplanting soil, turning, and spreading mulch in preparation for planting flowers and vegetables. Includes durable stainless steel tines and ergonomic handle.
Mistakes to Avoid Before You Break Ground
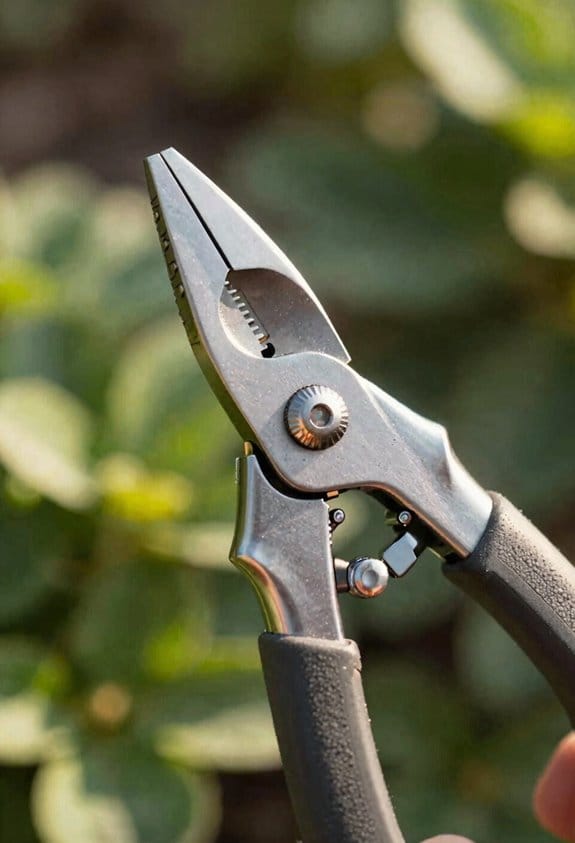
While having the right tool in hand sets you up for success, many gardeners make costly mistakes before they even start digging. One major error is over tilling dangers—repeatedly working your soil damages its structure and kills beneficial microorganisms. I’ve seen gardeners destroy years of microbial development in a single season by over-tilling.
Another critical mistake involves seedbed sanitation. You’ll want to remove debris, rocks, and old plant material that harbor pests and diseases. Neglecting this step invites problems into your new garden.
Timing matters too. Working soil when it’s waterlogged causes compaction and destroys structure. Wait until soil is moist but crumbly. Additionally, skipping a soil test leaves you guessing about pH and nutrient needs. These oversights compromise your entire growing season before you plant a single seed.
Loosen Compacted Soil Without Ruining It
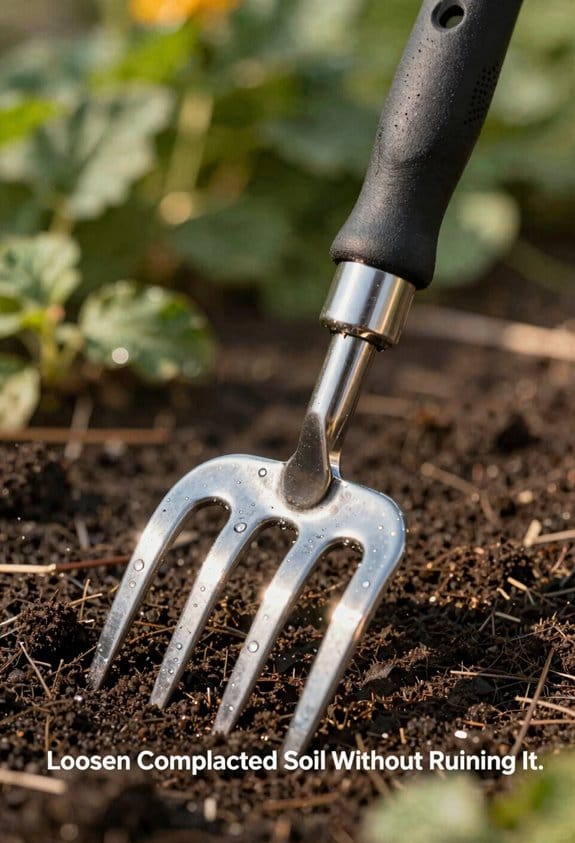
After winter’s weight and repeated foot traffic compress your garden beds, you’ll need to restore the soil’s structure carefully, using tools that aerate rather than destroy. I recommend using a broadfork or garden fork as double digging alternatives, since they add loft without inverting soil layers. These tools work effectively for loosening the top 6-8 inches of compacted earth.
When employing root probing techniques, gently work backwards through the bed to avoid recompacting turned soil. This method allows roots to penetrate deeper and improves drainage plus oxygen availability. For clay soil, consider adding sand, perlite, or gypsum after aerating to enhance structure further. Timing matters too—work only when soil feels moist but not soggy, ensuring you won’t damage the soil’s delicate organization or bruise its structure.
Recommended Products

EFFICIENT SOIL AERATION – The DeWit 31-9114 DeWit Grelinette Galvanized Broadfork is designed for efficient soil aeration, which reduces soil compaction and improves plant growth. The unique design allows you to work deep into the soil without disturbing the natural soil structure, making it the perfect “tiller” for the environmentally conscious gardener.
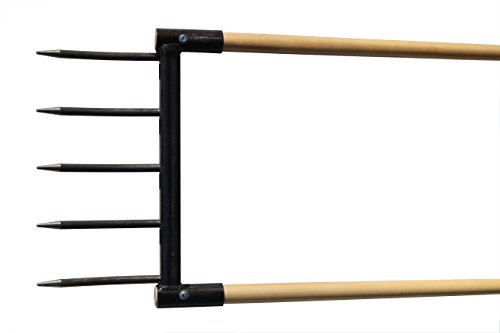
LIGHTWEIGHT - Only 14 lbs. - 6.4kg. Comfortable. Easy to use. Strong.

Add the Right Amount of Compost
Compost serves as the foundation for building healthy garden soil, and getting the application amount right makes all the difference in how well your plants will grow. For new gardens, I apply a 3-4 inch compost depth to establish strong nutrient balance and soil structure. If you’re working with an established garden, I use 1/2-1 inch annually, which maintains fertility without overwhelming existing soil composition. Well-rotted manure works similarly, enriching nutrients while improving water retention and aeration. When I incorporate compost using a garden fork, I work it into the top 6-8 inches thoroughly. The organic matter enhances microbial activity and root development, creating an ideal environment for successful plant growth throughout your growing season.
Fix Clay-Heavy Soil With Hand Tools
Heavy clay soil presents a significant challenge for gardeners because it compacts easily, drains poorly, and restricts root growth, but you can improve it dramatically using basic hand tools and targeted amendments. I recommend using a broadfork or garden fork to aerate the top 6-8 inches, which creates channels for root penetration techniques without inverting soil layers. Work backwards as you loosen the soil to prevent recompacting your efforts.
After aerating, I incorporate sand, perlite, or gypsum to break up clay structure. Adding 3-4 inches of compost introduces clay busting microbes that naturally improve soil biology. These microorganisms help break down clay particles over time while enhancing drainage and nutrient availability. This combination of mechanical loosening and organic amendments transforms heavy clay into workable, fertile soil suitable for spring planting.
Recommended Products


Unbreakable Design--The tines of the garden fork on both sides are made by cutting a single steel plate. Then, holes are drilled precisely to insert the cross pipe and the vertical pipe for welding, achieving an integrated and seamless effect.

Broadfork
Sprinkle In Organic Fertilizers and Amendments
Once you’ve loosened and aerated your clay-heavy soil, adding organic fertilizers and amendments gives your garden the nutrients it needs to thrive. I recommend sprinkling greensand, rock phosphate, and kelp meal across your prepared bed. These organic fertilizers release nutrients slowly, feeding plants throughout the growing season while building soil health. Soil amendments like aged compost work alongside these fertilizers to improve structure and water retention. After distributing your amendments, work them gently into the top few inches using your garden fork. This integration guarantees nutrients reach root zones where plants can access them. Consider planting cover crops like clover or fava beans for added nitrogen. These practical steps establish a nutrient-rich foundation for successful spring gardening.
Recommended Products

IMPROVES SOIL STRUCTURE & NUTRIENT AVAILABILITY- GS Plant Foods Humic Acid Soil Amendment supports healthy soil by enhancing cation exchange capacity and helping the root zone access existing nutrients in the soil more efficiently. Derived from high-quality Leonardite.

Organic Compost Blend: Enhance the nutrient content and soil quality of lawns and raised garden beds with this organic blend, promoting healthy plant growth and soil vitality

Choose Mulch or Cover Crops for Spring Protection
After you’ve worked in your organic fertilizers and amendments, protecting your garden bed with mulch or cover crops helps retain moisture, suppress weeds, and regulate soil temperature as spring weather shifts unpredictably. Your mulch selection determines how effectively you’ll manage these factors. Straw or shredded leaves provide excellent insulation and moisture retention without introducing seeds. For cover crop choices, consider clover, rye, or fava beans, which add nitrogen while protecting bare soil. Clover establishes quickly and fixes atmospheric nitrogen for your plants. Rye grows vigorously, improving soil structure and preventing erosion. Fava beans enrich soil with additional nutrients. Apply mulch two to three inches thick around plants, keeping it away from stems. Till cover crops into soil six weeks before planting vegetables.
Using a Broadfork for Maximum Soil Loft
A broadfork stands as one of the most effective tools you’ll use for loosening compacted spring soil without damaging its structure or flipping layers that contain beneficial microorganisms. When you push the broadfork’s tines into the earth and rock the handle backward, you create loft measurement that aerates your garden bed to approximately 6-8 inches deep.
I recommend working backwards as you progress, preventing you from compacting soil you’ve already loosened. This technique opens passages for root penetration and improves drainage markedly. Broadfork maintenance involves cleaning the tines after each use and storing it in a dry location to prevent rust.
This labor-intensive method requires physical effort, yet it preserves your soil’s delicate ecosystem while preparing prime conditions for spring planting.
Recommended Products

HIGH QUALITY MATERIAL - The Gardening Fork has a four-prong head, which is forged from solid stainless steel. The long spade handle is made of solid ash.

Broadfork gardening

【High-Strength Steel & Vibrant Rust-Resistant Coating】Built from high-strength steel with high-frequency welding, this broadfork handles heavy-duty tasks with ease. The reinforced triangular structure at the handle-to-tine connection provides enhanced stability, reducing wobbling when tackling compacted clay or tough soil. The surface features a high-visibility orange powder coating that is rust-resistant, offering reliable protection and making it easy to locate in your garden.
Frequently Asked Questions
How Often Should I Conduct Soil Tests After the First Year?
I’d recommend you conduct soil tests annually thereafter, with seasonally adjusted timing in spring or fall. This helps me monitor nutrient levels and pH changes, ensuring I’m maintaining ideal conditions for my plants’ growth.
Can I Prepare Garden Soil in Spring if Winter Was Particularly Wet?
I’d wait until the soil’s moist but not soggy before working it. If your garden’s waterlogged, consider raised beds or plant cover crops like clover to improve drainage while you wait for drier conditions.
What’s the Difference Between a Broadfork and a Garden Fork?
I’ll explain the key distinction: a broadfork features two handles and parallel tines for manual aeration without inverting soil layers, while a garden fork has a single handle with four tines for turning and loosening soil more aggressively.
How Long Does It Take for Organic Matter to Improve Soil Structure?
You’ll see improvements within weeks, though I’ve found soil structure truly transforms over months as compost curing progresses. Microbial activity accelerates this process, making consistent organic matter additions your best investment.
Should I Remove Old Mulch Before Applying New Spring Amendments?
I’d recommend removing old mulch to refresh edges and remove debris before applying new spring amendments. This lets you work amendments directly into soil, ensuring ideal nutrient distribution for your garden’s growth.