First, I’ll inspect the valve to determine if you’ve got a tubeless or tubed tire, which guides my repair approach. Next, I’ll remove the wheel and assess the puncture size—small tread holes work well for patches, while larger tears require tube replacement. For quick fixes, sealant foam offers temporary relief, though permanent patching costs around ten dollars and lasts longer. After repairing the tube or applying a plug, I’ll reseat the tire carefully, inflate it slowly while watching for rim leaks, and confirm it holds pressure. The specific steps vary depending on your tire type and damage severity.
Key Takeaways
- Identify whether your wheelbarrow tire is tubeless or tubed by inspecting the valve area before attempting repairs.
- Use soapy water to locate small punctures and determine if patching or tube replacement is necessary.
- Apply rubber cement to the puncture area and press a patch firmly for tubed tires to create lasting bonds.
- For tubeless tires, insert a plug into tread punctures using specialized plug repair tools for quick fixes.
- Reseat the tire carefully by aligning the valve and working the tire bead under the rim lip incrementally.
Identify Your Tire Type Before You Start
Before you can repair your wheelbarrow’s flat tire, you’ll need to identify what type of tire you’re working with, since the repair method depends on this distinction. I recommend performing a visual inspection of your tire’s valve area first. If you see an air valve attached directly to the rim itself, you’re dealing with a tubeless tire. However, if the valve appears to be fixed to a removable inner tube, you have a tubed tire instead. This valve placement difference matters considerably because tubed tires require traditional patching methods, while tubeless tires need plug repair tools. Understanding your tire type before starting prevents wasted effort and guarantees you use the correct repair approach for your specific wheelbarrow.
Recommended Products

REPAIR ANY KIND OF OFF-ROAD SxS TIRE DAMAGE - Everything you need to repair sidewalls, replace valve stems, plug punctures, and inflate your tire in one comprehensive tire repair patch kit (no need for a compressor).

ALL-IN-ONE OFFROAD TIRE REPAIR SOLUTION: Easily fix sidewall damage, replace valve stems, and plug punctures with one compact, heavy-duty kit. Perfect for ATV, UTV, SxS, and dirt bike tubeless tires on the trail or in the garage.

Seals Punctures Instantly – Quickly seals leaks up to 1/4 inch in diameter in the tread area, keeping tires inflated and vehicles moving without delay
Decide: Quick-Fix or Permanent Repair
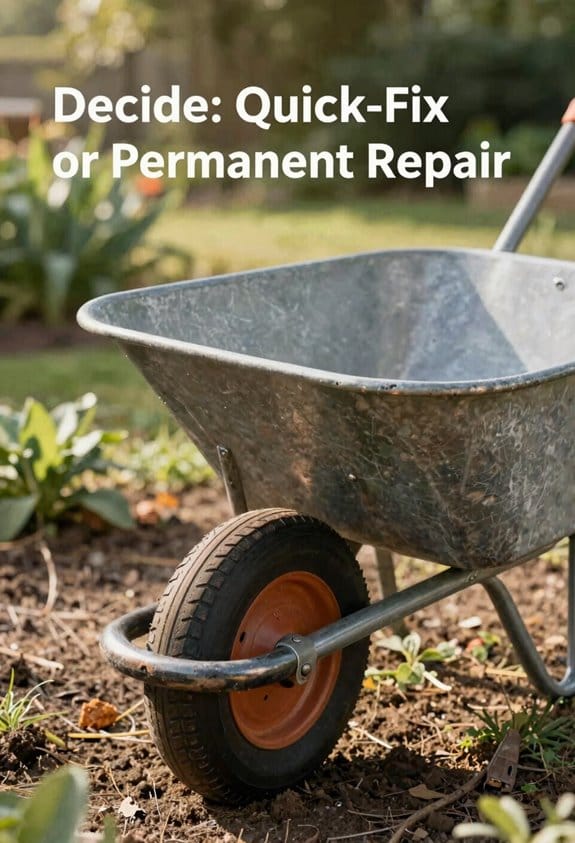
Once you’ve identified your tire type, the next decision involves choosing between a quick-fix solution and a permanent repair, since each approach offers different benefits and drawbacks. Quick-fix methods like tire sealant foam or slime provide immediate relief when you’re in a hurry, though they’re temporary solutions requiring eventual proper repair. Permanent repairs, such as patching tubed tires or replacing tubes entirely, demand more time and effort but offer lasting results. Consider your long term planning needs when deciding. If you’ll use the wheelbarrow frequently, a permanent repair makes sense—think of it like buying versus lease commitments. Investing in proper patches costs roughly $10, making permanent solutions economical. However, if you need immediate functionality, quick-fixes buy you time until you can perform thorough repairs later.
Recommended Products

Universal Compatibility: Flat free wheelbarrow tires fit many sizes from 13” to 16”, wheelbarrow tires replacement for 4.80/4.00-8, 4.00-6, and 3.50/3.00-8. And wheelbarrow tires fit for gardon carts, trailers and dolly

Fix a flat tire caused by thorns, nails, screws or other punctures up to 3/8" in the sidewall and tread

COMPLETE TIRE REPAIR KIT - The GlueTread complete off-road tire repair kit is the ultimate solution for any kind of tire damage, including punctures, sidewall damage, and valve stems. Suitable for use on multiple off-road types of tires, including 4X4's, UTV's, ATVs, Tractors, Golf carts, and more.
Remove the Wheel and Tire From Your Wheelbarrow
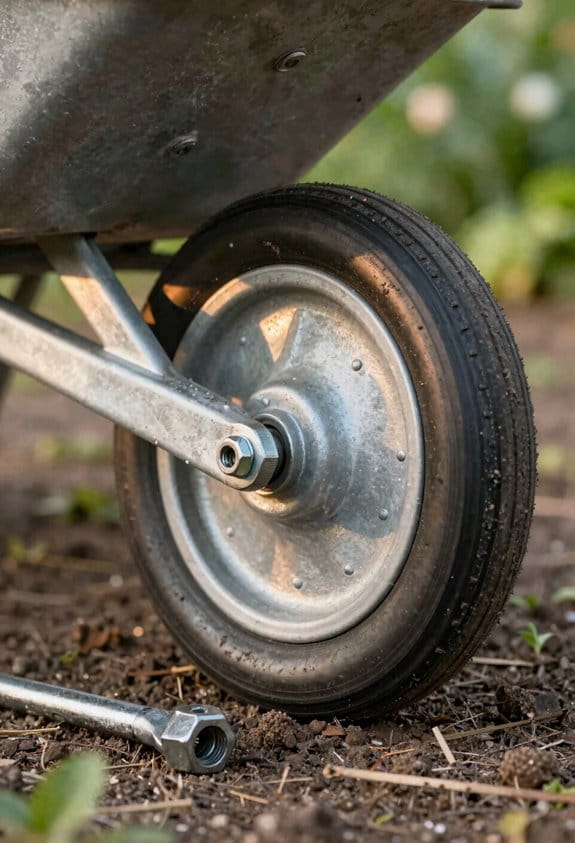
Now that you’ve decided whether you’ll pursue a quick-fix or permanent repair, you’ll need to remove the wheel and tire assembly from your wheelbarrow so you can access and work on the damaged tire. First, I’ll loosen the brackets that hold the axle to the wheelbarrow frame using a wrench, removing one or both depending on your wheelbarrow’s design. Before detaching anything, I label parts with tape or markers so I can reassemble them correctly later. Once the brackets are loose, I carefully slide the wheel off the axle. With the wheel removed, I’m ready to separate the tire from the rim using a flathead screwdriver, which I’ll insert between the tire and rim edge to begin the removal process.
Recommended Products

COMPREHENSIVE 4×4 FLAT TIRE REPAIR KIT - Be prepared for 99% of anything the trails throw at you with the MORRFlate Xtreme 4×4 tire repair kit. This comprehensive kit includes everything you need to handle tread punctures, sidewall punctures, sidewall gashes, valve stem issues, and more.

[Repair Tread & Sidewall Injuries] Permanently repairs punctures in the tread area and gouges in the sidewall in non-highway tires. Provides temporary emergency repair for tread area punctures in highway tires.

Solid Tire Construction: This 4.80/4.00-8 dolly wheels is constructed from durable polyurethane foam; It eliminates the need for inflation and the inconvenience of frequent maintenance, offering robust wear resistance and protection against punctures on rough terrains; The recommended using temperature range for these tires is 50°F to 100°F; If the temperature exceeds 100°F, the usage time should not exceed two hours to ensure optimal performance
Assess the Puncture and Choose Your Method
With the wheel now removed from your wheelbarrow, I can inspect the tire and tube to determine the best repair approach. First, I’ll examine the tube carefully for punctures, tears, or damage. Using soapy water helps reveal small leaks that aren’t immediately visible. I’ll also check the rim for sharp edges or rim corrosion that might’ve caused the damage. Next, I’ll assess the puncture’s size and location. Small holes in the tread are ideal for patching, while large tears require tube replacement. I’ll test the inflation pressure to understand how severe the leak is. Once I’ve identified the damage, I can choose between traditional patching, sealant foam, or slime solutions based on the puncture’s severity and my available tools.
Recommended Products
SPECIFICATIONS: This compressor delivers fast, smooth airflow with a 1HP twin-cylinder motor, 8-gallon tank, and 115 PSI max pressure—ideal for powering air tools...
Patch, Seal, or Plug the Hole
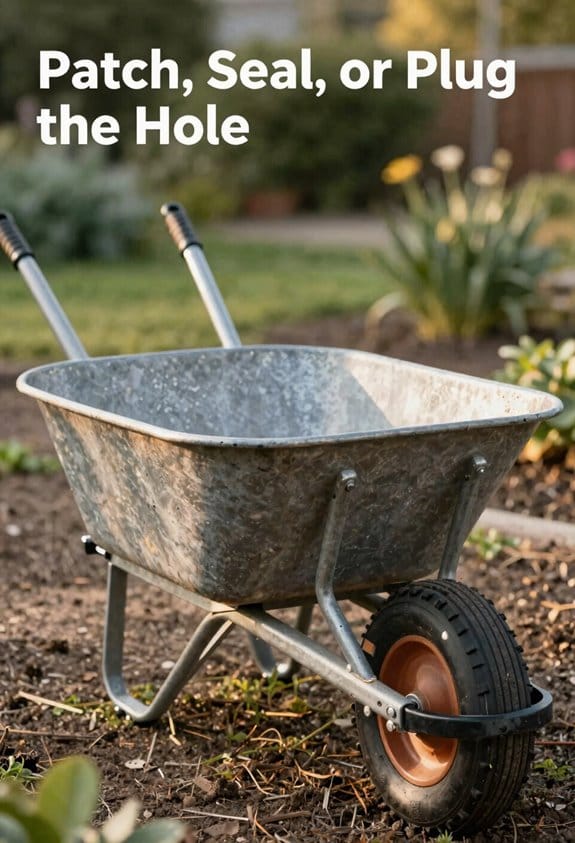
Depending on the puncture’s size and location, I’ll choose between three effective repair methods: traditional patching for small holes, plug repair for tubeless tires, or quick-fix sealants for temporary solutions.
For tubed tires, I’ll use the patching method. I rough the tube’s surface with an abrasive pad, apply rubber cement around the hole, and press a patch firmly over it. This chemical cures the bond between patch and tube. Unlike heat vulcanization, which professionals use in factories, home patch kits rely on adhesive chemistry.
For tubeless tires, I’ll insert a plug directly into the tread puncture using specialized tools. Quick-fix sealants like foam or slime offer temporary relief when I need immediate solutions, though they may require permanent repair later.
Get the Tire Back on the Rim
Once I’ve successfully patched, plugged, or sealed the puncture, I need to reseat the tire back onto the rim so it holds air properly and functions safely. First, I position the inner tube between the tire and rim, working it carefully around the entire circumference. Next, I align the valve through the rim hole, pushing and pulling until it sits correctly. Using a flathead screwdriver, I apply incremental downward pressure on the handle to work the tire beneath the rim lip progressively around the wheel. For stubborn bead seating, I wrap ratcheting cargo straps around the tire’s circumference, then gradually tighten them like a tourniquet to expand the bead against the rim. Finally, I inflate carefully while monitoring the seal.
Test Your Repair and Inflate
After I’ve carefully worked the tire back onto the rim, I need to test my repair before putting the wheelbarrow back into service. I’ll inflate the tire slowly, which allows me to monitor the seal and catch any leaks before full pressure builds up. Using a pressure gauge, I can check that the tire reaches the proper inflation level without over-inflating and damaging the repair. As the tire inflates, I’ll watch for bubbles around the rim-bead joint, which indicates loose spots needing attention. Once the tire holds air at the correct pressure without leaking, I know my patch or tube replacement succeeded. If everything looks good, I can deflate slightly, remove the pump, and reattach the wheel to the wheelbarrow.
Frequently Asked Questions
How Much Money Can I Save by Repairing Instead of Replacing a Wheelbarrow Tire?
I’d save substantial money by repairing instead of replacing. A patch kit costs roughly $10 or less, while a new tire runs considerably higher. You’ll also reduce environmental impact by avoiding waste.
What Safety Precautions Should I Take When Removing a Wheelbarrow Wheel?
Like a ship needs an anchor before launching repairs, you’ll want to wear gloves and eye protection, secure the wheelbarrow frame, block the wheel, disconnect handles, release air, and use a jack for safe removal.
How Long Does a Patched Tube Typically Last Before Needing Replacement?
I’d say a patched tube’s typical lifespan depends on wear factors like usage frequency and terrain. Most patches last several years with moderate use, though heavy-duty applications might require replacement sooner.
Can I Repair a Tubeless Tire Using the Same Methods as Tubed Tires?
No, I can’t use tubed tire patching methods on tubeless tires. You’ll need a tubeless plug tool for tread punctures and rim sealant for bead leaks—completely different repair techniques than patching inner tubes.
What Should I Do if My Tire Keeps Losing Air After Patching?
I’d first check your valve—it’s often the culprit, not the patch. Next, inspect rim alignment carefully; improper seating causes persistent leaks. If both check out, you’ll likely need a replacement tube instead.


