

I can build a raised garden bed using tools I probably already own: a cordless drill, handsaw, measuring tape, and clamps. I’ll start by marking my bed’s shape with string, then cut cedar boards to size for natural rot resistance. After assembling the frame with decking screws and corner bracing, I’ll line it with landscaping fabric, add drainage layers, and fill with quality soil. This budget-friendly approach transforms any gardener’s space, and there’s considerably more to learn about optimizing each step.
Key Takeaways
- Use a cordless drill with decking screws instead of nails; handsaw eliminates need for expensive power saws.
- Cedar boards naturally resist rot; 1×6 and 1×4 boards with 2×8 frame provide sturdy structure affordably.
- Mark bed shape with canes and string; remove turf and fork soil for proper preparation.
- Measure diagonals to ensure squareness; use clamps and a spirit level for accurate alignment without costly equipment.
- Line bottom with landscaping fabric and add soil layers; water thoroughly and inspect twice yearly for maintenance.
Skip the Expensive Tools
When you’re planning to build a raised garden bed, you might think you’ll need a workshop full of equipment, but you can actually get by with just a handful of basic tools that most people already have at home. A cordless drill handles all your screwing needs without requiring pilot holes when using decking screws. For cutting lumber, a handsaw works just fine, eliminating the need for expensive power saws. Budget friendly hacks include using clamps to hold boards steady during assembly, a measuring tape for ensuring square corners, and a spirit level for checking alignment. These power tool alternatives keep costs down while delivering professional results. A spade prepares your foundation by digging the shallow trench your bed requires.
Materials for Your Raised Bed
You may be interested



Selecting the right materials sets the foundation for a successful raised garden bed, and your choices will determine how long your bed lasts and how well it functions. Cedar offers significant benefits for outdoor projects because it naturally resists rot, extending your bed’s lifespan without chemical treatments. Consider cedar boards in 1×6 and 1×4 sizes for peak durability.
For fastening, you’ll want 2.5-inch decking screws or 2-inch wood screws—at least twenty for a basic frame. Decking screws require no pilot holes, simplifying assembly considerably. You’ll also need 2×8 pine boards for the frame structure and 4×4 corner posts that provide essential stability.
Optional materials include galvanized steel fencing wire and landscaping fabric. These additions help retain soil and prevent weed growth, though they’re not absolutely necessary for basic functionality.
Prepare Your Site
Before you assemble your raised bed frame, you need to prepare the ground where it’ll sit. First, mark your bed’s shape using canes and string so you know exactly where to work. Next, consider soil testing to understand your ground’s composition and drainage capabilities. Remove any turf and fork the soil to break it up, which helps with water access and root penetration. For shallow beds under 50 centimeters, this preparation is usually sufficient. However, if you’re building deeper beds over 50 centimeters, dig a shallow trench and add rubble or inverted turves for drainage. Make sure your site is relatively level, similar to a garage floor or patio, so your frame sits evenly and water distributes uniformly throughout your bed.
Cut and Measure Your Lumber
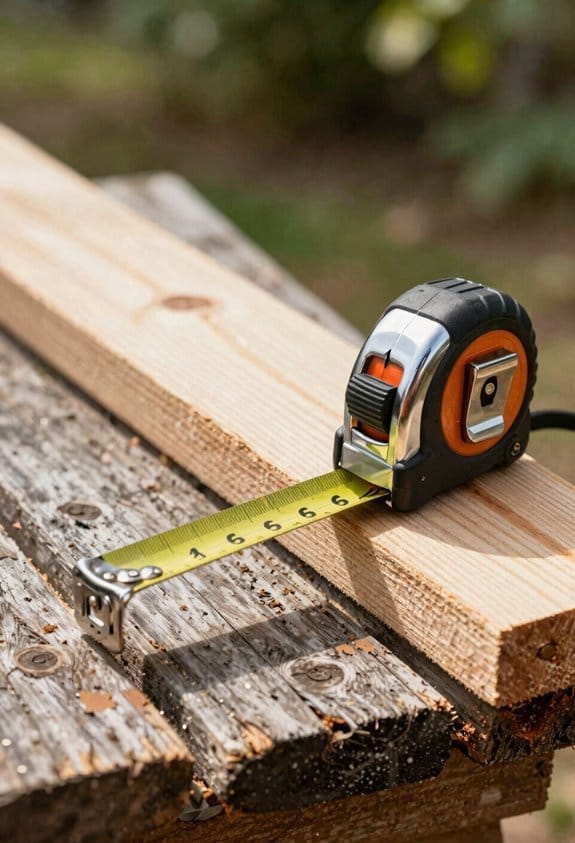
Now that you’ve prepared your site, it’s time to gather your lumber and cut it to the correct lengths so your frame pieces fit together properly. Consider using precision marking with a measuring tape and pencil to avoid costly mistakes. Cut your 2×8 boards into 7-foot and 4-foot lengths, while 2x4s should be cut to 4 feet, 80 inches, and 14 inches depending on their purpose. Your 4×4 corner posts need cutting to your desired wall height, plus an extra 10.5 inches for ground support. This waste minimization approach makes certain you’re using materials efficiently and reducing expenses. Double-check all measurements before cutting, since accuracy during this stage prevents problems during assembly.
Assemble Your Raised Bed Frame
With all your lumber cut to the correct lengths, you’re ready to begin putting the frame together, which requires careful positioning and secure fastening to guarantee your bed stays square and stable. Start by laying two 4×4 corner posts on level ground, spacing them according to your bed’s short side length. Position your 2×6 boards flush against these corners, then use your cordless drill to drive 2.5-inch decking screws through the boards into the 4×4 centers. Stand the short sides upright and measure diagonals to assure squareness. Attach long boards the same way. Finally, add landscaping fabric as a pest barrier before filling with soil, which you can test for ideal growing conditions.
Brace the Corners
To keep your raised bed frame strong and prevent it from racking (twisting out of square), you’ll need to add vertical bracing at each corner. Consider installing vertical batons at every corner for multi-layer stability. These reinforcements work like internal supports that hold your boards in their proper positions.
For additional strength, consider using diagonal strapping or gusset plates. Diagonal strapping runs at angles across corners, distributing stress evenly throughout the frame. Gusset plates, which are triangular metal or wood pieces, connect two boards at right angles and prevent shifting.
Install these braces before filling your bed with soil, since the weight will increase pressure on the frame markedly. Pre-drill your screw holes to prevent wood splitting, then secure everything firmly using your cordless drill.
Line, Drain, and Fill
Your raised bed frame is now ready to set up for planting, and the next steps involve preparing the interior to support healthy plant growth. I’ll line the bottom with landscaping fabric, which prevents weeds while allowing water management to occur naturally through drainage holes. Before filling, I consider soil testing to understand nutrient levels and pH balance, ensuring my plants have ideal growing conditions. I layer the bed strategically: placing inverted turves or rubble at the bottom for drainage, then adding quality garden soil mix on top. This approach prevents waterlogging while maintaining proper moisture retention. Once layered and settled, I’m ready to plant seeds or seedlings directly into the prepared bed, completing the foundation for a productive garden.
Plant Your Garden
Now that I’ve lined and filled my raised bed with quality soil, I can begin planting my garden. I’ll start by deciding which vegetables or flowers I want to grow, then arrange them according to their space requirements. Succession planting helps me extend my harvest throughout the season by planting seeds every two weeks instead of all at once. Companion planting, the practice of growing certain plants together because they benefit each other, also improves my garden’s productivity. For example, I might plant tomatoes near basil, which repels harmful insects. I’ll follow the spacing guidelines on seed packets to make sure each plant has adequate room for growth. After planting, I’ll water thoroughly and monitor my garden regularly for healthy development.
Prevent Wood Rot and Settling
Longevity of a raised garden bed depends heavily on protecting the wood from decay and preventing the structure from settling unevenly into the soil. Consider you use cedar for its natural rot resistance, which extends the bed’s lifespan markedly compared to untreated pine. To elevate bed performance, install it on a level surface or shallow trench, which improves drainage and reduces moisture accumulation against wood. Airflow promotion around the structure prevents moisture trapping that causes decay. I suggest you perform regular inspections twice yearly, checking for soft spots, discoloration, or gaps between boards. These signs indicate rot development. Address problems early by replacing damaged sections. Adding a gravel base layer under the bed further enhances drainage. These preventative measures make certain your raised bed remains stable and functional for years.
For a useful next step, prepare garden soil with hand tools and understand how mulch affects soil. These guides cover the related maintenance or buying decision without changing the task explained here.
Frequently Asked Questions
How Long Does It Typically Take to Build a Raised Garden Bed From Start to Finish?
I’d estimate you’ll spend 2-3 hours total. The project stages—site prep, cutting lumber, assembly, and filling—move quickly without expensive tools. You’re looking at roughly an hour per major phase, depending on your bed’s size.
What Is the Ideal Soil Depth for Growing Vegetables in a Raised Bed?
Consider at least 12 inches of soil depth for most vegetables, though 18 inches is ideal. This depth accommodates root development and creates better soil structure, giving your plants room to thrive and establish strong root systems.
Can I Build a Raised Bed Directly on Grass Without Removing It First?
You can build directly on grass if you’ll use a weed barrier or sheet mulch underneath. Consider laying landscaping fabric first—it’ll prevent grass from growing through and creating problems later.
How Often Should I Water Plants in a Raised Garden Bed?
Consider checking your bed’s moisture daily—you’ll want to water when the top inch feels dry. Watering frequency depends on rainfall, temperature, and soil type, so I adjust based on moisture monitoring rather than a fixed schedule.
Will Untreated Pine Boards Eventually Rot, and How Long Do They Last?
Yes, untreated pine will rot. Consider chemical treatment or wood staining to extend its lifespan to 5-10 years. Cedar resists rot naturally, lasting 15+ years without treatment, making it worth the investment.