

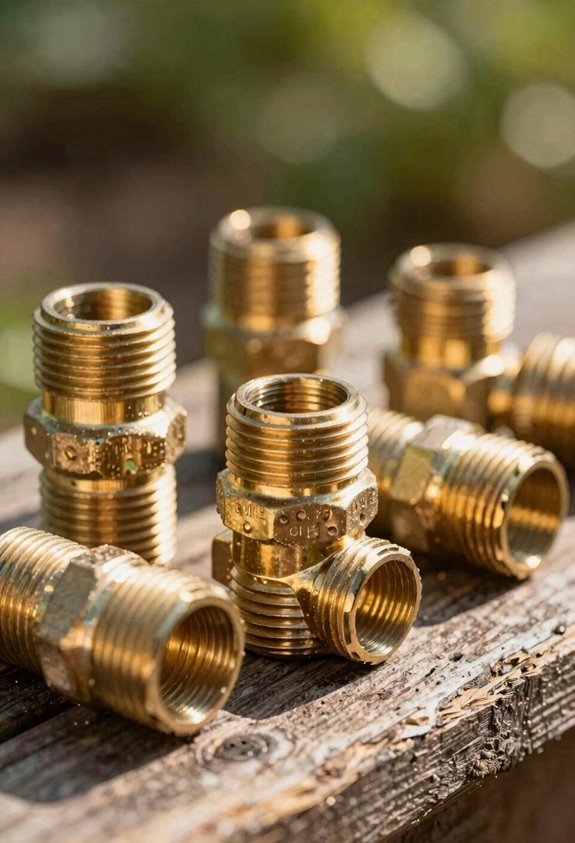
Garden hose fittings are compression seal assemblies that connect your hose to faucets or sprinklers, preventing water leaks. They work by combining three parts: a ferrule (compression sleeve), male coupling (barbed anchor with threads), and female coupling (threaded receiver). When you tighten them together, the ferrule compresses between the hose and fitting, creating a watertight barrier. Brass fittings last longest, though stainless steel works best in harsh conditions. Replacing damaged fittings involves cutting the hose square, inserting the coupling, sliding the ferrule over it, crimping it tight, and threading firmly. Understanding common mistakes like mismatched thread types or over-tightening will help you maintain leak-free connections that protect your yard.
Key Takeaways
- Garden hose fittings create watertight seals between hoses and sprinklers or faucets using ferrules and threaded couplings.
- Male couplings feature barbed tails that anchor into hose; female couplings secure the threaded connection firmly.
- Replace damaged fittings by cutting the hose square, inserting the barbed tail, sliding the ferrule, and crimping.
- Brass fittings offer maximum durability and corrosion resistance; stainless steel suits harsh or chemical-rich water environments.
- Common leak causes include incompatible thread types, improper storage, over-tightening, frozen damage, uneven cuts, and low-quality materials.
What Garden Hose Fittings Do (and Why They Prevent Leaks)
When you connect a garden hose to a sprinkler or faucet, you’re relying on fittings to create a seal that keeps water from escaping. Garden hose fittings work by joining hose sections and accessories together, guaranteeing seal integrity through precise engineering. The male coupling inserts into the hose, while the female coupling accepts male threads, creating a secure connection. Ferrules—cylindrical rings that fit over hose ends—compress between the fitting and hose material, establishing water pressure resistance. Thread alignment matters considerably because misaligned threads compromise the seal. Material compatibility ensures fittings and hose work together without corrosion or degradation. When properly installed, these components prevent leaks by maintaining constant pressure throughout your watering system, keeping water flowing exactly where you need it.
Ferrules, Male Couplings, and Female Couplings Explained
You may be interested
Now that you understand how fittings create watertight seals, let’s examine the three main components that make this possible: ferrules, male couplings, and female couplings. Ferrules are cylindrical sleeves, often called compression sleeves, that slide over your hose end before the fitting inserts. These rubber ferrules compress when you tighten the connection, creating a watertight barrier between the hose and fitting. Male couplings feature a barbed or expandable tail that pushes into your hose, with external threading that screws onto accessories. Female couplings accept male threads, providing the receiving end of your connection. Together, these three components work as a system: the ferrule seals, the male coupling anchors into the hose, and the female coupling secures everything by accepting the threaded connection.
Brass, Stainless Steel, or Aluminum: Which Lasts?
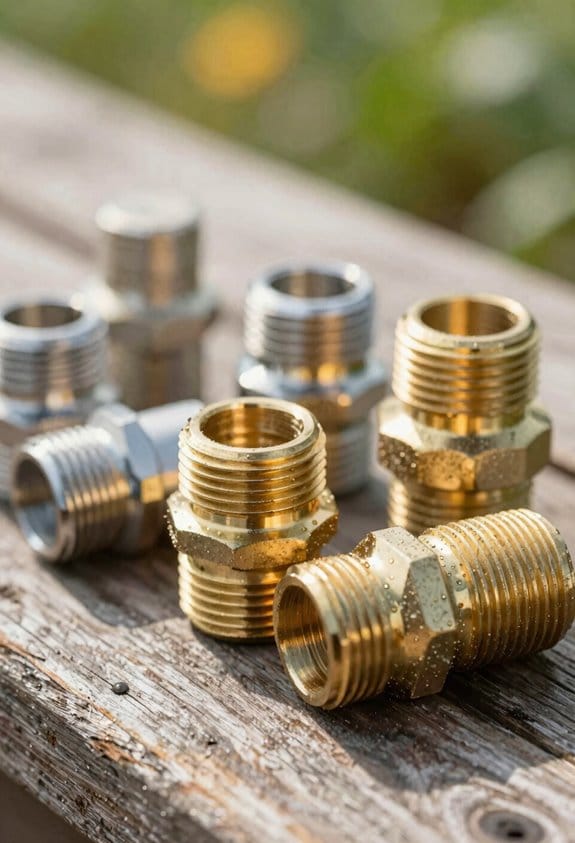
Because garden hose fittings experience constant exposure to water, sunlight, and temperature changes, the material you choose directly affects how long your connections last before corrosion or damage requires replacement. Brass remains the traditional choice, offering exceptional corrosion resistance and longevity that can last decades. Its weight comparison to aluminum shows brass is heavier but more durable against wear. Stainless steel provides superior corrosion resistance, especially in harsh climates or chemical-rich water, though it costs more. Aluminum offers lighter weight and decent corrosion resistance through oxidation layers, yet it doesn’t match brass’s durability. For maximum lifespan, Consider brass fittings, which resist cross-threading and maintain integrity over time. Stainless steel works best if you prioritize chemical resistance in challenging environments.
Garden Hose Fitting Types: GHT, Barbed, and Quick-Connect
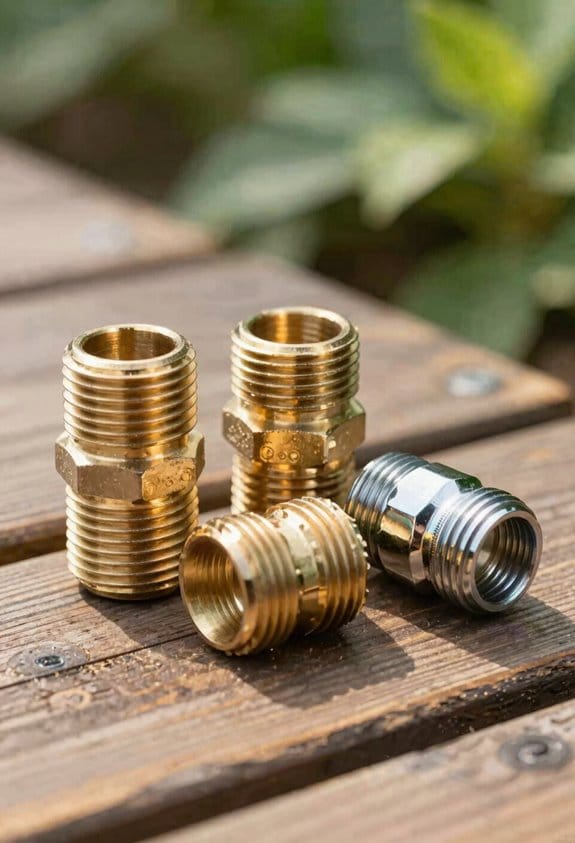
While brass fittings offer durability and stainless steel provides superior corrosion resistance, the actual connection method you choose matters just as much as the material itself. I’ll explain three main types you’ll encounter.
Threaded connectors use Garden Hose Thread (GHT), with male and female versions that screw together securely. Barbed fittings grip your hose interior with ridges, making them ideal for repairs or attachments, and barbed fitting innovations now include expandable designs for stronger holds.
Quick-connect fittings feature a plug and coupler system allowing fast links without threading. They’re convenient for frequent connections, though quick connect maintenance requires occasional cleaning to prevent debris buildup. Each type serves different purposes depending on your needs.
What Size Garden Hose Fitting Do You Need?
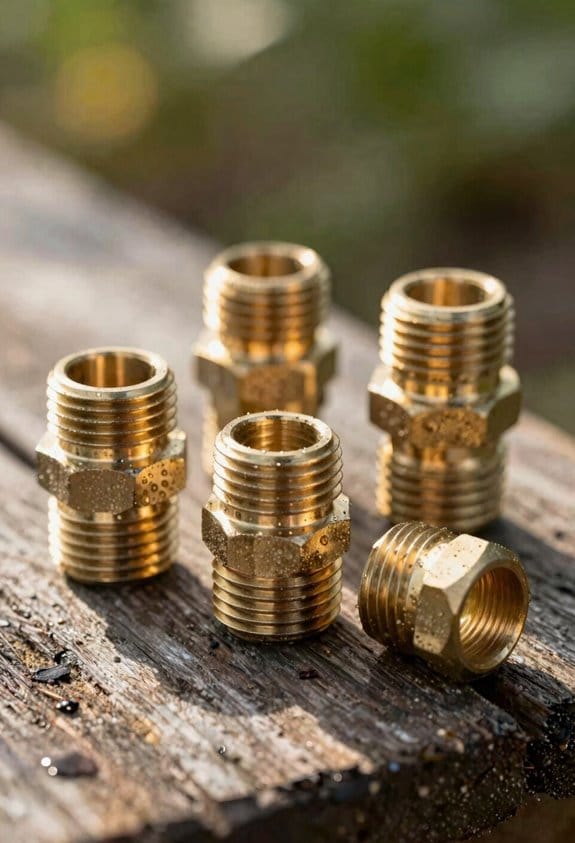
Getting the right size fitting is essential for preventing leaks and ensuring your garden hose connections work properly. Consider checking your hose diameter first, as fittings come in standard sizes: ½ inch, ⅝ inch, ¾ inch, and ⅜ inch. Most common garden hoses use ¾-inch fittings with Garden Hose Thread (GHT) connections. When selecting replacements, match the fitting size to your hose’s inner diameter. Thread compatibility matters considerably because GHT isn’t compatible with NPT threads, even though both are threaded options. Mismatched sizes cause poor connections and leaks. I’d verify your hose measurements before purchasing new fittings, ensuring they fit securely onto your hose end without forcing or loosening prematurely.
Signs Your Fitting Is Damaged and Needs Replacing
Over time, garden hose fittings deteriorate from regular use, weather exposure, and water pressure, so recognizing damage early prevents leaks and water waste. I’ll help you identify when replacement’s necessary.
Look for a cracked ferrule, which appears as visible splits or breaks in the cylindrical band securing your fitting. Leaking threads indicate the connection point where the male fitting screws into the coupling isn’t sealing properly, causing water to drip during use.
You’ll notice corrosion as discoloration or rust accumulation on brass or steel components. Check for loose connections that spin freely without tightening, suggesting internal thread damage. If your hose sprays water sideways near the fitting rather than at the nozzle, that’s another red flag.
When you spot these signs, replacement guarantees efficient watering and prevents water damage to your home’s foundation or landscaping.
How to Replace Garden Hose Fittings: Step-by-Step
Once you’ve identified that your fitting needs replacing, you can handle the repair yourself with basic tools and a new fitting kit. Start by cutting the damaged hose end square with a sharp utility knife. Next, insert the barbed or expandable tail into the hose opening, pushing firmly until it’s fully seated. Slide the ferrule over the hose end, ensuring it sits properly against the fitting. Using crimp techniques, apply a die tool to pinch the ferrule and hose together securely. Check your hose endviews from multiple angles to confirm proper alignment. Finally, screw the male threads into female couplings on your accessories, tightening firmly but not excessively. This straightforward process restores your hose’s functionality and prevents leaks.
Six Mistakes That Cause Leaks (and How to Prevent Them)
Even though you’ve installed a new fitting correctly, leaks can still develop if you’re not careful during the replacement process or maintenance afterward. I’ve identified six common mistakes that cause problems. First, using incompatible thread types like GHT with NPT creates poor seals. Second, improper storage of fittings in damp conditions causes corrosion. Third, over-tightening connections damages ferrules and threads. Fourth, frozen expansion occurs when water freezes inside hoses during winter, cracking fittings. Fifth, neglecting to cut hose ends square results in uneven seating. Finally, using low-quality plastic fittings instead of brass reduces durability. Preventing leaks requires attention to compatibility, proper storage, gentle installation, seasonal care, precise cuts, and quality materials throughout your setup.
For a useful next step, store a garden hose correctly. These guides cover the related maintenance or buying decision without changing the task explained here.
Frequently Asked Questions
Can I Use NPT Fittings Interchangeably With GHT Fittings on My Hose?
No, I can’t use NPT and GHT fittings interchangeably—they’re fundamentally incompatible threads. You’d need adapter size charts and thread sealant differences to bridge them, but a proper GHT fitting’s always your best bet.
How Do I Know if My Hose Fitting Is the Correct Size Before Purchasing?
I’d measure your hose’s inner diameter—common sizes are ½, ⅝, ¾, or ⅜ inches. Check the thread pitch matches standard ¾-inch Garden Hose Thread. This guarantees you’ll get a secure, leak-free fit.
Are Quick-Connect Fittings Compatible With All Standard Garden Hose Couplings?
No, quick-connect fittings aren’t universally compatible with standard couplings. 60% of gardeners face compatibility issues. You’ll need quick connect adapters to bridge the gap between your standard GHT threads and quick-connect systems.
What Tools Do I Need to Properly Crimp Ferrules During Hose Replacement?
You’ll need a hose crimper or ferrule pliers to properly secure ferrules during replacement. Consider investing in a quality crimper tool—it’s essential for creating leak-proof connections that’ll last years.
Can I Repair a Leaking Fitting Without Replacing the Entire Hose End?
Yes, I can repair a leaking fitting without replacing the entire hose end. I’ll apply sealant options like thread tape or plumber’s putty, or use temporary patches to seal the leak until I’m ready for permanent replacement.