

I’ll create a drip system by cleaning recycled bottles, cutting the bottom off, and drilling tiny holes in the cap for precise water delivery. After burying each bottle two-thirds underground near plant roots, I’ll fill it three-quarters full and observe the drip rate over an hour. I’ll adjust hole sizes based on my soil type—enlarging them for sandy soil that drains quickly, reducing them for clay that holds water longer. Filtering water with a sock prevents clogging, and regular inspections catch uneven seepage. The following sections will show you exactly how to execute each step successfully.
Key Takeaways
- Clean recycled bottles thoroughly, cut off the bottom, and create pinhead-sized holes in the cap for controlled water dripping.
- Dig a 4-inch hole near plant roots and bury the bottle upright with the bottom two-thirds underground for stability.
- Test the drip rate with water for one hour and adjust hole sizes based on soil type before final installation.
- Tie bottles to bamboo sticks for support and filter water with nylon socks to prevent clogging of tiny holes.
- Space bottles individually for widely separated plants or share single units among closely grouped plants based on garden layout.
Gather Your Materials: What You’ll Need
Before you begin building your drip irrigation system, you’ll want to collect all the necessary materials so you’re not searching for items midway through the project. Start with a plastic bottle, either one or two liters, which serves as your water reservoir. You’ll need a box cutter or sharp knife to cut the bottle bottom. Gather a nail or 1mm drill bit for creating drainage holes. A bamboo stick or garden trowel helps with installation, while an ear cleaning stick half controls drip rates. For filtering, prepare a sock or nylon secured with a rubber band. Remove any recycled labels from your bottle before starting. A screwdriver handle works well for widening holes if needed.
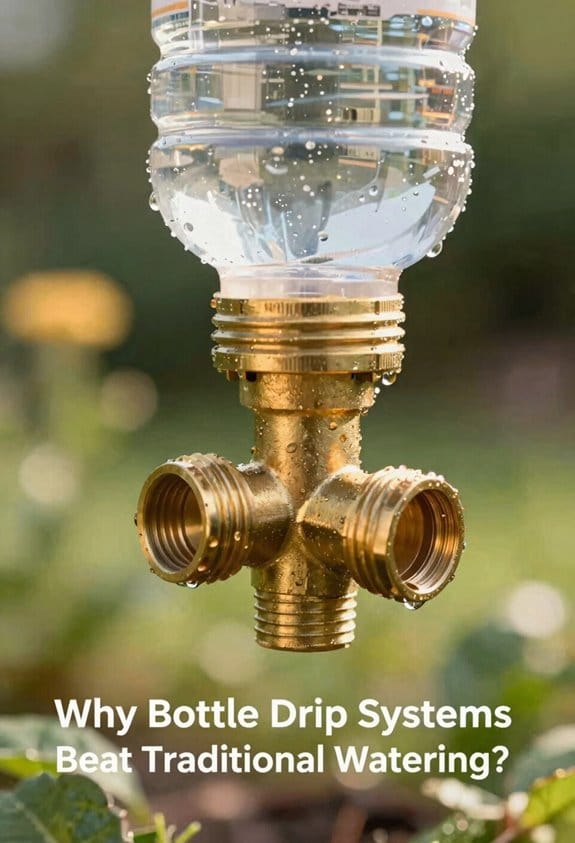
Why Bottle Drip Systems Beat Traditional Watering
You may be interested
Once you’ve gathered your materials and understand how a bottle drip system works, you’ll notice it offers considerably advantages over traditional watering methods. Unlike sprinklers or hand-watering, which lose water to evaporation and surface runoff, bottle systems deliver moisture directly where plants need it most. The slow, consistent drip maintains ideal soil moisture levels around the root zone without oversaturating. Because water reaches root depth gradually, plants develop stronger, deeper root systems that increase drought tolerance. You’ll use far less water overall, making this method environmentally responsible and cost-effective. Additionally, the controlled release prevents flooding damage indoors or in covered outdoor spaces. By recycling plastic bottles, you’re creating an efficient irrigation solution that conserves resources while promoting healthier plant growth.
Prep Your Bottle for Water Delivery
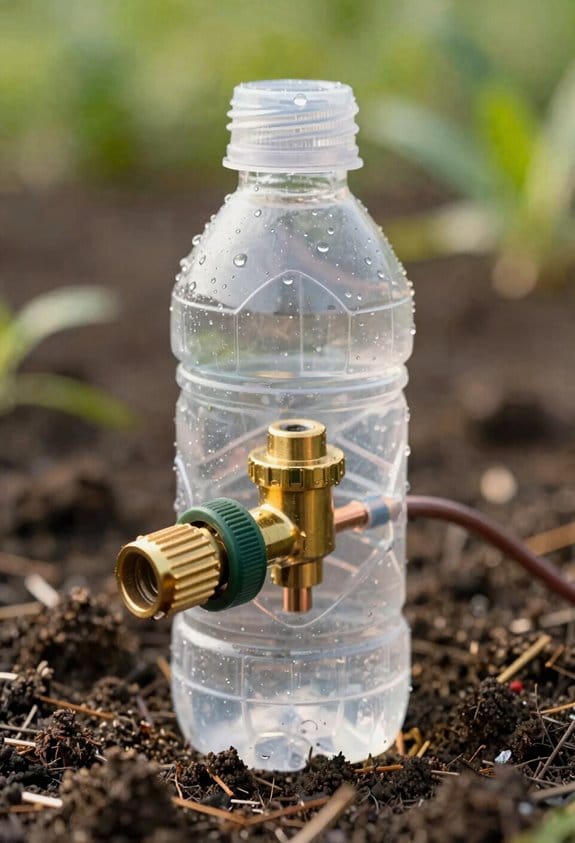
Start by thoroughly cleaning your plastic bottle with water and soap to remove any residue or contaminants that could harm your plants. Next, cut off the bottle’s bottom using a box cutter or sharp knife, which creates an opening for easy filling and refilling. Make small holes around the cut edge so you can tie the bottle securely to a support structure. Then, create pinhead-sized holes in the cap and lower sides—space them evenly for consistent water distribution. While bottle aesthetics matter less than function, these preparation steps guarantee proper root aeration by allowing water to seep gradually into surrounding soil. Test your drip rate with water before final installation. Starting with a 1/8-inch weep hole size works well for most plants, though you can adjust based on your soil density and plant needs.
Create Pinhole Drips in Your Bottle Cap
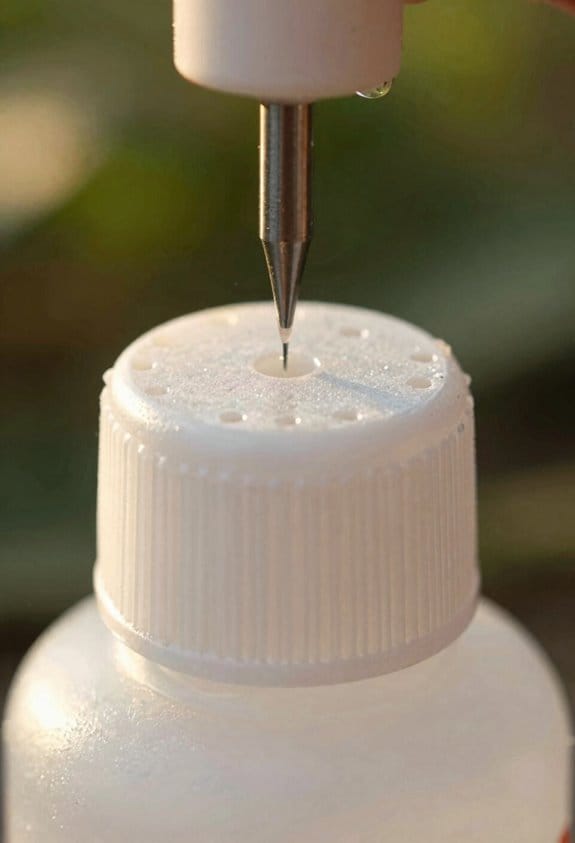
Now that you’ve prepared your bottle’s structure, the cap becomes your water-delivery control center, and creating the right pinhole openings will determine how quickly or slowly water reaches your plant’s roots. I start with a 1/8-inch weep hole, using a nail or heated tool to pierce the cap carefully. This small opening allows water to seep gradually rather than gush out rapidly. The pinhole size directly controls flow rate—larger holes release water faster, while smaller holes extend watering duration. Beyond functionality, consider cap aesthetics since it’ll remain visible above soil. Multiple evenly-spaced pinholes promote consistent moisture distribution while supporting beneficial microbial activity in the soil. I test my drip rate with water before burying the bottle, adjusting hole size as needed for ideal plant hydration.
Bury Your Bottle Correctly
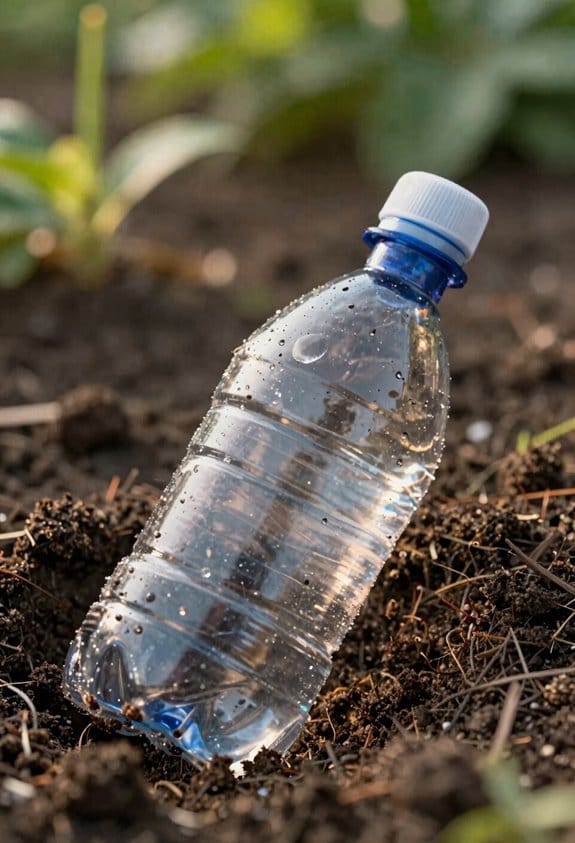
Proper burial depth and positioning determine whether your drip irrigation system delivers water effectively to plant roots or fails to hydrate your garden adequately. Consider digging a hole about 4 inches deep near your plant’s root depth, then burying the bottle upright so the bottom two-thirds sits underground. This placement guarantees water seeps directly where roots can access it most efficiently. Position the cap above ground for easy refilling, or invert it if you prefer. Pack soil gently around the bottle to maintain stability, avoiding excessive soil compaction that would restrict water flow. Tie the bottle to a bamboo stick if needed for additional support, keeping it straight and secure throughout the growing season.
Fill Your Reservoir and Test the Flow
Once your bottle sits securely in the ground with soil packed around it, you’re ready to fill it with water and observe how your system performs. Pour water until the bottle is three-quarters full, then watch the drip rate carefully over the next hour. You’ll notice water seeping from the holes you created, gradually moistening the soil around your plant’s roots. If water flows too quickly, your holes may be too large; if it drips too slowly, consider enlarging them slightly. For seasonal testing, check your system during different weather conditions to make sure consistent performance. Apply waterproof sealants around any cracks or damaged areas if needed. Make adjustments based on your observations, then refill as the water depletes.
Tune Drip Speed to Your Soil Type
Because different soils absorb water at different rates, you’ll need to adjust your drip system’s flow to match what’s beneath your plant. Sandy soil drains quickly, so you might enlarge your holes slightly for faster water delivery. Clay soil, conversely, holds moisture longer, requiring smaller holes to prevent oversaturation. Loamy soil, a balanced mixture, typically works well with standard pinhead-sized holes.
Consider your plant’s root depth when tuning the system. Shallow-rooted plants need gentler flow rates, while deeper-rooted vegetables benefit from stronger seepage. Consider starting with smaller holes, then observing how quickly water disappears from the soil surface. If water pools or runs off, enlarge the holes incrementally. If soil dries too fast, reduce them. Testing guarantees your plants receive peak hydration based on local soil texture conditions.
Fix Clogging, Overflow, and Uneven Seepage
Even after you’ve tuned your drip system to match your soil type, problems can still arise that disrupt water delivery to your plants. For clog prevention, Consider filtering your water using a sock or nylon screen before filling your bottle. This stops sediment and debris from blocking the tiny holes. If overflow occurs, your holes may be too large; reduce them by adjusting your initial weep hole size downward. For uneven seepage, I check that soil density remains consistent around the bottle and that all holes stay clear. I also verify the bottle sits level, as tilting causes water to exit unevenly. Regular inspection and minor adjustments keep your system working efficiently.
Scale Your Drip System Across the Garden
As your garden expands and you want more plants watered efficiently, you’ll need to create multiple drip irrigation units rather than relying on a single bottle. Start by making a system mapping sketch of your garden layout, noting where each plant sits and how far apart they’re spaced. This helps you determine how many bottles you’ll need and where to position them for maximum coverage.
Plant spacing matters because closely grouped plants might share one unit, while widely separated ones require individual bottles. Install units at consistent intervals throughout your garden beds. Consider soil type and drainage when deciding bottle placement; sandy soil may need more frequent refilling than clay-based soil. Building multiple units takes time but creates an efficient, affordable watering network that reduces your daily garden maintenance substantially.
Store and Maintain Year-Round
Once you’ve installed multiple drip irrigation units across your garden beds, you’ll want to protect your investment by storing and maintaining them properly throughout the year. For seasonal storage, remove your bottles before winter arrives and clean them thoroughly before putting them away in a dry location. When winterizing bottles in cold climates, ensure they’re completely empty to prevent water from freezing and cracking the plastic. Store all components, including caps and drip controls, together in a labeled container. Check bottles for cracks or damage before reinstalling them in spring. This simple maintenance routine keeps your system functional and extends the lifespan of your recycled materials, ensuring reliable watering seasons ahead.
For a useful next step, store a garden hose correctly and diagnose garden hose pressure loss. These guides cover the related maintenance or buying decision without changing the task explained here.
Frequently Asked Questions
Can I Use Bottle Drip Systems Indoors for Potted Houseplants?
Yes, Consider bottle drip systems for potted houseplants. You’ll want careful plant placement to manage indoor humidity levels. They’re ideal for preventing overwatering while delivering consistent moisture directly to roots.
How Often Should I Refill the Bottle During Hot Weather?
I’d refill your bottle what feels like a million times during hot weather. You’ll need daily adjustment based on evaporation rates—check soil moisture constantly and expect refilling every one to three days depending on heat intensity.
Will Roots Grow Into the Drainage Holes and Cause Blockages?
root intrusion can happen, but it’s rare with pinhead-sized holes. You’ll minimize drainage clogging by keeping soil loosely packed and monitoring your system regularly during growing season.
What Plant Types Benefit Most From This Slow Drip Watering Method?
succulent gardens and seedling trays thrive with this method. They’re sensitive to overwatering, so the slow, consistent drip delivery prevents root rot while keeping soil moisture steady. You’ll notice stronger growth with less water waste.
Can I Leave Bottle Drip Systems Running During Winter Months?
You can leave them running, but Consider insulation strategies like wrapping bottles with burlap or foam. Bury them deeper for freeze prevention, and monitor soil moisture since winter growth’s minimal anyway.