To connect two garden hoses without leaks, I’d start by cleaning threaded connections with soap and water, then inspecting rubber washers for cracks or hardening. Next, wrap Teflon tape around male threads in two to three layers, working in the tightening direction. Hand-tighten each connection first, then use an adjustable wrench for final turns with steady pressure. This three-step approach—prepare, seal, and tighten carefully—addresses most leak sources effectively, though specific situations require additional techniques worth exploring further.
Key Takeaways
- Clean threaded connections with soap and water, then inspect rubber washers for cracks or deterioration before connecting.
- Wrap two to three layers of Teflon tape around male threads in the tightening direction for watertight seals.
- Hand-tighten connections first, then use an adjustable wrench for final turns to avoid stripping threads.
- Position rubber washers flat against connector bases and verify threads aren’t damaged or worn smooth before screwing.
- Lay hoses straight during connection to prevent twists and stress points that create leak sources.
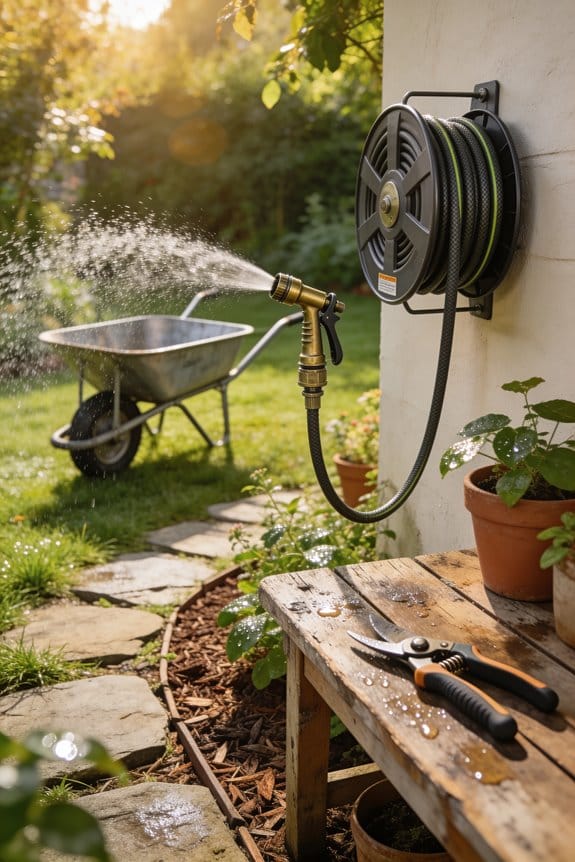
Clean and Inspect Your Hose Before Sealing
Before you connect two garden hoses together, you’ll want to clean and inspect both the hose ends and the coupling components, since dirt, grime, and corrosion can prevent a proper seal and cause leaks. Start your surface cleaning by wiping the threaded connections with soap and water, removing any accumulated debris or mineral buildup. Pay special attention to the rubber washer inside the coupling, as this small component creates your watertight seal.
After cleaning, allow everything to dry completely before proceeding. Perform a visual inspection of the threads, looking for cracks, damage, or worn areas that might compromise the connection. Check the rubber washer for deterioration or corrosion. Replace the washer if you notice any damage. This preparation step guarantees maximum effectiveness when you apply sealing methods.
Apply Teflon Tape for a Leak-Proof Seal
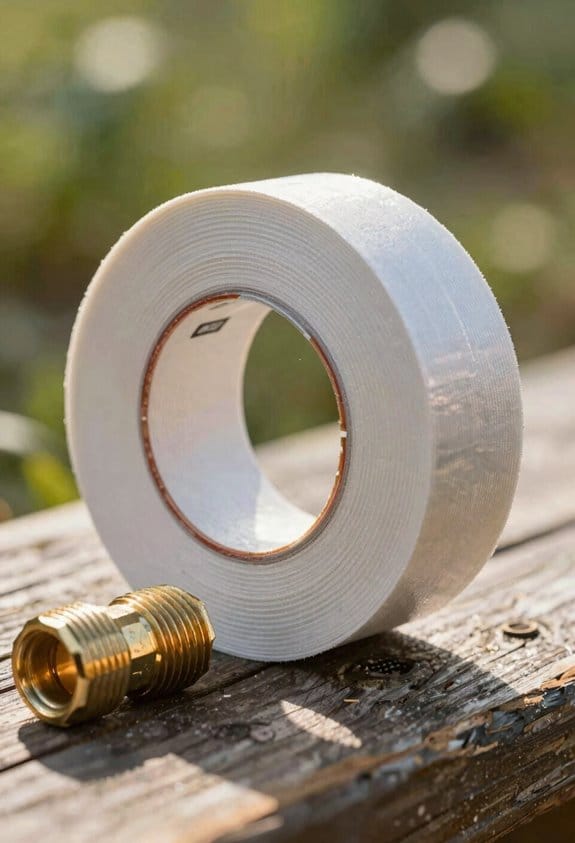
Wrapping Teflon tape around the male threads of your hose connector creates a watertight seal that prevents leaks at the connection point, and I’ll walk you through the process step by step. Start by wrapping the thin white tape around the threads in the direction that tightens when you screw the connector on, which guarantees the tape stays in place rather than unraveling. Apply two to three layers, maintaining consistent tension as you wrap. This layer count provides adequate protection without excessive buildup. Once you’ve wrapped the threads, finger-tighten the connection first to seat the tape properly, then use an adjustable wrench for final turns. The tape acts as a lubricant, allowing for a tighter seal while preventing leaks at the joint.
Recommended Products

Ensure a backup water supply for your home using the 4 faux wood rain barrels to collect rainwater from the gutter, made of durable plastic that resists weather and UV damage for an ideal addition to your backyard

Chlorine-Free, Pure Water: Shield your family and appliances with the whole house water filter—eradicating up to 99% of chlorine, along with sediments, rust, tastes, odors, herbicides, and more for clean, odor-free water.

Check Washers and Threading Before Connecting
While Teflon tape creates a strong seal on the connector threads, I also need to check the washer and threading components themselves to guarantee a leak-free connection. Start by inspecting the rubber washer inside each hose coupling, looking for cracks, hardening, or flattening that would prevent a tight seal. Clear any buildup, corrosion, or debris from the faucet and coupling threads using a cloth or brush. Thread inspection guarantees the grooves aren’t damaged or worn smooth. Proper washer alignment is critical—position it flat against the connector base before screwing on the hose. These preparation steps take just minutes but eliminate common leak sources, making your tape application far more effective.
Recommended Products

Replacement Pool Filter: 4 pack of C-8418 filter cartridges features 200 square feet (200 pleats) of 4-ounce basis weight media that catches debris and particles down to an average of 20 microns in size, keeping your water clear
WATER PRESSURE REGULATOR: Helps to regulate downstream pressure in commercial and residential water applications, and features a patented single cartridge design which enables servicing without having to remove the valve body

Price For: Each Includes: Hose Overall Width: 7" Max. Temp.: 400 Degrees F Overall Length: 19" Overall Height: 20-1/4" Max. Pressure: 5000 psi Hose Inside Dia.: 3/8" Item: Pressure Washer Hose Reel Hose Included: Yes Reel Inlet: 1/2" (F)NPT Hose Length: 50 ft. Hose Outlet: 1/4" (M)NPT
Connect Hoses in the Right Order
Getting the connection sequence right prevents twists and tangles that create stress points where leaks develop. I recommend laying both hoses straight before beginning your sequence planning. Start by attaching the male connector end of your first hose to the faucet, ensuring it’s hand-tightened first. Next, attach the female coupling of your first hose to the male end of your second hose using your connection order method. This straightforward approach minimizes kinks that weaken connections.
Always work from the water source outward to the nozzle. This connection order reduces pressure buildup and prevents air pockets that cause leaks. When you’re ready to disconnect, reverse the sequence carefully. Proper planning during setup saves you troubleshooting time later and keeps your garden watering system reliable throughout the season.
Tighten Connections Without Stripping Threads
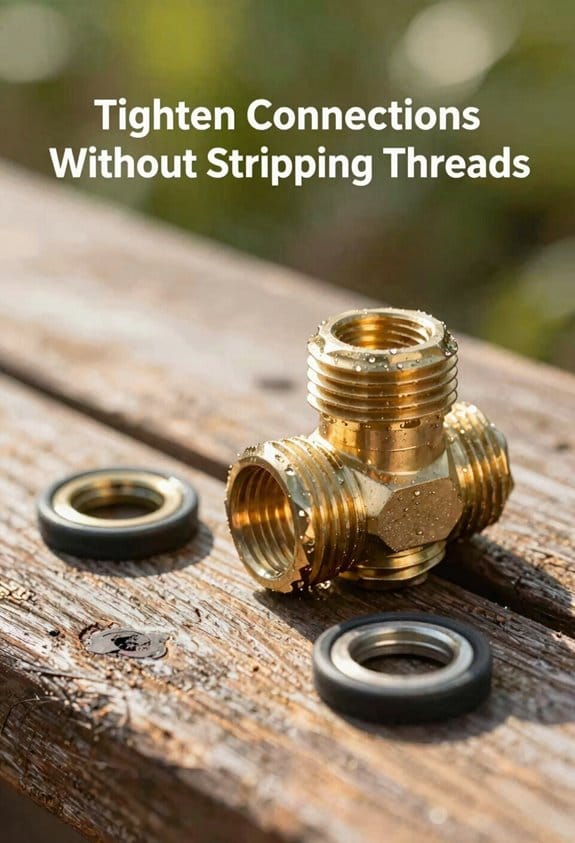
Once you’ve arranged your hoses in the correct sequence, the next step involves applying the right amount of pressure to secure the connections without damaging the threaded parts. I recommend finger-tightening first, which gives you control and prevents over-tightening. After establishing this initial connection, use an adjustable wrench for final turns, applying steady pressure rather than forcing the connector.
A thread protector, such as Teflon tape wrapped around male threads, helps you achieve a secure seal while reducing friction. This acts as both a lubricant and barrier. Consider using a torque limiter if you’re concerned about applying excessive force. This device stops turning once proper tightness is reached, preventing thread damage. Tightening connections properly guarantees leak-free performance throughout the season.
Fix Leaks With Household Items and Tape
After you’ve tightened your connections properly, you may still discover small leaks at the joints or along the hose itself, and I’ll show you how to fix them using items you likely have around your home.
For pinhole leaks or minor cracks, I recommend applying rubber cement or bicycle tube glue directly over the damaged area. First, clean the spot thoroughly with soap and water, then let it dry completely. The adhesive creates a waterproof seal that prevents water loss.
For temporary fixes, household clamps or adjustable wraps can compress the hose around problem areas. I’ve found that combining these household glues with Teflon tape at connection points provides reliable, long-lasting results. These methods work effectively without requiring specialized equipment or expensive replacements.
Recommended Products

For use on connector wires and cables, pipes, and hoses

DURABLE: Black duct adhesive tape is easy to tear by hand, waterproof and UV-resistant, suitable for indoor, garden and other outdoor use
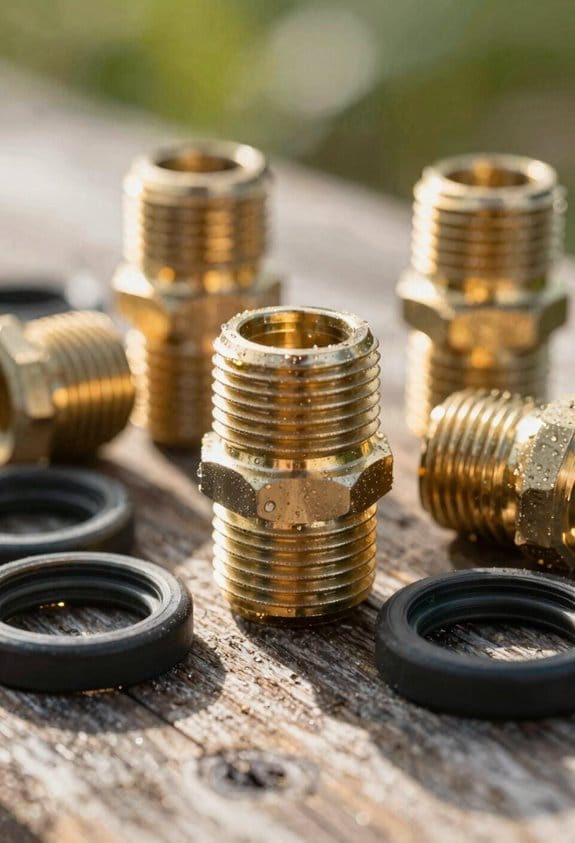
When to Use Adapters Instead of Tape
While Teflon tape works well for most standard hose connections, you’ll want to switch to adapters when your hose threads don’t match your faucet or when you’re connecting different sized hoses together. Adapter selection depends on understanding your specific connection needs and measuring thread sizes carefully.
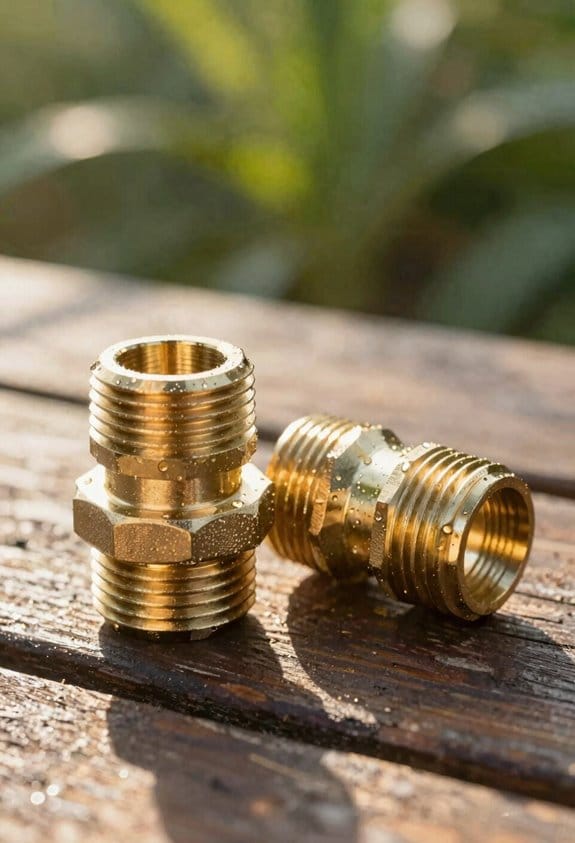
Material compatibility matters greatly when choosing adapters. Brass adapters resist corrosion better than plastic alternatives, especially for outdoor seasonal use. Before purchasing an adapter, identify whether you need a male-to-female connector, a reducer, or a specialty coupling.
I recommend checking your hose and faucet threads to confirm proper fit. Mismatched connections cause persistent leaks regardless of tape application. Using the correct adapter eliminates frustration and prevents water waste. Store extra adapters in your garage for future projects.
Recommended Products

Powerful 14715 CFM Airflow&Wide Cooling Zone: Defeat intense heat with this powerful portable swamp cooler.Delivering an immense 14715 CFM,this evaporative air cooler blankets up to 2800 sq.ft. with refreshing breeze.Perfect for large garages,warehouses, patios, and commercial spaces, it's a heavy-duty cooling fan that provides effective,energy-efficient relief without the high costs of traditional AC.

Pipe Compatibility: Features 3/4" Female Iron Pipe (FIP) inlet and 3/4" Male Hose Thread (MHT) outlet
Pipe Compatibility: Features 1/2" MIP inlet and 3/4" Male Hose Thread (MHT) outlet
Break In New Hoses to Prevent Early Leaks
Even after you’ve selected the right adapter and guaranteed your connections fit properly, you’ll still need to prepare your new hose before regular use to prevent leaks from developing early. I recommend uncoiling the hose completely and straightening it to its full length. Attach it to your faucet with a nozzle, then turn the water on fully. This run-throughs drill releases trapped air trapped inside the hose while water flows through. Pull the hose straight to eliminate packaging twists that weaken connections. These pressure cycling actions condition the hose material, making it more flexible and less prone to cracking. After several minutes, turn off the water and release all pressure before coiling normally for storage.
Reconnect Hoses Seasonally to Stop Fusing
Reconnecting your hoses three times yearly prevents them from fusing together at the coupling, a common problem caused by weather exposure and mineral buildup. During seasonal storage, temperature cycling causes rubber to contract and expand, allowing corrosion to bond connections permanently.
I recommend disconnecting hoses in spring, summer, and fall to break apart any forming bonds. When you separate them, inspect the rubber washer inside each coupling for damage or debris. Clear away any corrosion from the faucet threads using a cloth or soft brush.
After cleaning, reattach the hoses properly, using your fingers first, then an adjustable wrench for final tightening. This routine maintenance keeps connections loose and functional throughout the year, ensuring you won’t face stuck couplings when you need your hose most.
Frequently Asked Questions
How Many Layers of Teflon Tape Should I Apply for Optimal Leak Prevention?
I’d recommend applying 2-3 layers of Teflon tape for ideal leak prevention. You’ll want to wrap it around four times in the tightening direction. This gives you a reliable seal without overdoing it.
What Household Items Can I Use if I Don’t Have Teflon Tape Available?
I’ll use plumbers putty or rubber washers if I don’t have Teflon tape. I can wrap rubber washers around the male threads or apply plumbers putty directly to create a leak-proof seal between connectors.
How Often Should I Reconnect My Hoses to Prevent Weather-Related Fusing?
I’d say you’ve got to keep your hoses on their toes—reconnect them three times yearly during seasonal inspections. This connector lubrication prevents weather fusing, so your connections won’t become permanently stuck.
Can I Use the Same Teflon Tape Roll for Multiple Seasons of Repairs?
Yes, I can reuse the same Teflon tape roll for multiple seasons if I store it properly in my shed or garage. However, I’ll watch for material degradation over time, as storage conditions affect its effectiveness and seal quality.
What’s the Best Way to Remove Trapped Air From Newly Connected Garden Hoses?
I’ll cut to the chase: attach your nozzle, turn water on full blast, and let it run through the bleeder valve or nozzle opening. This air purge releases trapped pressure, ensuring a smooth flow without hiccups.