A stuck sprinkler head usually results from debris, mineral deposits, or corrosion trapped inside. You can often fix it by unscrewing the nozzle, rinsing components thoroughly, and soaking the filter in white vinegar to dissolve crusty buildup. After cleaning, apply lubricant like WD-40 around the shaft and work it in and out several times. If the head still won’t pop up or rotate after lubrication, or if you notice cracks in the body, replacement becomes your better option. Understanding when repair makes sense versus replacement will help you decide your next move.
Key Takeaways
- Clean debris and mineral deposits by rinsing components, soaking filters in white vinegar, and scrubbing gently.
- Apply WD-40 or 2-in-1 oil around the body and shaft, then move shaft repeatedly to distribute.
- Replace stuck heads if the nozzle won’t pop up, cracks appear, or shaft remains stuck after lubrication.
- Unscrew counterclockwise using pliers, wrap new threads with Teflon tape, and hand-tighten clockwise to avoid damage.
- Test for leaks at connection points and verify proper spray patterns before backfilling the area.
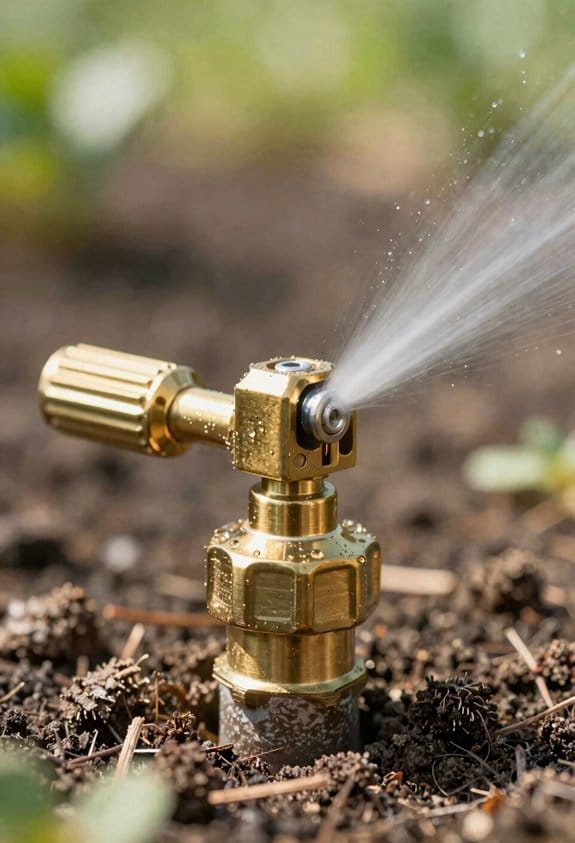
Why Sprinkler Heads Get Stuck
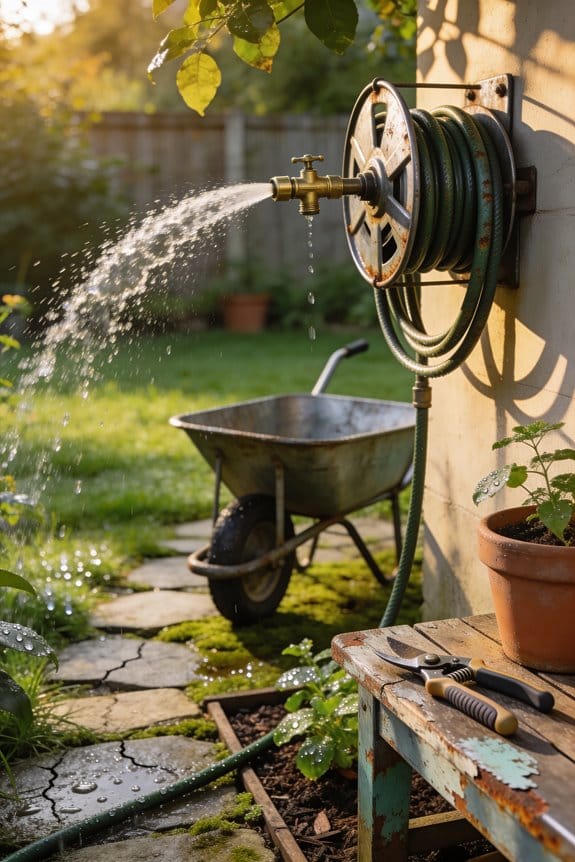
When your sprinkler head won’t pop up or retract properly, it’s usually because something’s built up inside or around the mechanism that prevents smooth movement. Debris like dirt, grass clippings, and small rocks commonly lodge between the nozzle and body. Over time, mineral deposits accumulate on filters, creating crusty buildup that restricts movement. Pipe corrosion can cause sediment to enter the system, further blocking components. Seals wear down from regular use, causing the shaft to stick. During seasonal freeze cycles, water trapped inside can expand and damage internal parts. Without regular lubrication, the riser shaft becomes dry and sticks. Understanding these causes helps you address problems before they worsen, keeping your irrigation system functioning smoothly.
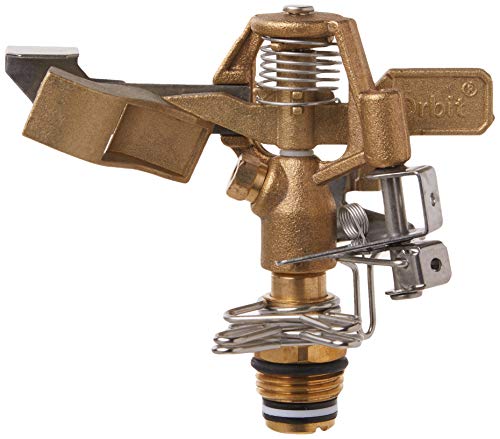
Recommended Products

Color: Brass

Case of 20 Rotors, 20 Red Nozzle Racks and Two Adjustment Keys

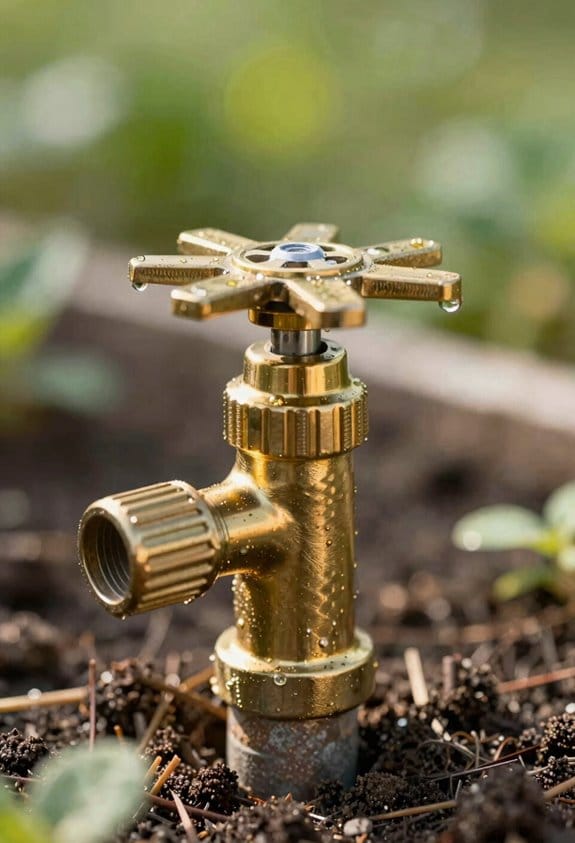
Clean and Lubricate Your Stuck Sprinkler Head
Most stuck sprinkler heads respond well to cleaning and lubrication, which removes the buildup preventing smooth movement and restores proper function. I recommend starting by unscrewing the cover and removing the nozzle and spring assembly. Rinse these components thoroughly with water and wipe them clean with a rag. For mineral deposits, soak the filter in white vinegar for fifteen minutes, then scrub it gently.
Once clean, I apply lubricant types like WD-40 or 2-in-1 oil around the body and shaft. Proper shaft maintenance requires moving the shaft in and out several times to distribute the lubricant evenly. This guarantees smooth retraction and prevents future sticking. After allowing the lubricant to dry slightly, reassemble the sprinkler head and run water through the station to flush any remaining dirt.
Recommended Products


ALL-IN-ONE MULTI-PURPOSE LUBRICANT: Rocket TT is a high-performance maintenance spray that loosens rusted parts, stops squeaks, frees sticky locks and bolts, and cleans surfaces. Perfect for use on bikes, tools, machinery, garden gear, and more.
PREMIUM INDUSTRIAL DRY FILM LUBRICANT - Highly versatile, industrial quality dry film lubricant with MicPol Technology. Forms a highly durable lubrication film that virtually eliminates wear on moving parts. The dry film does not attract dirt.
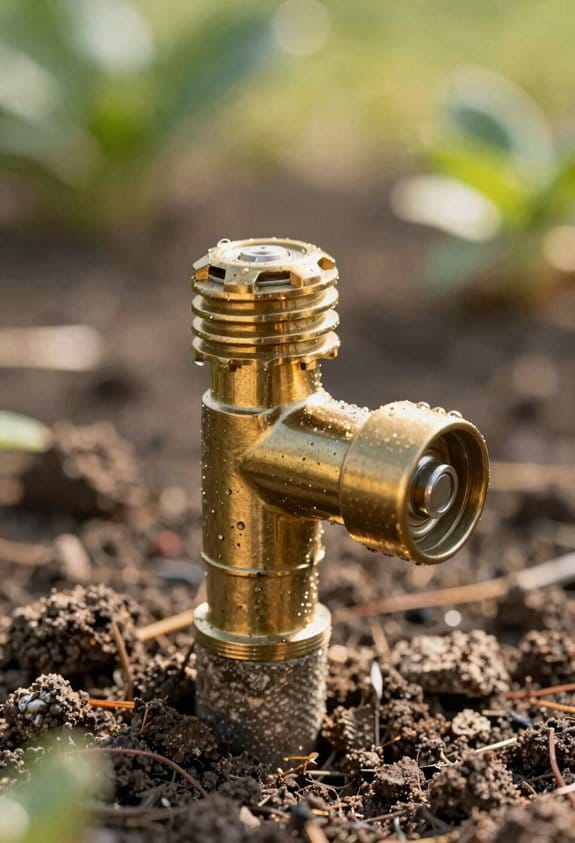
Should You Repair or Replace Your Sprinkler Head?
After cleaning and lubricating your sprinkler head, you’ll want to assess whether the repair work has solved the problem or if replacement is your better option. Consider a cost comparison between repair materials and a new head, which typically ranges from $15–$40. If your sprinkler’s warranty still covers defects, replacement might be free or discounted. However, if cleaning and lubrication successfully restored function, you’ve solved the issue inexpensively. Replacement becomes necessary when the nozzle won’t pop up, cracks appear in the body, or the shaft remains stuck after lubrication. Older heads, especially those over five years old, often warrant replacement since repeated repairs accumulate costs. Ultimately, weigh repair expenses against replacement prices and warranty considerations to make your most economical choice.
Recommended Products


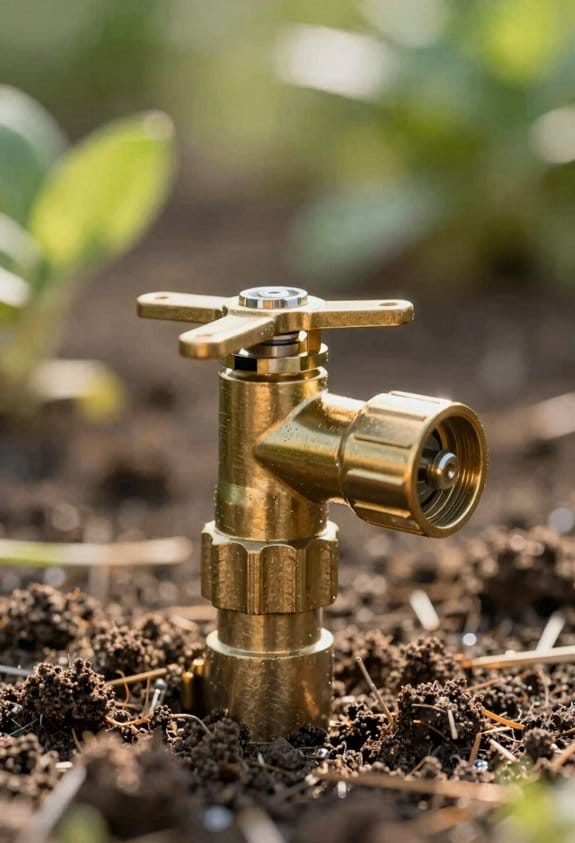
Versatile: Designed for versatility and durability, the 2-inch farm irrigation spray gun can be seamlessly integrated into a variety of irrigation setups. Its compatibility with agricultural sprinklers makes it an essential tool for modern agricultural practices

DURABLE CONSTRUCTION: Made from high-quality plastic, this pop-up sprinkler head is built to withstand outdoor conditions and deliver long-lasting performance in your irrigation system.
How to Replace a Stuck Sprinkler Head
Replacing a stuck sprinkler head becomes your next step when cleaning and lubrication haven’t restored its function, and you’ve decided that replacement offers better value than continued repairs. I’d recommend digging carefully around the head, removing about one to two inches of soil while preserving your sod. Using pliers, I unscrew the broken head counterclockwise, then wrap Teflon tape clockwise around the threads two to three times to make certain proper thread compatibility and prevent leaks. When installing your new head, I hand-tighten it clockwise to avoid cracking the plastic threads. Before backfilling, I verify nozzle alignment matches your irrigation pattern, then test the system for proper rotation and leaks throughout the station.
Recommended Products

20 Rotors, 20 Nozzle Racks and 2 Adjustment Tool

For watering a large lawn, garden, or pasture with a single impact sprinkler
Test for Leaks and Prevent Future Clogs
Once you’ve installed your new sprinkler head and verified that it rotates properly, testing for leaks becomes your final verification step before you consider the job complete. Turn the water back on and observe the connection point where the head meets the supply line. You’re looking for any dripping or seeping that indicates improper installation or damaged threads.
For pressure testing, run the system for several minutes while watching for spray patterns that seem weak or uneven, which might signal internal blockages. After confirming everything works correctly, you can backfill the area.
Preventing future clogs requires seasonal maintenance. Before winter, flush your system thoroughly to remove sediment. Clean filter screens regularly during the growing season, and inspect nozzles monthly for debris accumulation that could cause sticking again.
Recommended Products

Radius adjustment screw. Allows fine tuning of spray.

Body made of special chemically bonded polymer for durability

Filters are made from special chemically bonded weather resistant polymer
Frequently Asked Questions
What Type of Lubricant Works Best for Sprinkler Head Shafts?
I’d recommend you use either a silicone spray or PTFE lubricant on your sprinkler head shafts. Both work excellently for smooth retraction. I’ve found they penetrate well, don’t attract dirt, and keep shafts moving freely without gumming up over time.
How Often Should I Perform Preventive Maintenance on Sprinkler Heads?
I’d recommend performing monthly checks during the growing season to catch debris buildup early. Schedule seasonal inspections before spring activation and after fall shutdown to guarantee your system’s longevity and smooth operation.
Can I Fix a Sprinkler Head Without Turning off Water?
I wouldn’t recommend it. You’ll face water pressure and flooding risks that make repairs difficult. I’d suggest turning off water first—it’s the safest approach. Temporary fixes might work briefly, but proper maintenance requires shutting down your system.
What Is the Cost Difference Between Repairing Versus Replacing Heads?
Repairing typically costs less in parts cost—just cleaning supplies or lubricant—but demands significant labor time. Replacing requires minimal labor time but higher parts cost for new heads, making it economical for severely damaged units.
How Long Does Lubricant Typically Last Before Reapplication Is Needed?
I’d recommend reapplying lubricant every 6-12 months depending on your climate. For example, if you’re in a dusty area, you’ll need shorter service intervals. Product longevity depends on weather exposure and usage frequency.