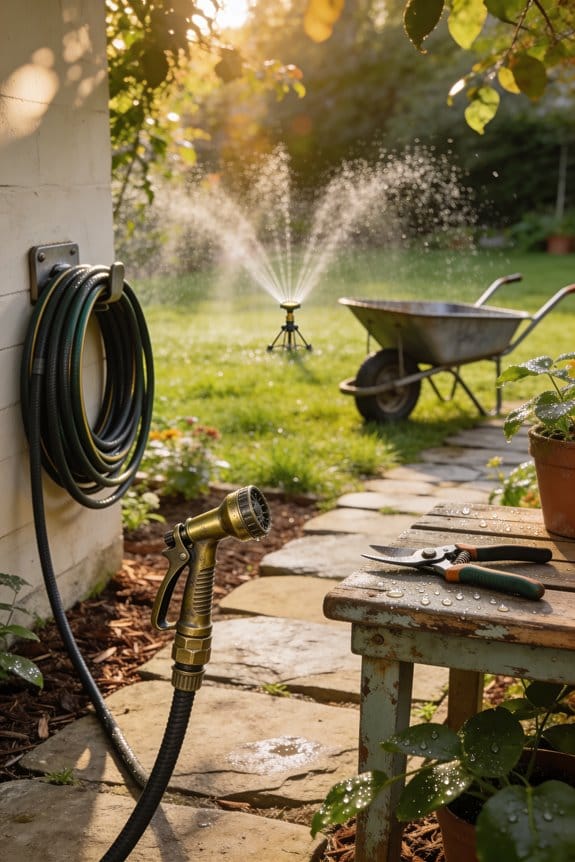


To stop your sprinkler heads from watering the sidewalk, first turn off your system and identify your head type—rotor, pop-up spray, or impact. Adjust the spray arc using the adjustment slot with a screwdriver, turning clockwise to increase coverage or counterclockwise to decrease it. For rotor heads, turn the radius screw clockwise to reduce throw distance by up to 25%. Use the deflector knob to angle water back onto grass. Test your coverage after each adjustment, then lock the heads to prevent accidental shifts. Understanding each adjustment method will help you fine-tune your system’s precision.
Key Takeaways
- Turn off the main water valve before adjusting sprinkler heads to safely diagnose and fix overspray issues.
- Use the adjustment slot on rotor heads with a screwdriver to narrow the spray arc away from sidewalks.
- Turn the radius screw clockwise to decrease throw distance and prevent water from reaching pavement areas.
- Rotate the deflector knob to angle or block the water stream away from hardscapes immediately.
- Run the system after each adjustment to verify coverage stays within lawn boundaries and test results.
Identify Your Sprinkler Head Type to Fix Overspray
Before you can fix overspray issues in your lawn, you’ll need to identify which type of sprinkler head you’re working with, since each one requires different adjustment methods. Rotor heads feature an adjustment slot that you can modify using a key or screwdriver to change the spray arc. Pop-up spray heads use fixed or adjustable nozzles, with codes like 10H indicating half-circle patterns. Impact heads rotate to adjust their coverage area. During nozzle identification, check for a radius screw, which indicates a Hunter rotor model. For head maintenance, wipe away dirt from the top screw to see adjustment mechanisms clearly. Understanding your specific sprinkler type guarantees you’ll apply the correct adjustment technique and resolve sidewalk overspray effectively.
Turn Off System and Diagnose Overspray Causes
You may be interested


Now that you’ve identified your sprinkler head type, the next step involves turning off your system and figuring out why overspray is happening in the first place. Start by locating your main water valve and turning it off completely. This guarantees your safety while you work. Next, inspect valves throughout your system for leaks or damage that might affect water pressure and spray patterns. Check sensor placement near affected areas, as misaligned sensors can trigger unexpected watering cycles. Examine whether root intrusion has shifted any heads, causing them to tilt and spray toward sidewalks. Look for clogged nozzles or debris blocking proper water flow. These observations help you pinpoint the exact cause before making adjustments.
Adjust Spray Arc to Redirect Water Away From Sidewalks
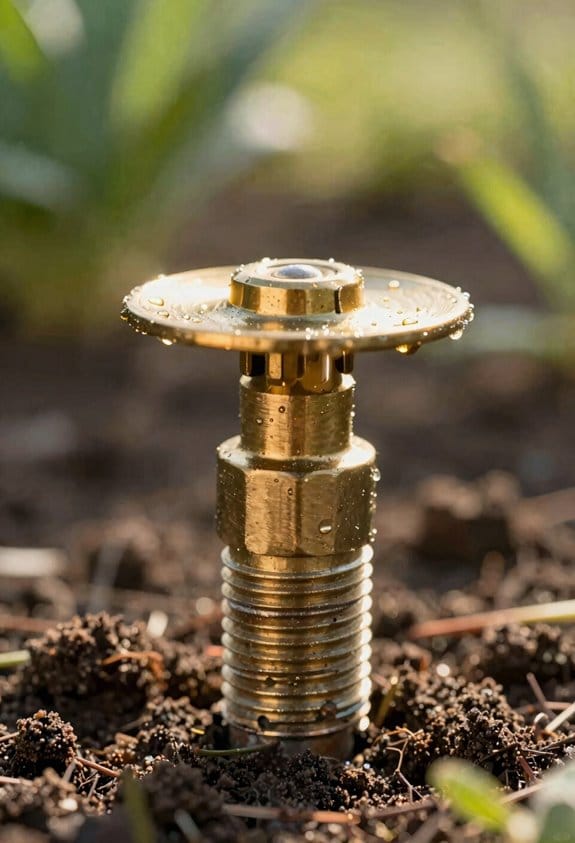
Once you’ve identified why your sprinkler heads are spraying onto the sidewalk, adjusting the spray arc becomes your primary tool for solving the problem. I’ll show you how to modify your nozzle orientation to redirect water away from pavement areas.
Most rotor heads feature an adjustment slot that controls your spray arc range. By turning this slot clockwise, you increase the arc coverage up to 360 degrees, while counterclockwise rotation decreases it. For spray deflection purposes, you’ll want to narrow the arc so water reaches only your lawn.
Hold the nozzle steady with one hand while turning the adjustment screw with your flathead screwdriver. Start with small adjustments, then run your system to verify the new coverage pattern matches your landscaping needs.
Reduce Distance With the Radius Screw
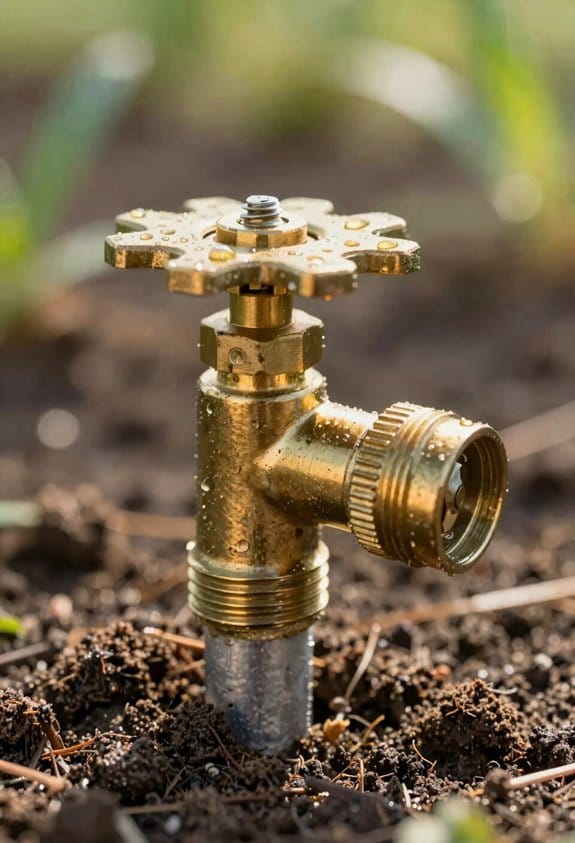
While adjusting the arc helps you redirect water away from sidewalks, you might still notice water reaching areas beyond your lawn’s edge, and that’s where the radius screw becomes your next tool. Consider turning the radius screw clockwise to decrease the distance your sprinkler throws water, which prevents overspray onto pavement. Hunter rotor models allow up to a 25% radius change, giving you significant control over coverage. If you’re using a Rain Bird model, you might adjust the diffuser screw instead, turning it clockwise to reduce throw. Hold the sprinkler body steady while making adjustments, and run your system afterward to verify the water stays within your lawn boundaries. Fine-tune gradually until you achieve ideal coverage without sidewalk watering.
Use the Deflector Knob for Immediate Relief
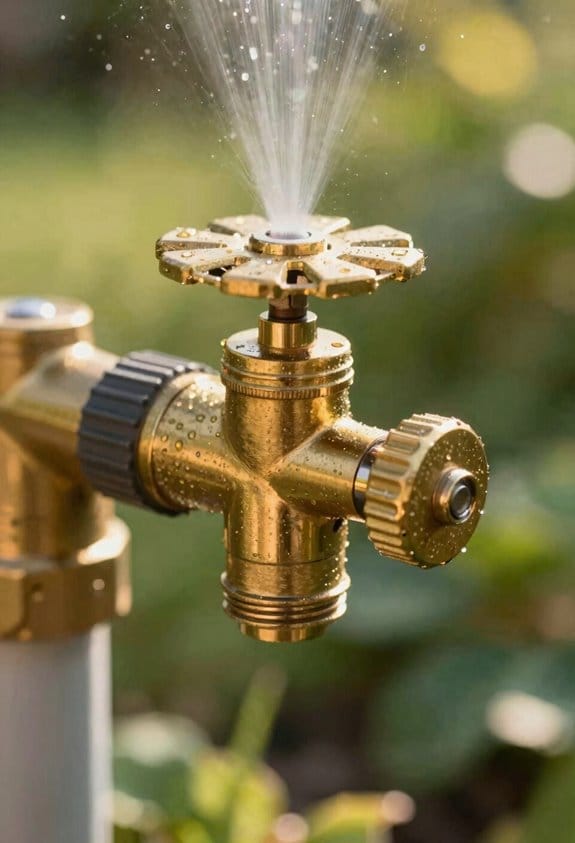
If the radius screw adjustment doesn’t fully solve your overspray problem, the deflector knob offers a quicker alternative for redirecting water away from sidewalks and driveways. This quick shield feature provides an instant cutoff by physically blocking or deflecting the water stream without requiring full rotations or precise measurements. Simply locate the deflector knob on your sprinkler head, then turn it to angle the water spray away from problem areas. The adjustment happens immediately, making it ideal when you need fast results. Unlike radius adjustments that require multiple turns, the deflector gives you rapid control over spray direction. After positioning the knob, run your system briefly to verify the water now avoids sidewalks and focuses on your lawn instead.
Test and Verify Coverage Before Finishing
After you’ve adjusted the deflector knob and positioned your sprinkler heads to redirect water away from hardscapes, you’ll want to turn on your system and observe the actual coverage pattern to confirm your adjustments are working correctly. Stand behind the head to avoid getting sprayed, then watch how water distributes across your lawn. Check patterns carefully to make certain you’re watering grass, not sidewalks or driveways. Look for adequate coverage without gaps or dry spots, and confirm overlap between adjacent heads so no areas receive insufficient water. If you notice the sidewalk’s still getting wet, make minor radius screw adjustments. Run the system for several minutes to verify results match your goals before finishing.
Lock Heads After Adjusting to Prevent Overspray
Once you’ve verified that your sprinkler heads are delivering water exactly where you want it, the next critical step is to lock them in place so they don’t accidentally shift or rotate out of position. Many sprinkler systems include tamper proof locks that secure the adjustment screws after you’ve finished fine-tuning. These locks prevent children or weather conditions from inadvertently changing your settings, which could cause overspray onto sidewalks again.
Consider seasonal locking, especially before winter or periods when you’re not actively monitoring your system. Tighten any locking mechanisms firmly but carefully, avoiding over-tightening that might damage components. Check your sprinkler manufacturer’s instructions for specific locking procedures, as different models have varying security features. Properly locked heads maintain your carefully calibrated coverage throughout the season.
For a useful next step, reduce water waste in the garden and compare drip irrigation with sprinklers. These guides cover the related maintenance or buying decision without changing the task explained here.
Frequently Asked Questions
How Often Should Sprinkler Head Adjustments Be Checked or Recalibrated Throughout the Year?
Consider checking your sprinkler heads seasonally—spring, summer, and fall—since studies show 30% of homeowners waste water through misaligned systems. Annual inspections and sensor recalibration help you catch drift early and maintain efficiency.
Can I Adjust Sprinkler Heads While the System Is Running Without Getting Wet?
Consider hands off, dry operation by turning your system off first. You can’t achieve wet free, remote adjust capabilities with most standard sprinkler heads, so shutting down prevents getting soaked during adjustments.
What’s the Maximum Adjustment Range Before Permanent Damage Occurs to Sprinkler Mechanisms?
I’ll give you the straight dope: don’t force adjustments beyond the manufacturer’s stops. Most sprinkler torque tolerances allow 25% radius changes before gear limits activate, causing irreversible damage to internal mechanisms.
Are There Seasonal Differences in How I Should Adjust Sprinkler Distance and Arc Patterns?
Consider adjusting your sprinkler distance closer during seasonal overlap periods before winterization timing. This prevents sidewalk watering as vegetation needs decrease. Reset arc patterns wider once spring growth resumes.
Which Sprinkler Head Brands Are Most Compatible With Universal Adjustment Tools?
Hunter Industries and Rain Bird heads work best with universal adjustment tools. Both brands’ rotor models—like Rain Bird’s 3500—accept standard flathead screwdrivers and dedicated adjustment keys for arc and distance modifications.