


Most gardeners overlook oiling wooden tool handles, but moisture causes wood to swell and shrink repeatedly, creating internal stress that leads to cracks and loosening. Oil penetrates deep into the wood, filling pores to resist moisture damage far better than surface coatings like lacquer or polyurethane, which eventually peel and crack. A few dollars spent on boiled linseed oil and ten minutes of preventive maintenance annually can extend your handle’s life by decades, saving you from costly replacements. Understanding the moisture dynamics behind wood failure reveals why this simple step matters so much.
Key Takeaways
- Wooden handles absorb moisture, causing repeated swelling and shrinking that generates internal stress leading to cracks and failure.
- Untreated handles become vulnerable to termite damage, rot, and UV degradation, compromising tool safety and structural integrity over time.
- Oil penetrates deep into wood pores, resisting moisture penetration far better than surface coatings like lacquer or polyurethane.
- Simple seasonal oiling costs just dollars annually, while neglected handle replacement costs $15–$50 plus labor and tool downtime.
- Oil-treated handles remain grippy and require only quick reapplication for refreshed protection, unlike coatings requiring complete stripping and reapplication.
How Wooden Handles Fail Without Oil Protection
Because wood naturally absorbs moisture from its environment, unprotected handles don’t stay stable—they expand and contract with seasonal changes and humidity levels, which creates serious problems over time. This constant swelling and shrinking generates internal stress that causes cracks to develop throughout the wood. Additionally, untreated handles face UV degradation from sun exposure, which weakens the wood fibers and makes them brittle. Without oil protection, handles also become vulnerable to termite damage and rot, particularly in damp conditions. As the wood loses its flexibility, it becomes prone to splintering and breaking during regular use. The tool head eventually loosens because the handle shrinks away from the metal socket, making the tool unsafe and unreliable.
Why Oil Outperforms Lacquer and Polyurethane Coatings
You may be interested



While lacquer and polyurethane coatings might seem like convenient solutions for protecting wooden handles, they’ve got significant drawbacks that make drying oils a superior choice. These surface finishes eventually crack and peel, requiring removal and reapplication—a time-consuming process. Drying oils, by contrast, never flake off because they penetrate deep into wood rather than sitting on top. They create tough, grippy surfaces that improve your tactile grip during work, unlike slick coatings that become slippery. Oil finishes also offer exceptional finish longevity; you simply reapply oil to refresh protection without stripping previous layers. When drying oils wear thin, you add more. With lacquer or polyurethane, you’re stuck with costly restoration work, making oil treatment the practical, durable alternative for long-term handle maintenance.
How Moisture Swells, Shrinks, and Cracks Wood Handles
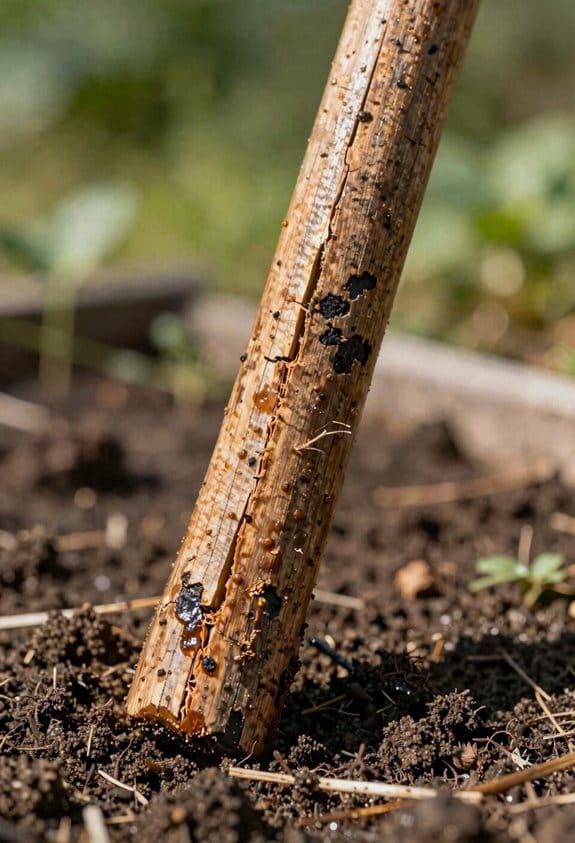
Wood doesn’t stay the same size—it swells when it absorbs moisture and shrinks as it dries out, and this constant changing creates serious problems for your tool handles. These moisture gradients, where some parts of the wood absorb water faster than others, cause uneven expansion throughout the handle. When wood swells unevenly, internal stress builds up between wet and dry sections. As the handle dries, it shrinks back down, but the damage is already done. Repeated swelling and shrinking cycles lead to cellular collapse, where the wood’s internal structure breaks down. This breakdown creates visible cracks that weaken your tools. Well-oiled handles resist these moisture changes because the oil fills wood pores, preventing water penetration and protecting the wood’s structural integrity.
Linseed Oil vs. Alternatives: Which Should You Choose?
Now that you understand how moisture damages wood handles, you’re probably wondering what oil to use for protection. Boiled linseed oil remains the most popular choice because it contains metallic driers that speed up drying times markedly compared to raw linseed oil. However, you have several effective alternatives available. Tung oil, walnut oil, and coconut oil all provide comparable protective benefits. If you prioritize food safe oils for handles you’ll touch frequently, coconut oil offers a natural option. Danish oil combines multiple oils for enhanced durability. The key difference lies in drying times—boiled linseed oil cures faster, while alternatives may require longer before you use your tools. Choose based on your availability and specific tool-use patterns for best results.
Step-by-Step: Saturate Your Handles for Maximum Protection
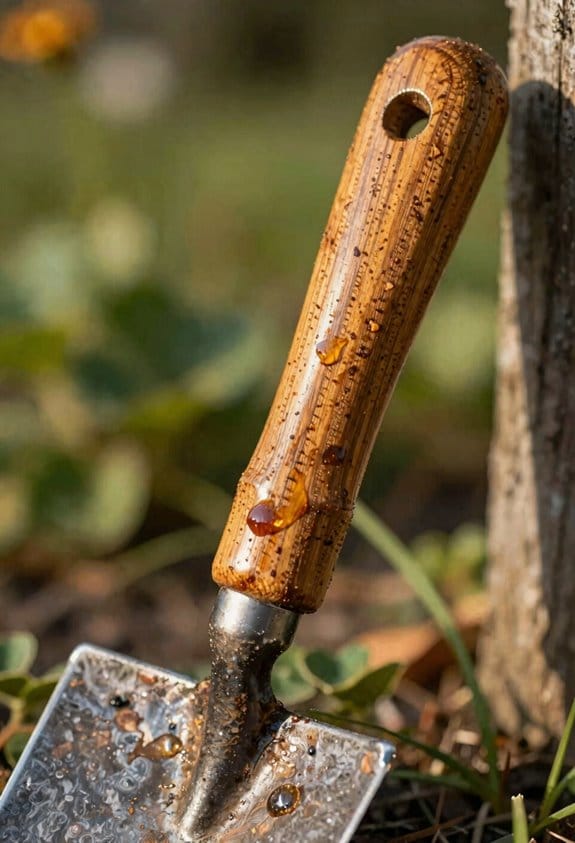
Bringing your wooden tool handles indoors is the essential first step before applying oil, since oil penetrates wood most effectively at room temperature rather than in cold outdoor conditions. Once your handles have warmed up, saturate a cloth generously with boiled linseed oil or your chosen drying oil. Apply multiple coats with generous coverage, allowing each coat to sit on the wood for approximately ten minutes before wiping away excess oil with a dry cloth. This waiting period maximizes absorption into the wood’s cellular structure. For older, sun-baked handles requiring deeper saturation, you may need additional applications. After treatment, consider hook hanging your handles overnight, which allows oil to continue soaking into the wood without requiring active maintenance during the vital curing period.
Oil Your Tools Spring, Summer, Fall, and Winter
Once you’ve saturated your handles with oil and allowed them to cure properly, the work doesn’t end there—consistent seasonal maintenance keeps your tools protected year-round against environmental damage. establishing seasonal rituals prevents the moisture problems that crack and weaken wood through repeated swelling and shrinking cycles. Before winter storage, I clean my handles thoroughly and apply boiled linseed oil to shield against damp conditions during dormant months. Come spring, I reapply oil to restore any handles affected by winter exposure. Throughout summer and fall, I maintain quick oiling sessions using an oily rag during regular work cycles. These storage tips and regular applications guarantee my tools remain supple and protected, ultimately extending their lifespan markedly while preventing costly replacements.
Why Preventive Oiling Saves Money vs. Handle Replacement
Because wooden tool handles deteriorate predictably without protective maintenance, investing time in preventive oiling costs far less than replacing handles or entire tools. A new handle replacement costs between fifteen and fifty dollars, depending on the tool type, plus labor savings you’d lose if you paid someone else to install it. However, spending a few minutes annually applying boiled linseed oil costs just a few dollars and takes minimal effort. Regular oiling prevents the wood shrinkage and swelling cycles that crack handles and loosen tool heads. When you maintain handles consistently from year one, you avoid expensive replacements altogether. Tools receiving proper care—clean blades and oiled handles—can last your lifetime, making preventive oiling the most economical maintenance choice available.
Quick Maintenance Routines That Actually Stick
The most effective way to protect your wooden tool handles involves integrating oiling into your regular work habits rather than treating it as a separate chore you’ll remember to do later. end of day rituals work best; keeping an oily rag near your tool storage area means you can wipe handles while you’re already putting equipment away. This routine timing takes just minutes and becomes automatic after a few weeks.
For a useful next step, clean garden tools after use, decide when a garden tool is too worn to repair and compare garden rakes. These guides cover the related maintenance or buying decision without changing the task explained here.
Frequently Asked Questions
Can I Apply Oil to Wooden Handles That Are Already Cracked or Damaged?
You can cautiously apply oil to cracked handles, though I’d carefully consider repair options first. Deep damage demands deliberation—safety concerns surface when structural integrity’s compromised. Oil won’t restore severely weakened wood; replacement might be necessary.
How Long Does Boiled Linseed Oil Take to Fully Cure on Tool Handles?
Consider allowing boiled linseed oil overnight drying time on your handles. While it’s touchable within hours, full curing takes 24 hours. Take safety precautions by ensuring proper ventilation during application and storage.
Will Oiling My Wooden Handles Make Them Slippery or Affect My Grip?
Like a river stone polished smooth yet gripping firmly underfoot, properly oiled handles won’t slip—they’ll feel naturally grippy. Drying oils create tough surfaces that enhance grip texture and tactile feedback, never leaving you struggling for control.
Can I Use the Same Oil for Both Wooden Handles and Metal Tool Blades?
Yes, I’d use boiled linseed oil for both. It protects wooden handles and prevents rust on metal blades. Avoid mineral oil—it’s not food-safe if you’re handling produce, and linseed’s drying properties work better for tool preservation.
What’s the Best Way to Store Oiled Tools to Prevent Oil From Transferring Elsewhere?
Consider hanging your oiled tools on a rack rather than storing them in bins, where oil can transfer to other items. Hanging allows air circulation and keeps oiled handles from touching surfaces.


