


I’ll show you how to sharpen your garden tools at home efficiently. First, clean off dirt and debris with a scouring block and sandpaper. Then, select the right sharpening stone—use 1000-grit for general sharpening or 500-grit for damaged blades. For secateurs and pruners, draw the wet stone from hilt to tip using even pressure. Secure loppers and shears in a vice, then apply 5–6 strokes per edge. For spades and hoes, file at a 45-degree angle. Finally, remove burrs with a honing bar and apply oil for protection. The specific techniques vary by tool type, so further details await.
Key Takeaways
- Clean blades thoroughly with a scouring block and sandpaper to remove dirt, sap, and debris before sharpening.
- Select appropriate whetstones by grit level: 500 for damaged edges, 1000 for general sharpening, 3000 for finishing work.
- Maintain factory bevel angles while drawing stones from hilt to tip with even pressure using 4–5 strokes per edge.
- Remove burrs using metal honing bars, then ceramic bars for refined edges on all blade types.
- Oil metal surfaces after sharpening and store tools in dry, cool places using racks to prevent blade dulling.
Prepare Pruning Tools: Clean Dirt and Debris First
Before you can sharpen your pruning tools effectively, you’ll need to clean off all the dirt, sap, and debris that’s built up on the blades. Consider using a scouring block like Cleaning Mate by Niwaki to remove stubborn buildup. Once you’ve cleared the major debris, apply medium grit sandpaper to eliminate any remaining grime from the blade surfaces.
You may be interested
Wipe all parts of both blades thoroughly, including the handles and springs. While cleaning, inspect springs for damage or rust that might affect tool performance. Don’t forget to sanitize handles with a clean cloth, which prevents disease spread between plants. Secure your tool in a vice for stability during this preparation phase. This foundational step guarantees you’re working with clean surfaces, making the actual sharpening process more effective and safer for you.
Choose Your Sharpening Stone by Tool Type
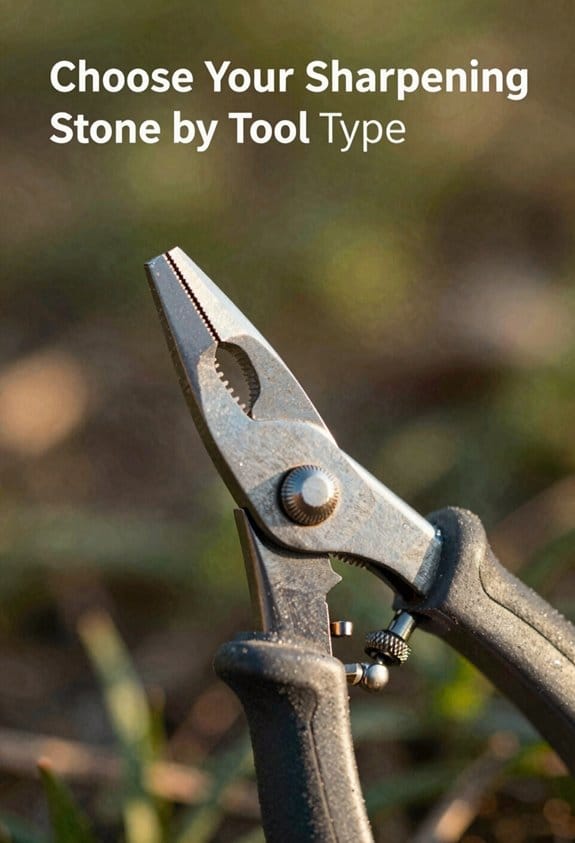
Selecting the right sharpening stone makes a significant difference in how effectively you can sharpen your garden tools, since different tools require different approaches. Grit selection depends on your tool’s condition and intended use. Consider whetstones or water stones soaked for ten minutes before starting. For most pruning tools like secateurs and pruners, I use 1000-grit stones for general sharpening. If your blades have damage or significant wear, I start with 500-grit stones. For finer finishing work, I move to 3000-grit stones. Stone compatibility matters too—handheld sharpeners work best for pruners and scissors, while metal files suit hoes and spades at forty-five-degree angles. Diamond tools like DMT Dia-Sharp handle severely damaged edges effectively.
Sharpen Secateurs and Pruners: Technique Essentials
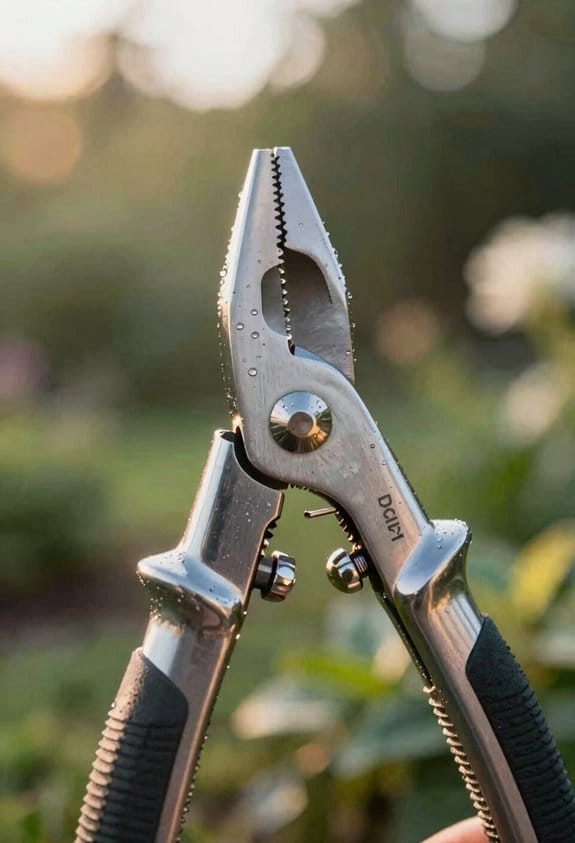
Getting your secateurs and pruners sharp requires matching the factory bevel angle, which is the slanted edge ground into the blade during manufacturing. I start by drawing my wet stone from the hilt to the tip with even pressure, applying 4-5 strokes per edge. Understanding edge geometry helps me maintain the correct angle throughout the process.
I sharpen the outside bevel first, then smooth the inside to remove the burr that forms. This approach guarantees optimal cutting mechanics when I use the tool. After completing these strokes, I use a metal honing bar to knock off any remaining burrs on both blades. Finally, I finish with a ceramic honing bar for a finer, more refined edge that cuts cleanly through branches.
Sharpen Loppers and Shears Securely
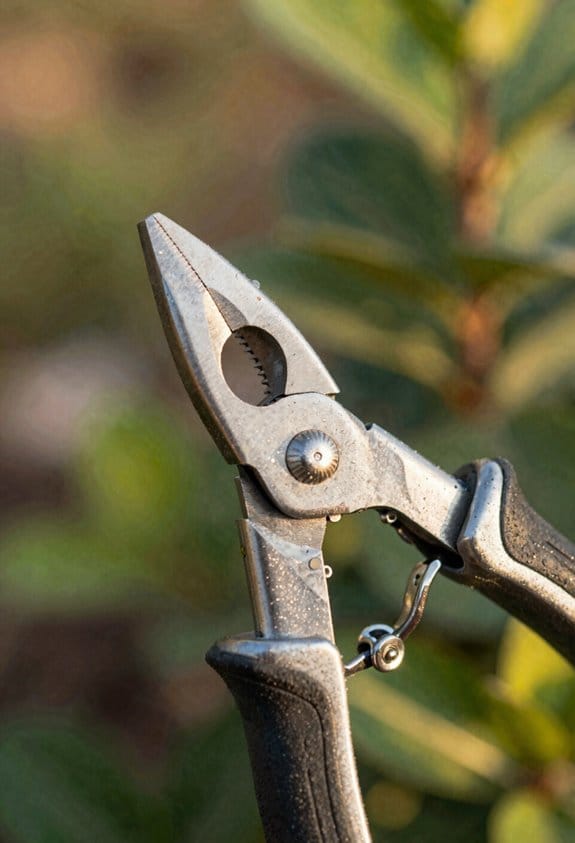
Securing your loppers and shears in a vice represents the critical first step before you begin the sharpening process, since these larger tools require stability to guarantee both safety and precision. I use a lock jaw vice with a foot brace to keep my tools immobile while I work. Apply 5-6 strokes per edge using a handheld sharpener, focusing exclusively on the blade edge itself. I avoid sharpening non-blade parts, which wastes effort and damages the tool. For double-bevel blades, I hone both sides evenly to maintain balance. An all-in-one ergonomic sharpener gives me better control throughout the process. This secure setup prevents slipping and allows me to maintain consistent pressure for uniform sharpening results.
File Spades and Hoes at 45 Degrees
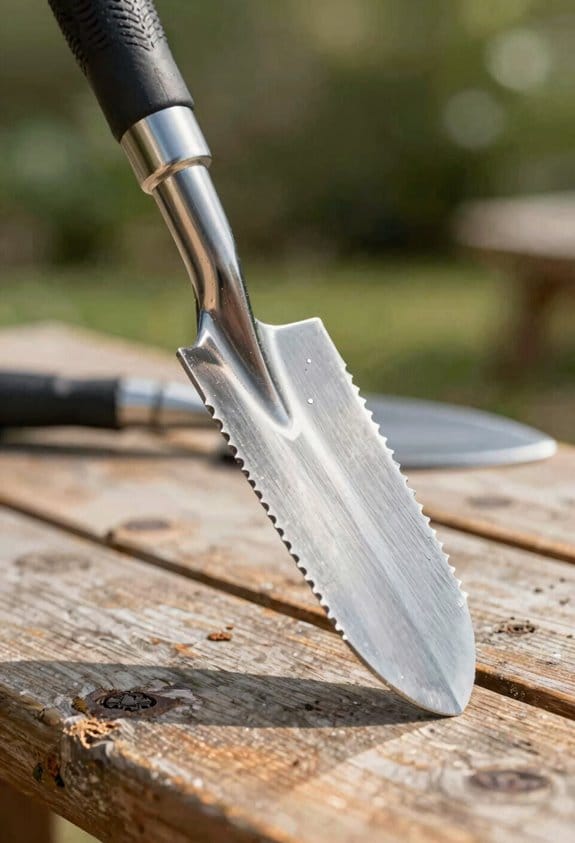
Once you’ve finished with your loppers and shears, moving to larger digging tools like spades and hoes requires a different sharpening approach that focuses on filing rather than whetstones. I secure the shaft in my workbench vice with the front side facing up, ensuring stability throughout the process. Using a metal file, I work at a consistent 45-degree angle, which maintains angle consistency and prevents uneven sharpening. For spades, I keep the file flat against the blade, while hoes require a slight slope. Filing away from my body, I remove nicks carefully without oversharpening the edge. This technique preserves the blade’s integrity while restoring its cutting capability. After finishing, I apply vegetable oil for protection against rust and corrosion.
Finish Sharpening: Remove Burrs With a Honing Bar
After filing away the nicks and imperfections from your spades and hoes, you’ll notice a thin ridge of metal, called a burr, that forms along the blade’s edge. This burr removal is essential for achieving a truly sharp tool. I use a metal honing bar to knock off these burrs on both sides of the blade. The honing technique involves drawing the bar along the edge with light pressure, working from the hilt toward the tip. After removing burrs with the metal bar, I finish with a ceramic honing bar for an even finer edge. This two-step process guarantees your blade cuts cleanly and efficiently. Regular burr removal keeps your garden tools performing at their best for years.
Maintain Sharp Pruning Tools With Oil and Storage
Your pruning tools deserve care beyond just sharpening, because maintaining them properly keeps them sharp longer and prevents rust and corrosion. After you’ve finished honing your blades, Consider applying a light coat of vegetable or machine oil to protect the metal. This blade oiling step creates a barrier against moisture and oxidation.
When storing your tools, consider your climate storage situation carefully. If you live in a humid environment, keep pruners in a dry location away from damp areas like garages or sheds. Store them in a cool place where temperature fluctuations won’t damage the metal or handles. Using tool racks or hanging systems prevents blades from touching each other, which reduces accidental damage and dulling between uses.
For a useful next step, clean garden tools after use, decide when a garden tool is too worn to repair and compare garden rakes. These guides cover the related maintenance or buying decision without changing the task explained here.
Frequently Asked Questions
How Often Should I Sharpen My Garden Tools to Maintain Optimal Cutting Performance?
I’d sharpen mine monthly during growing season, then quarterly off-season. A gardener I knew noticed her pruners weren’t cutting cleanly by mid-summer—weekly sharpening restored performance. Task frequency depends on your seasonal schedule and usage intensity.
Can I Use the Same Sharpening Stone for All My Different Garden Tools?
Consider using different stones for your tools because bevel consistency and stone grit selection vary by tool type. Pruners need finer grits like 1000 or 3000, while spades require coarser grits and metal files for nicks.
What’s the Difference Between a Whetstone and a Water Stone for Sharpening?
I’ll cut right to the chase: whetstones are like stubborn rocks, while water stones absorb liquid for lubrication. Water stones wear faster but excel at edge geometry. I’d choose whetstones for durability across varying stone grit levels you’ll encounter.
How Do I Know When My Garden Tool Blade Is Sharp Enough for Use?
I know my blade’s sharp enough when I see a shiny, smooth metal edge with proper alignment and feel tactile feedback—no roughness when I run my finger carefully across it. That’s your signal it’s ready.
Is Vegetable Oil the Best Option for Protecting Tool Blades After Sharpening?
I’ve found vegetable oil works, but Consider mineral oil or paste wax instead. They’re more effective at preventing rust and don’t turn rancid like vegetable oil can, keeping your blades protected longer.


