

I’ll help you set up a basic sprinkler system by first checking your water pressure with a gauge—you’ll want 40–70 PSI for optimal performance. Next, map your yard and divide it into zones based on plant types and soil conditions, since different areas dry at different rates. Then, shut off your main water, install a tee fitting with a backflow preventer, and run PVC pipes to your valve manifold. Space sprinkler heads using head-to-head coverage, flush your lines, and test each zone individually before backfilling. Finally, install your controller, program zone durations, and run your first cycle while adjusting head positions for uniform coverage. Discover specific techniques that’ll guarantee your garden thrives year-round.
Key Takeaways
- Check water pressure (40–70 PSI) and map your yard layout, marking trees, driveways, and terrain to plan zones effectively.
- Divide yard into zones grouping plants by watering needs, soil type, and sun/shade exposure for efficient water distribution.
- Install main tap with backflow preventer and valve manifold in a valve box after calling utility locate services.
- Space sprinkler heads based on spray radius with head-to-head coverage, then test individually to eliminate dry spots or overlaps.
- Flush system, check connections for leaks, verify 40–65 PSI operating pressure, install controller, and run full cycle testing.
Check Water Pressure and Map Your Sprinkler System
Before you install any sprinkler pipes or dig trenches, you’ll need to check your water pressure and create a detailed map of your yard, because these two steps determine whether your system will work effectively. Start by using a pressure gauge on your outdoor faucet to measure PSI, which should read between 40-70 for peak sprinkler operation. Next, sketch your property layout, marking trees, driveways, and your home’s location. Document flow mapping by noting where water flows naturally across your terrain. Divide your yard into zones based on water capacity and pressure requirements. This planning phase prevents costly mistakes later, ensuring your sprinkler heads receive adequate water pressure and coverage throughout all areas of your garden.
Divide Your Yard Into Watering Zones
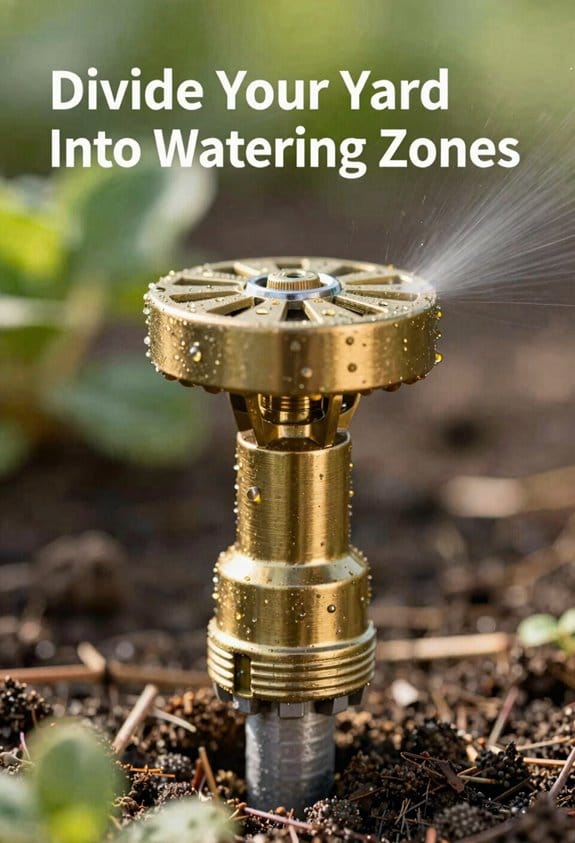
Once you’ve measured your water pressure and mapped your property, you’re ready to divide your yard into watering zones, which are separate areas that receive water on their own schedule. I recommend grouping plants with similar watering needs together, since flowers require different moisture levels than shrubs or lawns. You’ll also want to take into account soil types in each area—sandy soil drains quickly and needs frequent watering, while clay soil retains moisture longer. Additionally, I suggest creating separate zones for sun and shade regions, as they dry at different rates. By organizing your yard this way, you’ll use water more efficiently and make certain every plant receives appropriate hydration. Your system’s water capacity determines how many zones you can run simultaneously.
Mark and Dig Trenches at the Right Depth
With your zones planned and water capacity determined, you’ll need to mark where your pipes will go before you can start digging. I use stakes, string, flags, or marking spray paint to outline the pipe routes across my yard. Before breaking ground, I call for utility locate services to identify buried cables and gas lines, preventing dangerous accidents. Once marked, I dig trenches 6-12 inches deep, adjusting depth based on my local frost line and yard slope. On slopes, I dig deeper to prevent water pooling at high points. I line trenches with landscape fabric to reduce soil compaction and clogging. For valve boxes, I create 18-inch deep holes lined with 2 inches of gravel for proper drainage and access.
Tap Into Your Main Water Supply
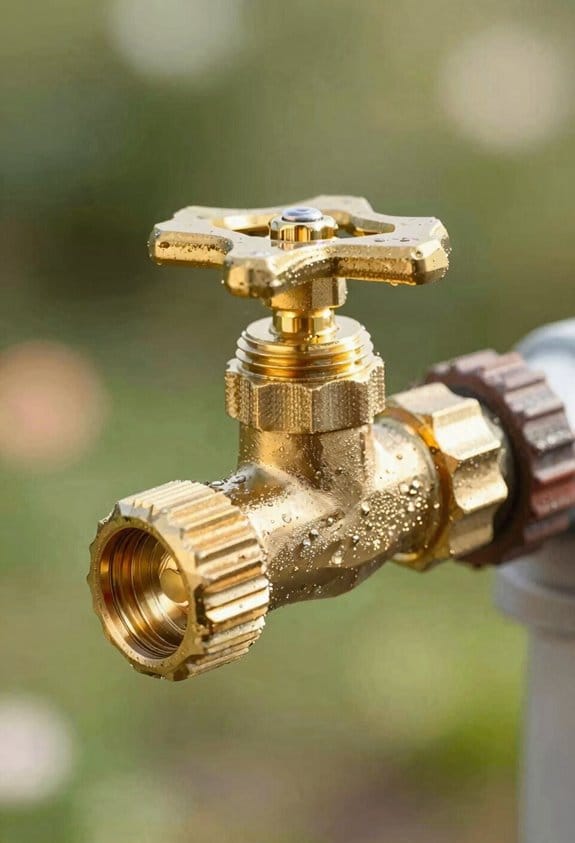
Now that your trenches are dug and ready, you’ll need to connect your sprinkler system to your home’s main water supply, which is where the real work begins. First, shut off your main water supply at the meter and relieve pressure by opening a faucet. Before proceeding, check permit requirements in your area, as some jurisdictions mandate inspections for water line modifications.
Next, carefully cut into your main water line and install a tee fitting using PVC cement or solder. Attach a backflow preventer to protect your home’s water quality. Then run a 1-inch schedule 40 PVC line from this connection to your valve manifold location.
If you’re uncertain about any step, professional consultation can prevent costly mistakes and make certain your system meets local codes and safety standards.
Recommended Products

Easy access to first check simplifies debris removal

Wye pattern design reduces installation time and costs

EZSwap Pressure Vessel is removable for easy access and added convenience
Install Your Valve Manifold and Main Lines
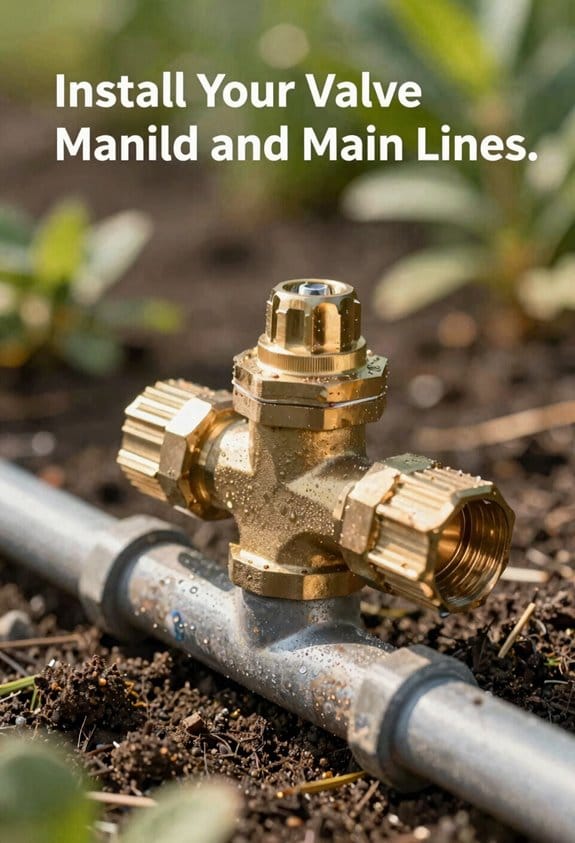
Begin by assembling your valve manifold above ground according to the manufacturer’s directions, which typically come with detailed diagrams showing how each component fits together. Once assembled, glue the zone valves to the manifold and place it in your valve box, keeping it flush with ground level.
For your main lines, use PVC pipe, which handles higher pressure better than other materials. Connect sections using tees, elbows, and couplings with a hacksaw or cutter. Run polyethylene pipe for laterals, securing them with clamps. Lay all pipes flat without kinks.
Proper manifold maintenance guarantees your system lasts longer. Check connections regularly for leaks. Pressure balancing across zones prevents some areas from receiving too much water while others stay dry. Test each zone individually before backfilling trenches.
Recommended Products


PLUMBING MANIFOLD SYSTEM: PEX manifold allows for central control for all water lines throughout the home; corrosion-resistant fitting certified for use in potable water systems

Concrete mounting kit for installation of Moen single riser freestanding tub filler
Space Sprinkler Heads for Full Coverage
Once you’ve installed your valve manifold and main lines, the next critical step involves positioning your sprinkler heads to guarantee complete coverage across your lawn without creating dry spots or wasting water through overlap. I recommend spacing heads based on their spray radius—for example, 15-foot spray patterns need 15-foot spacing between heads. This head-to-head coverage guarantees overlapping spray patterns of 100 percent, eliminating gaps. Before backfilling trenches, conduct overlap testing by turning on each zone individually to observe where water reaches. Check that spray patterns from adjacent heads meet without excessive duplication. Adjust head positions or angles as needed to achieve uniform moisture distribution. Mark final head locations with flags before permanent installation.
Recommended Products

Identify thread pitch & diameter for 20 of the most common aerator sizes from 1/4-18 to 15/16-27

Hunter manufactures an MP Gauge, this gauge can be used on all Hunter, Rain Bird and all male threaded spray bodies.

PRESSURE GAUGE: Underhill liquid filled 160 PSI, A-SHG-160K water pressure test gauge and adapter for female nozzles. Ideal for measuring dynamic pressure with a clear and easy to read dial.
Flush and Test Your Sprinkler Lines
Before you backfill those trenches and consider your system complete, flushing and testing your sprinkler lines is essential to make sure everything works properly. I recommend turning on each zone individually, allowing water to flow through and remove dirt or debris that accumulated during installation. Watch for pressure surges, which can damage components or cause uneven watering. Check all connections for leaks and inspect each sprinkler head’s spray pattern to make certain proper coverage. During nozzle troubleshooting, adjust heads if you notice dry spots or overlapping areas. Verify that your system maintains 40-65 PSI throughout operation, matching your heads’ requirements. Once you’ve confirmed everything functions correctly and you’ve addressed any issues, you’re ready to backfill the trenches completely.
Set Up Your Timer and Controller
Installing your controller marks the final phase of your sprinkler system setup, and I recommend choosing an indoor location like your garage or basement where it’ll stay protected from weather and moisture. Once positioned near a 115V outlet, you’ll program your watering schedule based on your lawn’s needs and local climate conditions. Modern controllers offer remote access features, allowing you to adjust schedules from your smartphone or computer. Many systems include weather integration technology that automatically skips watering when rain falls or temperatures drop. You’ll input zone information, set duration times for each area, and establish frequency preferences. Before finalizing settings, verify that your system’s water pressure matches the controller’s specifications, typically 40-65 PSI for peak performance and head function.
Recommended Products

The Roam XL is as powerful as they come and features a simple user interface with 128 different programmable addresses
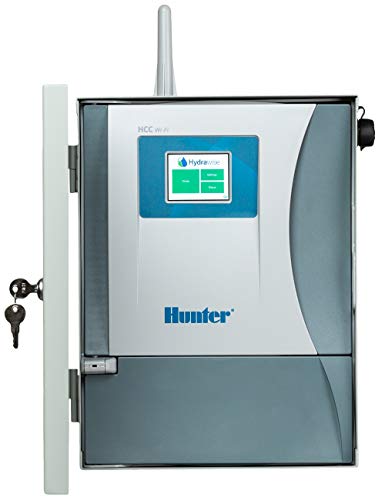
Wi-Fi enabled for quick connection to Hydrawise software.
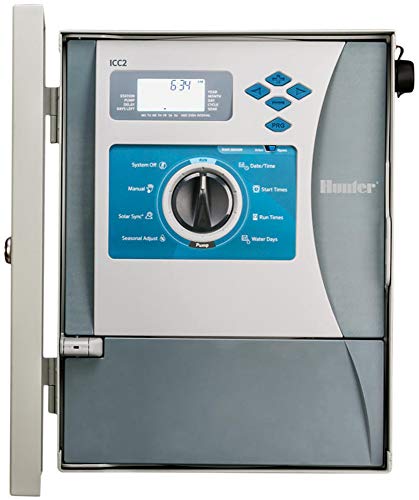
Hunter I2CF-800M I2C-800M Residential or Commercial Timer. Now with Built-in flow monitoring for smart water savings With optional Flow Sync sensor. Requires HFS Flow-Sync Sensor or WFS Wireless Flow Sensor Kit and FCT fitting for pipe installation.
Run Your First Cycle and Adjust Coverage
Now that your controller is programmed and your system is ready, it’s time to power up and run your first complete cycle to evaluate how well your sprinkler heads are covering your lawn. Turn on each zone individually and observe the spray patterns carefully. Look for dry spots where water isn’t reaching and wet areas where coverage overlaps excessively. This run through troubleshooting helps you identify problems early. Check that water pressure stays between 40-65 PSI during operation. Mark any areas needing adjustment with flags. After observing all zones, you’ll begin coverage tweaking by rotating or repositioning heads slightly to eliminate gaps. Make small adjustments and retest each zone until you achieve complete, uniform coverage across your entire garden.
Frequently Asked Questions
How Often Should I Run My Sprinkler System During Different Seasons?
I’d recommend adjusting your seasonal frequency based on soil moisture levels. Spring and fall need less watering, while summer requires more frequent runs. Winter typically requires none unless you’re in a dry climate.
What’s the Best Way to Winterize My Sprinkler System Before Freezing Temperatures?
I’d love to tell you freezing pipes aren’t a nightmare—they are. You’ll need to shut off your main water supply, drain lines through shutoff valves, then use compressed air blowout to remove remaining water before winter hits hard.
Can I Install a Sprinkler System Myself or Do I Need a Professional?
You can definitely install a sprinkler system yourself if you’re handy. I’d recommend checking permit requirements first, as DIY installation may need local approval. The knowledge base provides detailed steps you can follow.
How Do I Repair a Leaking Sprinkler Head or Damaged Underground Pipe?
I’ll dig up the damaged section through careful pipe excavation, then unscrew and replace heads or cut out compromised pipe sections. I’ll reconnect with couplings, test pressure, and backfill trenches after confirming repairs work properly.
What Type of Sprinkler Heads Work Best for Different Plant and Lawn Areas?
I’d recommend rotor heads for large lawn areas since they’re efficient and cover wider distances. For delicate plants and flower beds, I’d use mist sprayers because they’re gentler and provide fine, even watering.